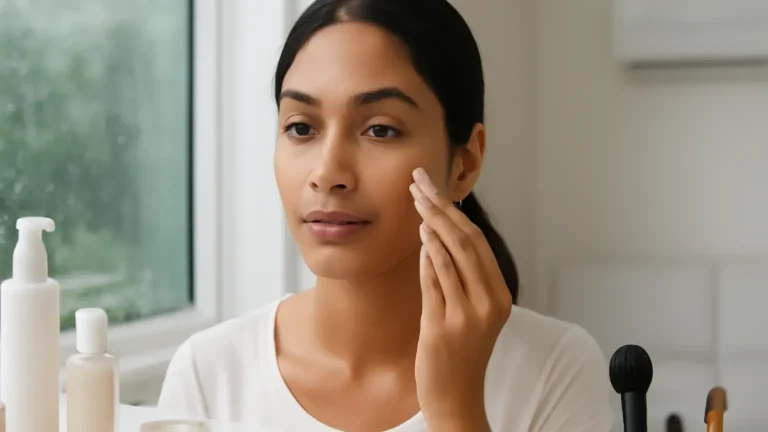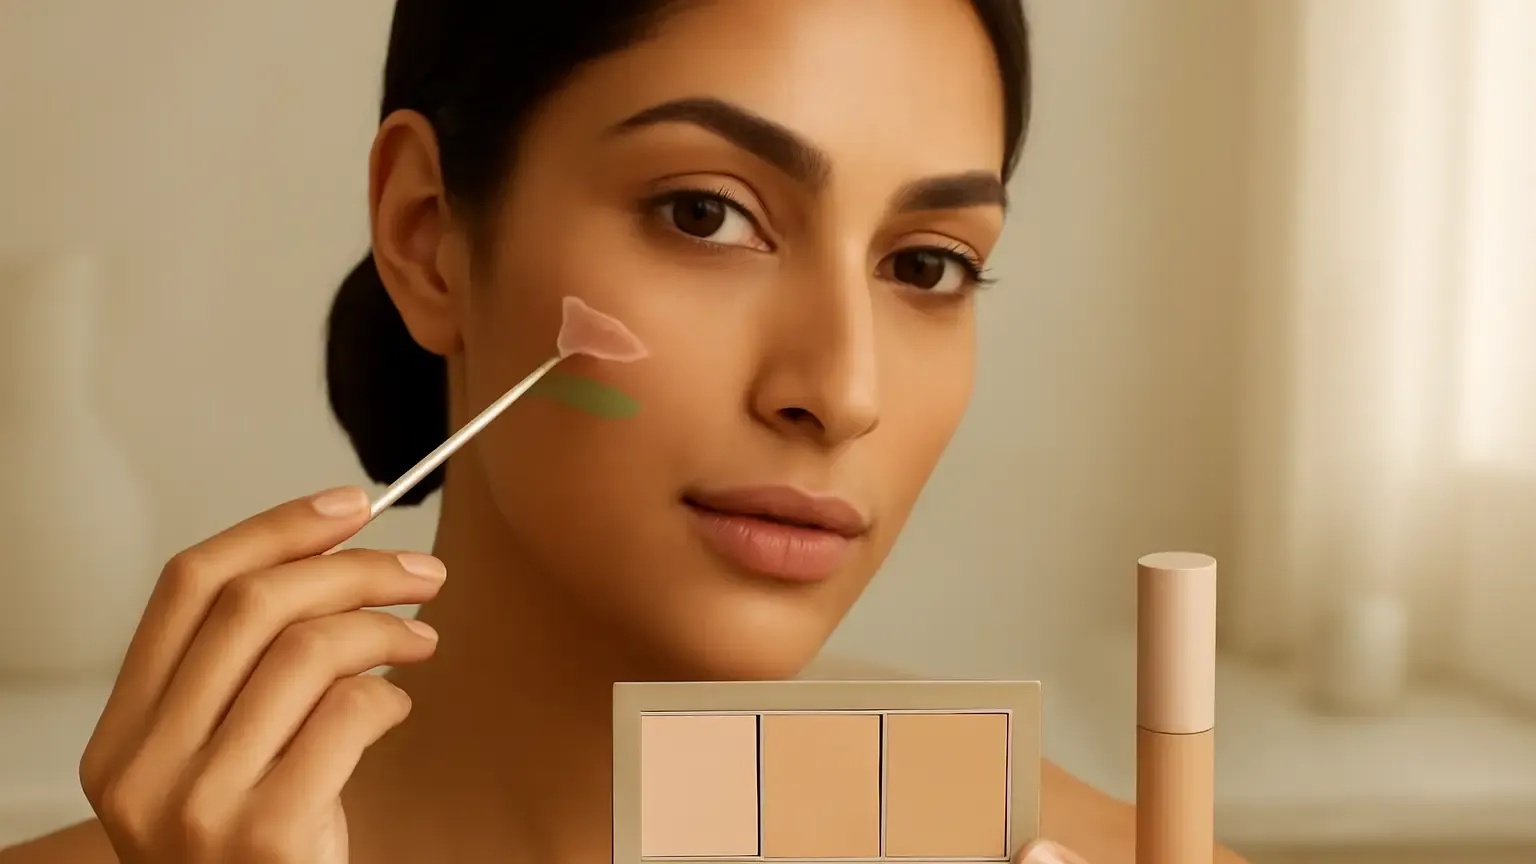
Makeup Basics for Colour Corrector is easiest when you match the shade to the visible concern: peach or salmon for blue-purple shadows, green for clear redness, and apricot, orange or terracotta for deeper brown or grey-brown discolouration. This quick guide explains how to use colour corrector on Indian skin, where to place it, how much to apply and how to layer concealer without a grey, orange or cakey finish.
Makeup Basics for Colour Corrector starts with one simple principle: choose the colour opposite the discolouration you can see, then adjust the shade’s depth to your skin tone. A corrector is a sheer, tinted makeup product that visually neutralises unwanted colour before concealer or foundation. It is not designed to cover every mark by itself. When correctly matched, it helps the next layer look more even with less product.
Start with the concern, not the product label
The most reliable colour corrector shade guide begins with bare, moisturised skin in daylight. Your foundation shade describes your surface tone; it does not automatically tell you which corrector to use. Look at the colour of the shadow or mark without judging it immediately after rubbing, cleansing or applying active skincare.
The colour correction wheel is a useful starting point because complementary colours visually balance each other. In everyday makeup, the main options are:
- Peach, apricot or salmon: helps soften blue or purple shadows and mild brown discolouration.
- Orange or terracotta: helps neutralise deeper blue, grey-brown or purple-brown areas, especially on medium-deep to deep skin tones.
- Green: helps reduce visible redness in fresh-looking blemishes or red patches.
- Yellow: may soften mild purple or blue tones, although it can look bright when over-applied.
- Lilac or lavender: can brighten a dull, yellowish cast but is rarely the first choice for a localised dark mark.
These are starting points rather than fixed rules. One person may need peach under the eyes and a small amount of orange on a deeper post-blemish mark. Undertone, pigmentation depth and the concealer placed over the corrector all influence the finish.
How to choose a corrector for Indian skin tones
For colour correction makeup for Indian skin, consider skin depth and the colour of the concern separately. A shade that looks natural on a deep complexion may look too orange on fair skin, while a pale peach may disappear on a deeper mark. The best peach corrector for Indian skin is not necessarily the lightest or brightest peach; it should reduce the visible contrast without leaving a strong cast.
| Skin tone example | Starting shade | Suitable concerns |
|---|---|---|
| Fair to light Indian skin | Soft peach or pale salmon | Blue-purple under-eye shadows and light brown discolouration |
| Light-medium to wheatish skin | Peach, apricot or muted salmon | Brownish under-eyes, mild pigmentation and post-blemish marks |
| Medium to tan skin | Apricot, burnt peach or orange | Noticeable brown, blue-grey or purple-brown areas |
| Deep Indian skin | Orange, terracotta or red-orange | Deeper pigmentation and strong blue-grey shadows |
Do not select an extremely vivid corrector simply because the mark looks dark. Strong pigment can show through concealer and create a peach, orange or pink cast. If you have an olive or golden undertone, muted apricot or terracotta may blend more convincingly than bright coral. Cool or neutral undertones may find soft salmon easier to layer.
Match the corrector to the concern
Dark circles and under-eye shadows
For colour corrector for dark circles, identify the dominant shadow first. Blue or purple shadows often respond to peach, salmon or apricot. Deeper grey-brown shadows on medium to deep skin may need orange or terracotta, but use the smallest amount that visibly reduces the contrast. This is the foundation of effective under-eye colour correction.
Begin at the inner corner, tear-trough shadow or deepest half-moon. Extend the product only where the colour remains visible. The outer corner may have normal skin tone and does not need additional corrector. Avoid a thick stripe over fine lines because it is more likely to crease when you blink.
Acne marks and redness
A green corrector for acne marks is most useful when the mark is visibly red. Place it only on the red centre or edge with a tiny brush or the tip of a clean sponge. Green is not the answer for every post-blemish mark: when a spot becomes brown, grey or purple-brown instead of red, peach, apricot or orange may be more appropriate.
Corrector changes colour, not texture. Raised, healing or uneven skin can remain visible after the shade is balanced. Keep application light and avoid repeatedly rubbing an area that feels tender or irritated.
Pigmentation around the mouth, cheeks and forehead
For brown, grey or blue-toned pigmentation, use the shade that reduces the visible cast. Orange corrector for pigmentation can work well on medium, tan and deep Indian skin, while muted peach or apricot may be enough on fair to light-medium skin. Apply small, targeted patches rather than creating a full mask over the face.
When pigmentation is diffuse, a sheer skin tint or foundation in your true skin shade may provide more even coverage than repeatedly adding corrector. A local corrector is most helpful where the discolouration still shows after your base product.
How to use colour corrector under concealer
A dependable corrector and concealer layering routine is thin, targeted and unhurried. Follow these steps:
- Prepare the skin: apply moisturiser and allow it to settle. If the area is oily, use only enough base product to reduce slipping.
- Start with very little: place a pin-sized dab on the back of your hand or a palette. Adding more is easier than removing excess.
- Place, then tap: dot the corrector on the deepest part of the discolouration. Tap with a small brush, fingertip or damp sponge until the edges fade.
- Pause: the area should look less grey, purple, blue or red, not fully concealed. If the corrector is clearly orange or green, there is probably too much product or the shade is too strong.
- Add concealer selectively: use a concealer close to your skin tone for marks. For the under-eye, a subtly brighter concealer can work if that suits your preference. Press it over the corrected area instead of sweeping the first layer away.
- Set sparingly: press finely milled setting powder only where needed. Heavy powder can make the under-eye look dry and emphasise texture.
Placement and blending techniques
Corrector placement technique matters more than covering a large area. Keep the strongest pigment exactly where the discolouration is strongest and feather the border outward. This creates a gradual transition beneath concealer.
For the under-eye, look straight ahead with a relaxed face and locate the shadow before applying product. For an acne mark, use a precise brush so the corrector does not spread onto clear skin. For cheek or mouth pigmentation, work in small sections and check the result from a short distance. A beauty sponge gives a softer finish, while a small synthetic brush offers better control on tiny marks.
Press or stipple rather than vigorously swiping. Swiping can remove pigment from the centre, push it into fine lines and make coverage uneven. Clean hands and tools are especially important around blemishes.
How much corrector should you apply?
If you are wondering, “how much colour corrector should I apply?”, the answer is enough to soften the unwanted colour, not enough to hide it completely. Start with less than a small pea-sized amount for both under-eyes together. For one small acne mark, a dot smaller than a grain of rice may be sufficient.
Judge the result after concealer. If the concealer looks grey, the corrector may be too sheer, too cool or poorly matched. If the area looks orange, pink or green, the corrector is too strong or the concealer layer is too thin. If the finish looks heavy and settles into lines, reduce both layers and keep the pigment closer to the actual mark.
Common mistakes to avoid
- Using one shade everywhere: under-eyes, redness and brown pigmentation may need different colours.
- Correcting the whole face: targeted application usually looks lighter and uses less product.
- Applying over wet skincare: the corrector can slide, separate or become patchy.
- Choosing by label alone: peach and orange vary in depth and intensity between formulas.
- Skipping the concealer match: concealer that is too light can make pigmentation look grey or ashy.
- Layering too quickly: let the first layer settle briefly before judging the colour.
A simple thin-layer makeup routine
Apply skincare and sunscreen first, followed by a light base if you wear one. Check which areas still need help. Use peach or salmon under blue-purple shadows, green on clearly red marks, and apricot, orange or terracotta on brown or grey-brown discolouration according to your skin depth. Tap on a matching concealer, soften the edges and set only the areas that crease or fade. This thin-layer makeup routine keeps the result flexible and natural.
If you are new to corrector, test one concern at a time. Photograph the result in natural light and look for a neutralised appearance rather than maximum coverage. That makes it easier to adjust shade depth, undertone and quantity without adding several competing layers.
Makeup Basics for Colour Corrector: the takeaway
Choose the complementary colour to the visible concern, then adjust its depth to your Indian skin tone. Peach or salmon suits many blue-purple shadows, green suits visible redness, and apricot, orange or terracotta can help with deeper brown or grey-brown pigmentation. Apply only where needed, blend the edges, pause before judging the result and layer a skin-matching concealer lightly. When a corrector is working, it should make the next layer easier—not announce its own colour.
If discolouration is new, persistent, painful, rapidly changing or accompanied by significant irritation, consider speaking with a dermatologist. Makeup provides cosmetic coverage but does not treat ongoing pigmentation, acne or irritation.
Products that may help with this routine
Choose only what fits your skin, hair or personal needs. Use the links below to view current options on Amazon India.
Frequently Asked Questions
Which colour corrector is best for Indian skin?
There is no single best shade for every Indian complexion. Fair to light skin often suits soft peach or salmon; wheatish and medium skin may suit peach, apricot or muted orange; tan to deep skin often suits orange, terracotta or red-orange. Match the shade to the visible concern as well as your skin depth.
How do I use colour corrector under concealer?
Apply a very thin layer only to the discoloured area, tap until the edges disappear, wait briefly and press a skin-matching concealer over it. Use enough corrector to soften the unwanted colour, not enough to make the area look orange, green or pink.
What colour corrector should I use for dark circles?
Use peach, salmon or apricot for blue-purple dark circles. Deeper grey-brown shadows on medium to deep skin may need orange or terracotta. Start at the darkest inner or lower area instead of spreading a thick layer across the entire under-eye.
How do I choose a corrector shade for acne marks?
Choose green when the mark is visibly red. If it has become brown, grey or purple-brown, try a muted peach, apricot or orange shade suited to your skin depth. Apply a pinpoint amount and follow with concealer.
Can I use orange corrector on fair Indian skin?
You can, but bright orange is often too strong on fair skin and may show through concealer. Try pale peach, salmon or muted apricot first. Reserve orange for a particularly deep blue-grey or brown area and use very little.
How much colour corrector should I apply?
Start with a pin-sized amount for both under-eyes or a dot smaller than a grain of rice for one small mark. Add only if the original colour remains visible. Too much corrector commonly creates a heavy finish and makes concealer look less natural.