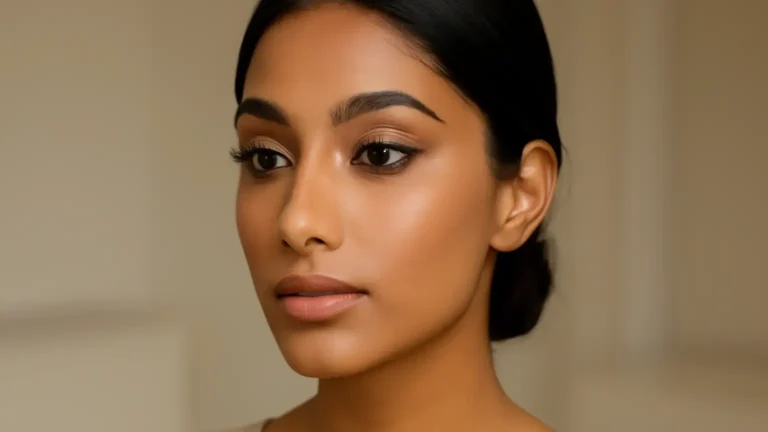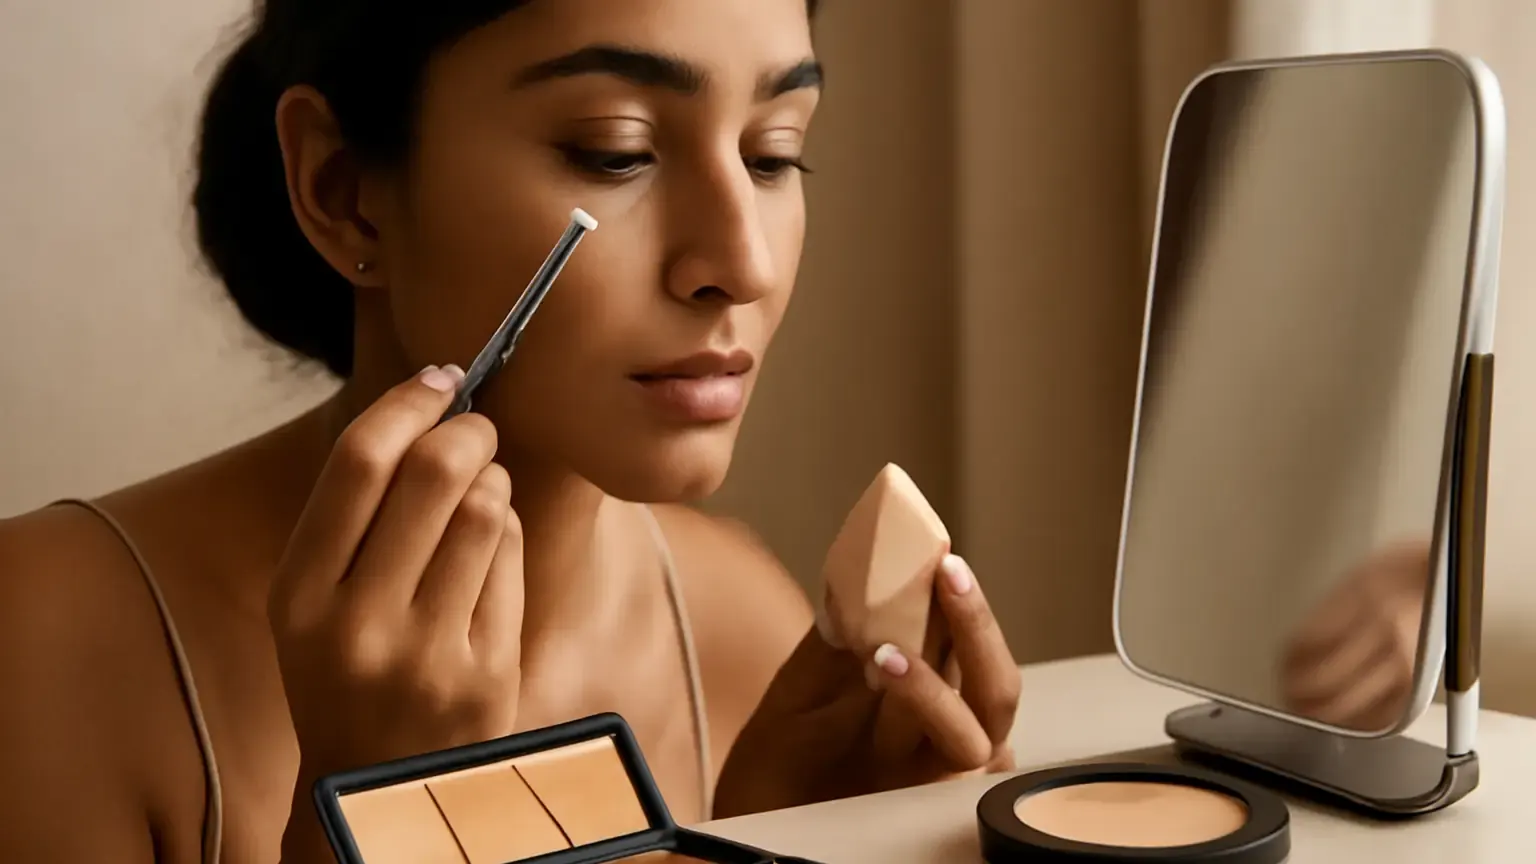
Makeup Basics for Concealer are easiest when you match the product to the job: use a close skin-tone shade to cover marks, a lightly brighter shade to lift the under-eyes, and thin layers rather than one thick coat. This guide is for beginners building an everyday routine, including Indian skin tones and humid weather. You will learn where to place concealer, when to colour-correct, how to choose a finish for your skin type, and how to set without making the area look heavy.
Concealer is not one universal product for every area of the face. The shade, texture and amount that work on an acne mark may look too dry under the eyes, while a brightening shade can make a blemish more noticeable. A polished result comes from treating coverage, brightness and setting as separate decisions.
What concealer should do
Concealer is a concentrated complexion product designed to even out a specific area. It can soften the appearance of discolouration, redness, shadows and small blemishes, but it does not need to cover every natural variation in the skin. The best application usually leaves some skin texture visible.
For everyday makeup, think in three purposes:
- Cover: Match the product to the surrounding skin when disguising marks or redness.
- Brighten: Choose a subtly lighter or more luminous formula for the inner under-eye and shadowed areas.
- Set: Use a small amount of powder only where movement, oil or creasing is a concern.
This approach keeps the base lighter and makes it easier to adjust coverage without creating a mask-like finish.
Choose the right shade and texture
Match marks to your skin
Good concealer shade matching starts with the purpose of the product. For a spot, dark mark or facial redness, test the shade along the jawline or beside the area you want to cover. It should blend into the surrounding skin, not look noticeably pale. If you wear foundation, compare the concealer after your foundation shade has been considered, since a very bright concealer can stand out against a medium or deep complexion.
For under-eyes, a shade close to your skin tone is the safest everyday choice. A shade around half to one level lighter can add gentle brightness, but going much lighter may make dark circles look grey or ashy. Undertone matters: golden, olive, neutral and pink undertones can change how a shade appears, particularly on Indian skin.
Use colour correction selectively
A colour corrector can help neutralise strong blue, purple, brown or red tones before concealer. Use the smallest possible amount and blend the edges. Peach or salmon tones are often used for blue or purple-looking shadows on lighter to medium complexions, while orange or terracotta-leaning tones may suit deeper brown discolouration. Redness generally needs a muted green corrector, but it is easy to overapply.
Corrector is optional, not a required step. If a concealer already gives enough coverage, adding another layer may increase creasing and texture. Allow a thin corrector layer to settle before applying concealer.
Concealer placement for beginners
Under-eye placement
Instead of painting a large triangle under each eye, begin at the inner corner, where shadow is often strongest, then add a small amount along the hollow or darkest section. Blend outward and slightly upward toward the temple. Keep the product away from fine lines that do not need coverage.
For dry or textured under-eyes, a flexible under-eye concealer with a natural or satin finish is usually more comfortable than an intensely matte formula. If the area is oily, choose a lightweight formula that sets without becoming tight. Pressing with a fingertip can warm a creamier product, while a damp concealer sponge can soften the edges without adding much coverage.
Marks, blemishes and redness
Spot concealing requires precision. Place a tiny dot directly over the centre of the mark, wait a few seconds for the formula to become slightly tacky, then tap around the edge with a small brush or fingertip. Avoid sweeping across the mark, as this removes the coverage you just placed.
When using concealer for acne marks, work on clean, moisturised skin and avoid pressing heavily over an active, tender spot. Makeup should not replace appropriate care for persistent or concerning skin changes. If a blemish is open or irritated, prioritise gentle skin care and follow professional advice before applying makeup.
How to layer concealer without cakiness
Thin layering is more reliable than starting with full coverage. Follow this sequence:
- Prepare the skin: Apply a light moisturiser suitable for your skin, then sunscreen during the day. Give skincare a moment to settle.
- Apply foundation if you use it: This often reduces the amount of concealer needed. You can also spot-conceal first when a mark needs precise coverage.
- Place small amounts: Use one dot at a time rather than a thick stripe.
- Blend the boundary: Tap the outer edges while leaving the centre more concentrated.
- Inspect in natural light: Add a second thin layer only where the mark or shadow is still visible.
A cream concealer can offer flexible, buildable coverage and is useful for normal or dry areas. A liquid concealer may feel lighter and can suit larger under-eye areas or combination skin. Neither category is automatically better; the formula, finish and amount matter more than the label.
Choose a concealer finish for your skin type
Your concealer finish for skin type decision should account for both oil levels and texture:
- Oily skin: A lightweight natural-to-matte formula can help reduce shine. Avoid loading powder onto every area, since too much can emphasise texture. Those searching for the best concealer finish for oily skin should look for comfortable wear and controlled shine rather than the flattest possible matte effect.
- Dry skin: A hydrating, natural or satin finish is less likely to highlight flaky patches. Prep with moisturiser, but do not apply a heavy oily layer immediately before makeup.
- Combination skin: Use a lighter formula around the eyes and a more resilient product only on areas that need spot coverage. Different finishes can work on different parts of the face.
- Textured or mature-looking skin: Flexible coverage with a natural finish generally looks more skin-like than a thick, fast-drying matte product. Apply less over lines and texture.
Finish is also a preference. A dewy formula may look fresh but can move more quickly, while matte formulas often need careful skin preparation to avoid looking dry.
Set concealer without losing the finish
Setting concealer is about controlling movement, not covering it with a layer of powder. First, look up and gently tap away any crease that has formed. Then press a small amount of finely milled loose or pressed powder over the inner under-eye and any area that tends to crease. A small fluffy brush gives a softer result than packing on powder with a large puff.
For a dry under-eye, you may need little or no powder. For an oily eyelid or humid day, a light press of powder can improve wear. Wait briefly before adding more; once powder accumulates, removing it without disturbing the base becomes difficult.
A simple crease-proof concealer routine is: use thin skincare, apply a modest amount of flexible concealer, tap out creases before powder, and set only the moving areas. No routine can prevent every crease, because facial movement and skin texture are normal.
Common concealer mistakes to avoid
- Using a very light shade on marks: This can draw attention to the area instead of hiding it.
- Applying a large under-eye triangle: Extra product tends to settle into lines and creates unnecessary weight.
- Rubbing after placement: Rubbing lifts coverage; tapping keeps the product concentrated.
- Skipping skin preparation: Dehydrated patches can make even a good formula look uneven.
- Powdering automatically: Set only where you need longevity or shine control.
- Judging colour under store lighting: Check the blend in daylight when possible, especially when choosing a shade for Indian undertones.
A quick routine for everyday makeup
For a natural base, moisturise and apply sunscreen, followed by foundation if desired. Use a close-match concealer on marks and redness, then apply a small amount of a slightly brighter shade to the inner under-eye if needed. Tap the edges with a fingertip, concealer brush or sponge. Pause before deciding whether you need more coverage. Finish with targeted powder and leave the rest of the face unpowdered if you prefer a fresher look.
The central principle of these Makeup Basics for Concealer is simple: match the shade to the task, place the product only where it is needed, and build coverage slowly. That gives you more control over brightness, texture and wear than choosing one heavy product for the whole face.
Products that may help with this routine
Choose only what fits your skin, hair or personal needs. Use the links below to view current options on Amazon India.
Frequently Asked Questions
How do I choose the right concealer shade for dark circles?
Choose a shade close to your skin tone for coverage, then consider a subtle peach, salmon, orange or terracotta corrector if the darkness remains visible. A slightly brighter concealer can be used sparingly after correction, but a very pale shade may look grey or ashy.
Where should beginners apply concealer?
For beginners, place it at the inner under-eye, along the darkest part of the hollow, and directly over marks or redness. Blend only the edges and add a second thin layer where coverage is still needed.
How can I use concealer without cakiness?
Start with settled skincare, use small dots, tap rather than rub, and build in thin layers. Avoid applying a large amount under the eyes or setting every area heavily with powder.
Should concealer be applied before or after foundation?
It can be used either way. Applying foundation first often shows you where less concealer is needed, while spot concealing before foundation can work when you want very precise coverage over a mark.
How do I stop concealer from creasing under my eyes?
Use a small amount of flexible concealer, keep it out of deep lines where possible, tap away creases before setting, and press on only a light layer of powder. Some creasing is normal with facial movement.