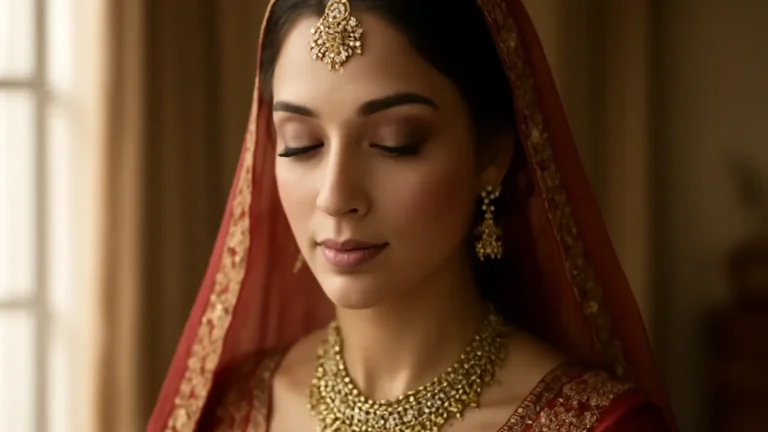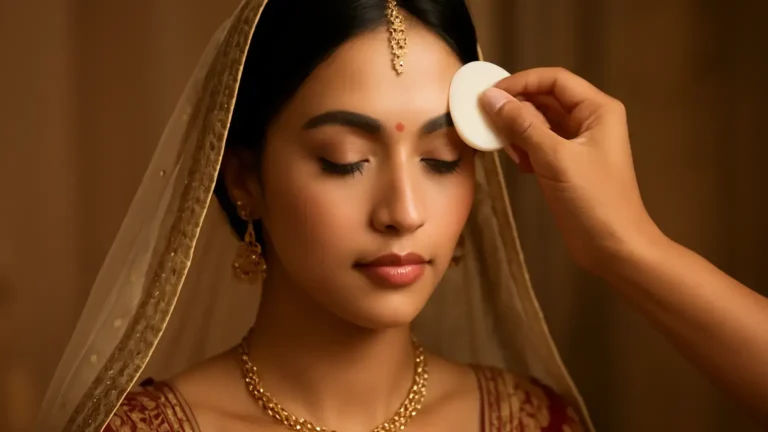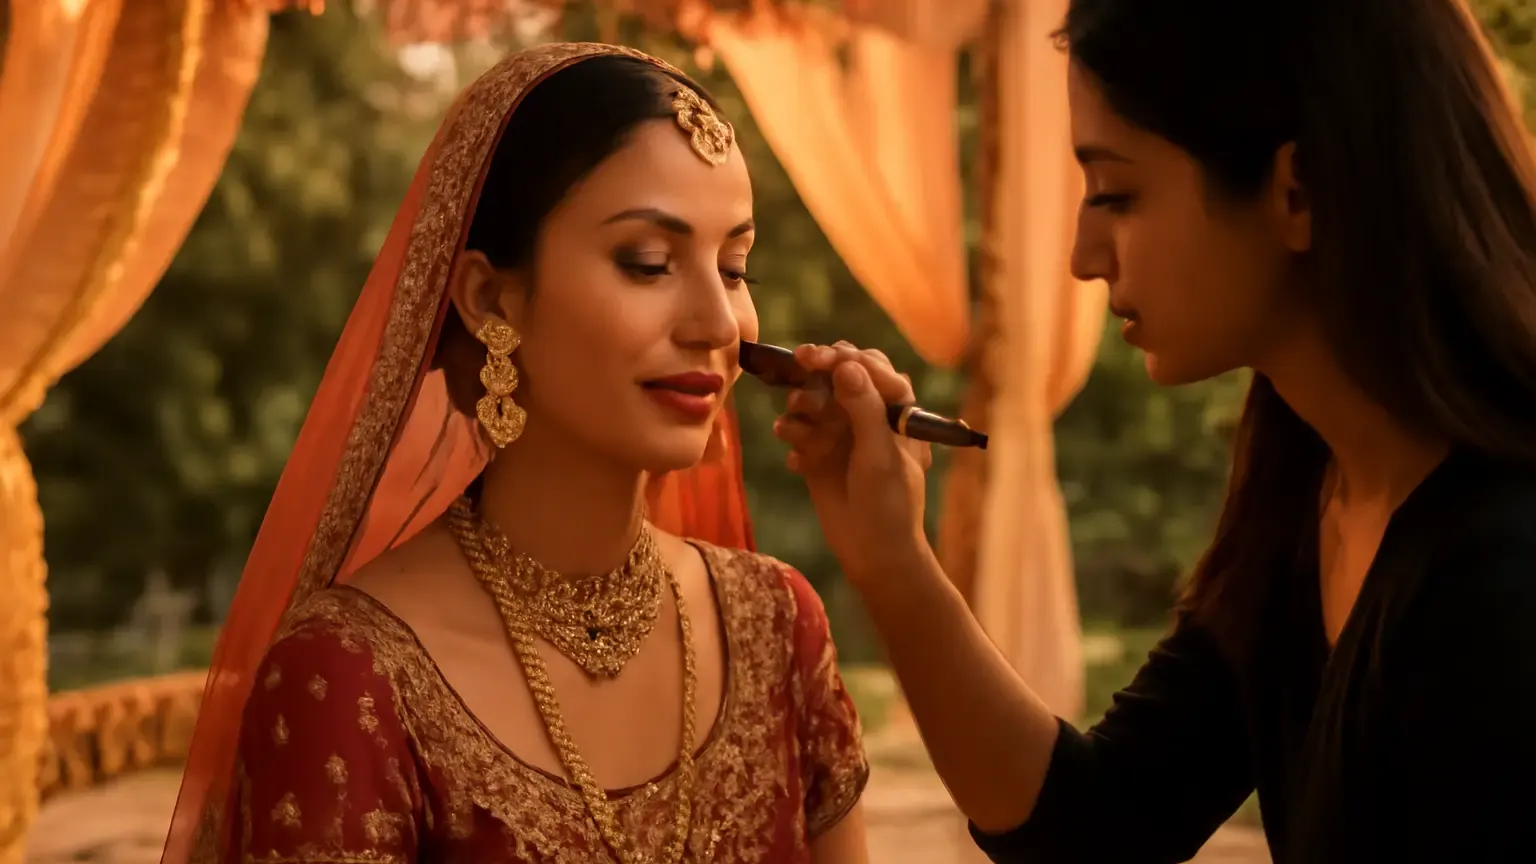
Bridal Makeup for Humid Mandaps works best when it feels light rather than heavily sealed: prepare balanced skin, apply targeted thin layers, set only high-movement areas and secure the eyes separately. This approach suits brides getting married in warm, open or semi-open Indian mandaps who want a fresh finish that holds through pheras, photographs and greetings. The key decision is not choosing the most full-coverage base; it is choosing where coverage, powder and touch-ups are genuinely needed.
Why humid mandaps need a different makeup plan
A warm mandap can expose makeup to several stresses at once: perspiration, moisture in the air, moving between indoor and outdoor spaces, bright lighting, hugs, dupatta friction and long photography sessions. A very thick base may initially look polished, but heat can make it separate around the nose, mouth and hairline. Excess powder can also become visible and dull as the day progresses.
The goal of humidity-proof bridal makeup is not to make the skin look completely matte or immovable. It is to create a flexible base that remains even when the skin becomes warmer. Skin-like makeup usually has three features: coverage is concentrated where redness or marks need it, powder is placed strategically, and the finish retains a small amount of natural skin texture.
This is particularly important for a bridal makeup for outdoor wedding India plan, where heat, dust and changing light can make a face look different from the trial room. Your makeup artist should assess the venue, ceremony duration, access to a private touch-up area and whether the mandap is directly exposed to sun or only ventilated.
Start with skin preparation, not extra foundation
Good skin prep for bridal makeup is about balance. Skin that is dehydrated may encourage a base to catch on dry areas, while an overly rich routine can leave a slippery surface that causes foundation to move. The exact products should suit your existing routine and skin comfort rather than being introduced for the first time on the wedding morning.
- Cleanse gently. Remove overnight oil, sweat or skincare residue without scrubbing or using an unfamiliar active product.
- Hydrate in a measured way. Use a lightweight moisturiser, allowing it to settle before primer. Drier areas may need more comfort, while the forehead, nose and chin may need less.
- Use sunscreen when appropriate. For daytime outdoor ceremonies, discuss a suitable sunscreen plan with your makeup artist. Allow it to set fully and consider flash photography and white cast when selecting a product.
- Prime by zone. An oil-control primer may help on the T-zone, but it does not need to cover the entire face. A smoothing or hydrating formula may be more comfortable on cheeks.
- Pause before complexion makeup. Give skincare and primer time to settle. Rubbing or layering immediately can create pilling.
Avoid facials, strong exfoliation, new peels, unfamiliar masks and experimental skincare immediately before the wedding. If persistent redness, painful breakouts, swelling or a concerning reaction appears, seek advice from a qualified dermatologist rather than trying to cover or treat it with more makeup.
Build a long-lasting base with thin complexion layers
A long-lasting bridal base does not have to be a full-coverage mask. Ask for a flexible, buildable complexion product and let the artist work in small sections. One thin layer across the entire face is usually easier to control than a heavy application followed by repeated correction.
Use coverage where the camera needs it
Apply a light layer of foundation first, then use concealer or a small amount of foundation only on areas that still need coverage. This is the practical advantage of thin foundation layers: they reduce the amount of product available to crease, slide or break apart in heat. The centre of the face, around the nose and any discolouration may require targeted correction, while the outer cheeks can remain more translucent.
Do not judge the base only under cool indoor lighting. Check it in natural light, under the mandap lighting and through the camera used for the makeup trial if possible. A shade that looks correct in a salon may appear too pale, grey or orange in direct daylight. Your artist should also check the face, neck, ears and visible chest area for a coherent finish.
Choose finish according to skin and venue
A soft-matte or natural finish often offers a useful middle ground for humidity. Very dewy products can become shinier as the skin warms, while an extremely matte formula may emphasise texture and look flat in photographs. The better choice depends on your skin, the length of the event and how much setting and touch-up support will be available.
For blush, a small amount of cream blush beneath a compatible powder blush can give dimension, but layering too many emollient products may reduce wear. Keep the colour placement refined and check how it reads after foundation, powder and photography lighting.
Set strategically instead of powdering everything
Setting is most effective when it follows movement, moisture and friction patterns. Press a modest amount of translucent setting powder into areas that typically crease or become shiny: the sides of the nose, centre forehead, chin, inner under-eye and around the mouth. A small brush or puff gives more control than sweeping a thick veil over the entire face.
Leave selected high points and drier cheek areas less powdered if a skin-like finish is the priority. The artist can use a setting spray after the complexion is complete, but a mist cannot compensate for too much skincare, an incompatible base or excessive perspiration. Choose a bridal setting spray that has been tested during the makeup trial and let it dry without touching the face.
There is a useful difference between setting and refreshing. Setting helps makeup settle at the start; refreshing later usually means blotting sweat or oil first, then adding minimal powder or concealer only where needed. Applying powder directly over visible moisture can create a patchy surface.
Protect the eye area from heat, tears and creasing
The eye area needs its own security plan because blinking, tears, humidity, oily lids and contact with a dupatta can disturb makeup faster than the cheeks. Waterproof eye makeup is helpful for liner and mascara, but “waterproof” does not mean impossible to smudge. Formula, application thickness and setting technique still matter.
- Keep eye skincare light on the lids and allow it to absorb before shadow.
- Use an eye primer or a very thin compatible base if it is part of the tested routine.
- Build shadow in restrained layers rather than applying a thick cream product that remains tacky.
- Place shimmer carefully so sweat and tears do not turn it into a messy stripe.
- Ask for tubing, water-resistant or waterproof mascara based on your lash needs and whether false lashes are being worn.
- Carry clean cotton buds for precise correction instead of rubbing with fingers.
To reduce under-eye creasing, use less concealer than you think you need, wait briefly, then press away any fold lines before setting. Powder only the crease-prone area with a small amount. Thick concealer and heavy powder often make fine lines more noticeable by the end of a long ceremony.
Plan the makeup trial around real mandap conditions
A makeup trial should test durability, colour and comfort—not just the first ten minutes of the look. If possible, schedule it at a similar time of day and wear the makeup for several hours. Walk around, sit under warm lighting, take flash and daylight photographs, and observe the nose, upper lip, forehead and under-eye area before removing it.
Discuss these decision factors with your artist:
- Is the ceremony outdoors, under a covered mandap or in an air-conditioned venue?
- How long will makeup need to last before a private touch-up is possible?
- Will the dupatta cover the hairline or rub against the cheeks?
- Are you comfortable with a natural finish, or do you prefer more powder for a matte appearance?
- Will there be flash photography, direct sunlight or video close-ups?
- Which products should be avoided if you have known sensitivities?
Do not make major changes to foundation shade, eye products or skincare on the wedding day. The trial is the place to identify separation, discomfort, transfer and colour mismatch, then simplify the routine.
Build a practical touch-up plan for the ceremony
A well-prepared bridal touch-up kit should be small enough to use quickly and limited to products that match the tested look. Pack blotting papers or clean tissues, the lip colour, a small amount of concealer, pressed powder, cotton buds, a compact mirror, lash adhesive if relevant and a few tissues for tears or sweat. A mini setting spray can be useful if your artist has approved it, but it is not essential for every bride.
Ask a trusted person, bridesmaid or makeup artist to hold the kit. Touch up at sensible points: before the main portrait session, after outdoor photographs, before the reception entrance and after eating. First blot; then inspect; then correct only what has moved. Reapplying full foundation over the whole face can create visible buildup.
A quick heat-proof touch-up sequence
- Move into shade or an airier private area if possible.
- Blot perspiration and excess oil without dragging the skin.
- Press a small amount of powder on the T-zone and crease-prone areas.
- Use concealer only where coverage has visibly lifted.
- Repair lipstick and check the inner eye corners, nose and hairline.
- Take a quick photograph before returning to the mandap.
Common mistakes that make humid-weather makeup heavier
- Over-moisturising before a hot ceremony: A rich layer can make foundation slide, especially across the T-zone.
- Using full coverage everywhere: More product does not automatically mean more durability.
- Powdering repeatedly without blotting: This creates a cakey surface and can emphasise texture.
- Trying new skincare or makeup: An unfamiliar formula may sting, pill or cause a visible reaction.
- Ignoring the eye area: Face makeup may remain intact while liner, mascara or concealer transfers.
- Skipping the venue conversation: A plan for an air-conditioned hall may not suit a sunny, open mandap.
Concise takeaway
For Bridal Makeup for Humid Mandaps, prioritise balanced preparation, targeted coverage, thin foundation layers and strategic setting. Secure the eye area with tested formulas, then rely on blotting and small corrections rather than adding more makeup. The best final look is one that stays comfortable, photographs naturally and gives you a clear plan when heat inevitably changes the skin.
Products that may help with this routine
Choose only what fits your skin, hair or personal needs. Use the links below to view current options on Amazon India.
Frequently Asked Questions
How do I stop bridal makeup from melting in humid weather?
Begin with balanced skin preparation, use a zone-specific primer, apply thin complexion layers and set the T-zone, nose, under-eye and mouth area selectively. Blot perspiration before any touch-up, and avoid adding powder over visible moisture.
What is the best foundation for a humid outdoor wedding?
There is no single best foundation for every bride. A buildable, long-wearing formula with a natural or soft-matte finish is often practical, provided it matches the skin, photographs well and has been tested during a makeup trial in similar conditions.
How many layers of foundation should a bride wear?
Usually, one thin layer across the face followed by targeted coverage is more comfortable than several heavy layers. The right amount depends on the desired coverage, skin texture, photography needs and the areas that actually require correction.
How can I make eye makeup last in humid weather?
Keep lid skincare light, use a tested eye primer or compatible base, apply shadow in restrained layers and choose suitable water-resistant or waterproof liner and mascara. Carry cotton buds for precise corrections instead of rubbing the eyes.
What should be in a bridal touch-up kit?
Pack blotting papers or tissues, the lip colour, pressed powder, a small amount of concealer, cotton buds, a compact mirror and lash adhesive if needed. Add setting spray only if it has been tested and approved for the look.