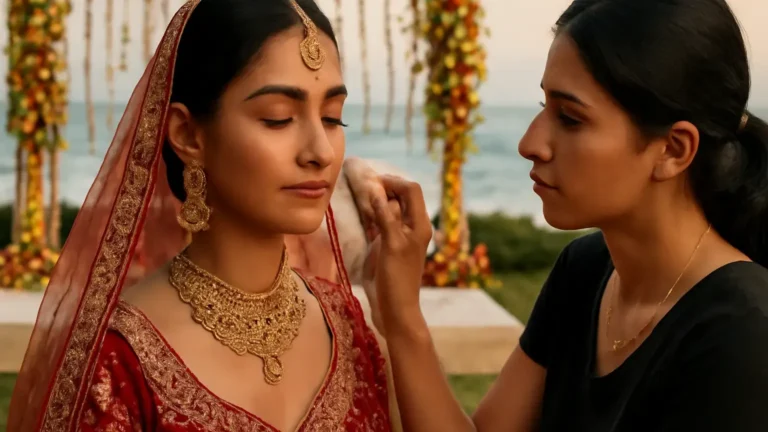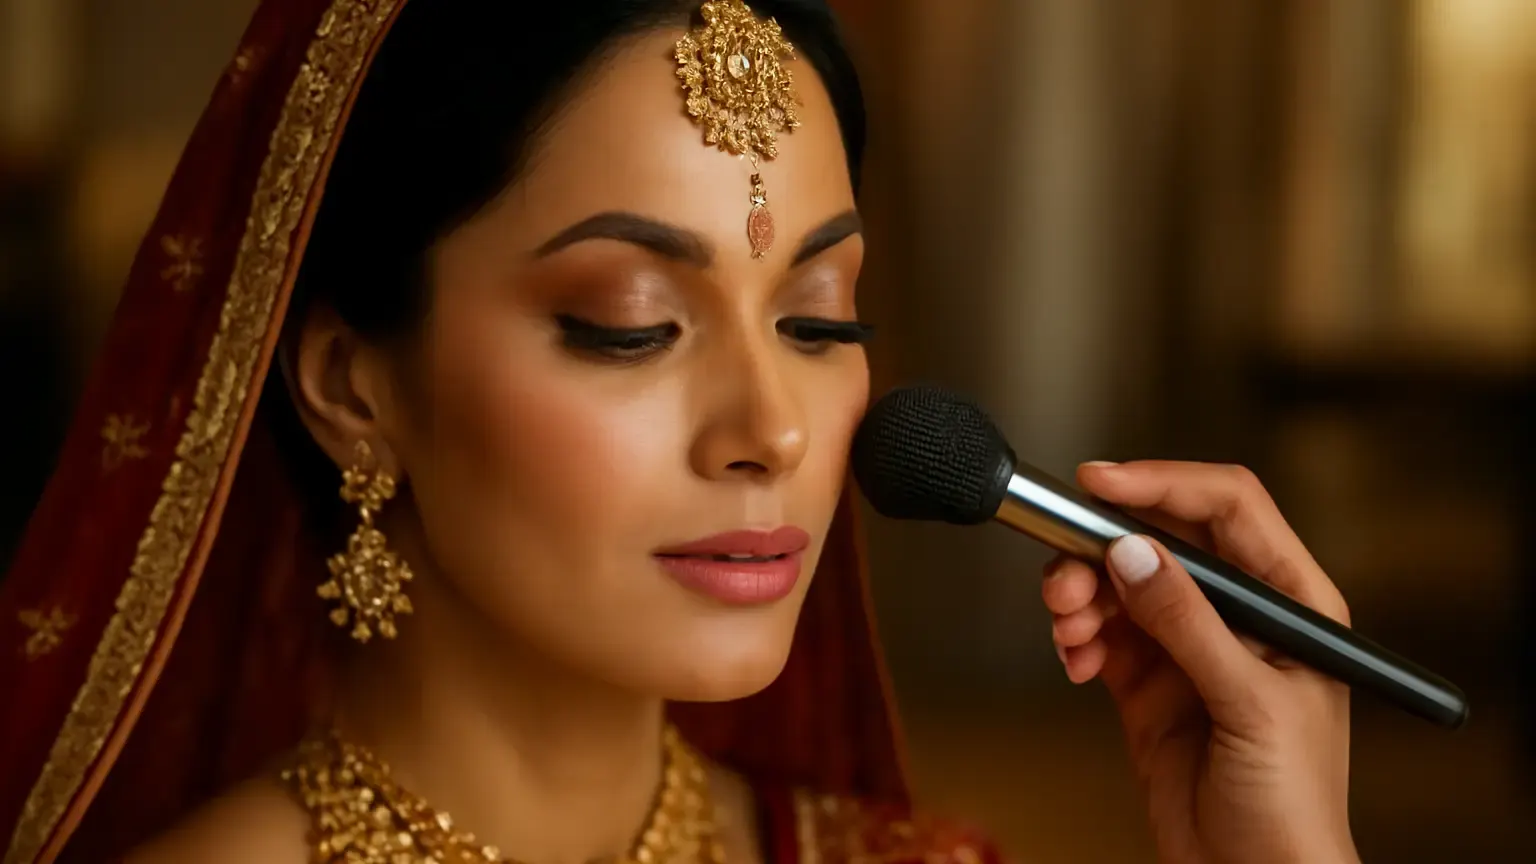
Bridal makeup for combination skin works best when each facial zone gets a different level of hydration, grip and powder—not when the whole face is made equally matte. This guide is for brides whose T-zone becomes shiny while the cheeks, nose corners or mouth area feel tight or flaky. The practical outcome is a flexible base: fresh-looking skin for photographs, controlled shine through the ceremony and touch-ups that do not expose dry patches.
Combination skin can change noticeably over a long Indian wedding day. The forehead, nose and chin may produce oil, while the cheeks or areas around the mouth can look dull, tight or textured. Heat, humidity, tears, outdoor photography and several hours of wear can make that contrast more visible. The answer is not automatically a full-matte base. It is strategic preparation and selective setting.
Start with bridal skin preparation, not extra foundation
A smooth base begins before primer. On the morning of the event, cleanse with a gentle product that removes overnight oil without leaving the skin squeaky or tight. Apply a light moisturiser across the face, then add a little more only to areas that commonly develop dry patches. Give each layer a few minutes to settle before applying makeup.
For dry patch makeup prep, avoid aggressive scrubbing, peeling or trying an unfamiliar facial immediately before the wedding. These steps can leave the skin more sensitive or uneven. If a flaky area is persistent, painful, unusually red or worsening, speak with a dermatologist rather than attempting to cover it with extra base makeup.
- Oily areas: Use a light moisturiser and allow it to absorb fully. Too much skincare can reduce foundation wear.
- Dry areas: Press a thin layer of moisturiser onto the cheeks, around the nose and near the mouth. Do not leave a visibly wet film.
- All areas: Apply sunscreen if the schedule includes daylight exposure, allowing it to settle before makeup. Use a formula you have already worn comfortably.
Do a complete trial in similar weather and wear the base for several hours. Check it in daylight, indoor lighting and phone photographs. A trial is also the right time to test whether skincare, sunscreen, primer and foundation sit well together.
Use primer by zone instead of covering the whole face identically
The best primer placement for combination skin bridal makeup is usually targeted placement. A mattifying primer for oily zones can help with T-zone shine control, while a hydrating primer for dry areas can prevent the base from catching on texture. Neither product needs to cover the entire face.
Where to place each formula
- Press a small amount of mattifying primer over the centre of the forehead, sides of the nose, nose tip and chin if those areas become oily.
- Use a thin, comfortable hydrating primer on the outer cheeks or other areas that feel tight.
- Leave the jaw and perimeter lightly moisturised unless you specifically need more smoothing or grip.
Press primer into the skin rather than rubbing several layers back and forth. Too much silicone-rich product can cause pilling, particularly when layered over sunscreen. If a primer feels drying during the trial, reduce the amount or reserve it for the smallest possible area.
Choose a long-lasting bridal foundation with a flexible finish
For most brides, a natural finish foundation is easier to balance than an extreme matte or very dewy formula. It should provide the coverage needed for photographs while retaining enough flexibility around the cheeks and mouth. A long-lasting bridal foundation is not defined only by its label; it also depends on thin application, compatible skincare and sensible setting.
Match the foundation to the neck and upper chest in daylight. Test the shade after it has settled, since some formulas change appearance as they dry. If your skin tone varies slightly across the face, ask the makeup artist about using one main shade with small adjustments rather than applying a thick, mismatched layer everywhere.
Application method
- Apply a small amount to the centre of the face and blend outward, where coverage is often most useful.
- Use a damp sponge to press product over dry-prone areas. Avoid repeatedly buffing flaky skin with a dense brush.
- Add coverage only where needed, such as around redness or marks, instead of building a heavy layer across the entire face.
- Pause before concealer and powder so you can see where the foundation has naturally settled.
A satin or natural finish can be made more durable with targeted powder. It is often more flattering in close-up photos than a heavily powdered face, which may emphasise fine texture and dry patches.
Set strategically with targeted powder application
Targeted powder application means setting the areas that need oil control while leaving enough flexibility on the rest of the face. Start with a small amount of finely milled translucent powder or a complexion powder that matches the foundation. Press it into the skin rather than sweeping repeatedly over it.
- Set thoroughly: the sides of the nose, inner forehead, nose tip, upper lip and chin if these zones become shiny quickly.
- Set lightly: the under-eye area and centre of the cheeks, using only what prevents creasing.
- Leave more natural: the outer cheeks and dry-prone areas, unless the product remains tacky or transfers.
For T-zone shine control, use a small fluffy brush or a pressed puff with a light layer. Baking the whole face for a long period can make combination skin look flat and can exaggerate flaking. If you need more durability for a particularly humid function, build powder in thin stages rather than applying one thick layer.
Layer colour products without creating heaviness
Cream and powder makeup layering can improve longevity, but it should be controlled. A cream blush or bronzer gives a natural first layer; a small amount of powder colour on top can help it last through the ceremony. On dry cheeks, use less powder and blend the edges carefully. On the T-zone, avoid placing unnecessary cream products where they may add slip and shine.
Apply blush slightly higher on the cheeks if the bride wants a lifted effect in photographs, but keep the product away from visibly flaky texture. A softly satin highlight can be placed on the high points rather than across pores or dry areas. The goal is healthy dimension, not a uniformly glossy finish.
Build a ceremony-to-reception touch-up plan
A bridal makeup touch-up kit should solve specific problems rather than encourage constant reapplication. Useful contents may include blotting papers, a small powder compact, a clean puff or brush, cotton buds, lipstick, lip liner and a miniature setting spray if the makeup artist recommends one.
When the T-zone becomes shiny
First press blotting paper on the forehead, nose and chin. Do not rub, because rubbing moves foundation and can create uneven patches. If shine remains, press a small amount of powder only on that zone. Powdering directly over oil without blotting can look thick.
When cheeks or mouth corners look dry
Do not cover the area with more powder. Ask the makeup artist to soften it with a tiny amount of compatible moisturiser or a suitable setting product on a clean tool, then press—not drag—the surface. Add minimal foundation or concealer only if the correction has removed coverage. This should be tested during the trial, as adding skincare over makeup can disturb the base.
For the reception change
After the ceremony, inspect the face in neutral light. Blot first, correct only visible separation, refresh lipstick and add a light veil of setting spray if appropriate. Avoid redoing the full base unless there is substantial transfer or removal. A selective refresh keeps the complexion believable and reduces the risk of cakiness.
Common mistakes to avoid
- Using one primer everywhere: This may over-mattify dry zones or leave oily zones under-controlled.
- Skipping moisturiser because of oiliness: Dehydrated-feeling skin can make foundation sit unevenly, even when the T-zone produces oil.
- Choosing foundation by finish alone: Wear time, formula compatibility and coverage control matter as much as whether it is labelled matte or dewy.
- Applying powder before the base settles: This can make the complexion look thick and make later blending difficult.
- Touching up by adding layers: Blot, assess and correct the smallest area first.
- Testing only indoors: Indian wedding lighting may include daylight, warm venue lights and flash photography, so check all three during the trial.
Who this approach suits—and when to adjust it
This routine suits brides with an oily or shiny centre and normal-to-dry cheeks, as well as those whose skin changes with weather, stress or long wear. It can be adapted for a bride who prefers a dewier look by reducing powder on the cheeks and using a glow product sparingly. A bride who needs maximum oil control may use more targeted primer and powder, but should still retain hydration on dry-prone areas.
Skin can react differently during wedding preparation. If there is persistent irritation, marked swelling, painful breakouts or a new rash, pause experimentation and seek professional medical advice. Makeup should conceal ordinary variation, not mask a concerning reaction.
Concise takeaway
The most reliable bridal makeup for combination skin is zone-specific: hydrate dry areas, mattify only the oilier centre, choose a flexible natural finish, set selectively and blot before powdering. Trial the full routine in realistic conditions, then keep the ceremony-to-reception refresh precise rather than piling on product.
Products that may help with this routine
Choose only what fits your skin, hair or personal needs. Use the links below to view current options on Amazon India.
Frequently Asked Questions
How do you do bridal makeup for combination skin?
Prepare the skin with light, even moisturiser, use hydrating primer on dry areas and mattifying primer only on oily zones. Apply a flexible natural-finish foundation in thin layers, set the T-zone selectively and blot before powdering during touch-ups.
What is the best primer placement for combination skin bridal makeup?
Place mattifying primer on the forehead, nose and chin if they become shiny, and hydrating primer on dry-prone cheeks or around the mouth. Avoid applying a thick layer of either primer across the whole face.
What foundation finish is best for combination skin brides?
A natural or satin finish is usually the easiest to balance. It gives the cheeks some flexibility while allowing the T-zone to be controlled with targeted primer and powder. The best choice should also be tested for wear, shade and flash photography.
How do you stop T-zone shine in bridal makeup?
Use light skincare, a small amount of mattifying primer on the T-zone, thin foundation and targeted powder. During the event, press blotting paper onto the area first, then add a little powder only if needed.
What is a good bridal makeup routine for oily T-zone and dry cheeks?
Moisturise the whole face lightly, add extra hydration to the cheeks, mattify the T-zone, apply foundation in thin layers and powder mainly around the nose, forehead and chin. Keep the cheeks less powdered to avoid emphasising texture.
How can you touch up bridal makeup without cakiness?
Blot oil before adding powder, correct only separated or faded areas and avoid repeatedly layering foundation over the entire face. For dry patches, do not add powder; soften the area carefully with a tested, compatible product and press the base back into place.