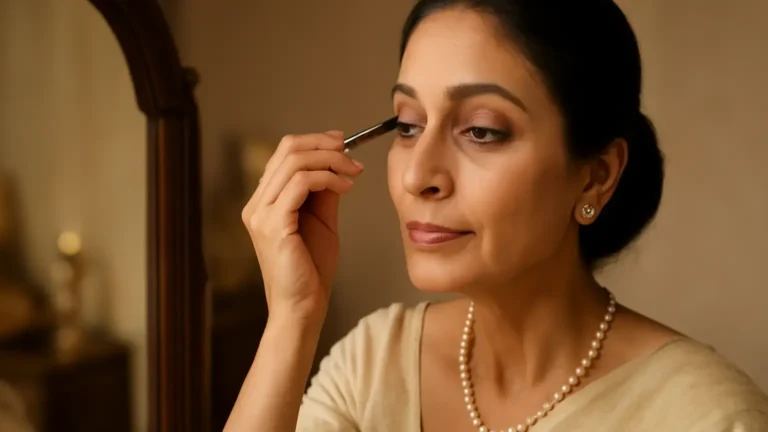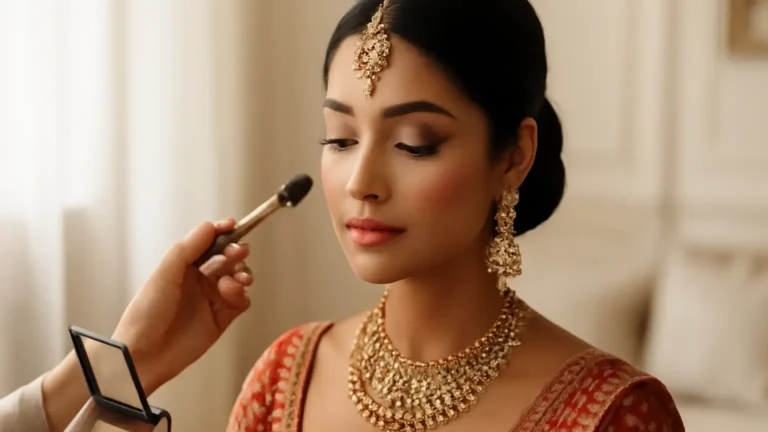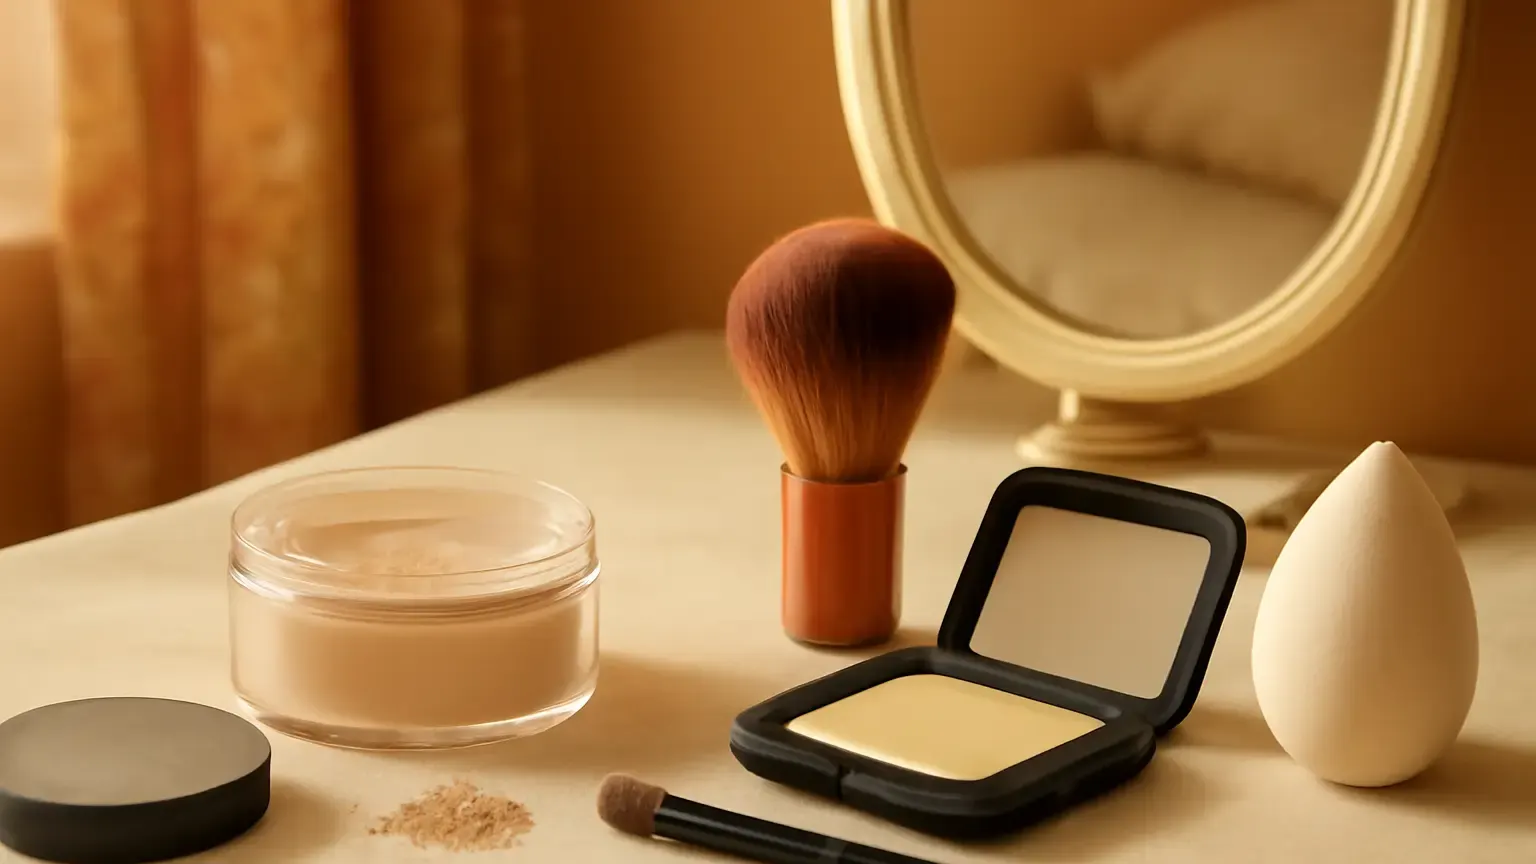
Makeup basics for setting powder become much easier once you match the formula to your skin and routine: loose powder suits controlled setting and oily areas, while pressed powder is neater for everyday use and touch-ups. This guide is for anyone who wants makeup that lasts through Indian heat, commuting or long days without looking dry, heavy or cakey. You will learn where to apply powder, which tool to use and when to leave your skin alone.
Makeup basics for setting powder: what it actually does
Setting powder is a finely milled cosmetic used over liquid or cream makeup to reduce excess slip, soften shine and help products stay in place. It can set foundation, concealer, cream blush or cream contour, but it is not always necessary over every part of the face. Applying too much can make complexion makeup look flat or emphasise texture.
The best result is usually selective rather than full-face. Powder the areas that crease, become shiny or need extra longevity, and leave naturally comfortable areas with little or no powder. This approach keeps a dewy makeup look on the high points while giving the T-zone enough control.
Loose setting powder vs pressed setting powder
Both formulas can set makeup, but they behave differently in a routine. Your choice depends on finish, portability, skin type and how precisely you want to apply it.
When loose powder makes sense
Loose setting powder is powder kept in a sifter or jar. It is useful when you want a thin, even veil at home, especially under the eyes or across the sides of the nose. A small amount can give a clean, soft-focus result, and it is often convenient for targeted oil control before an event or long day.
Loose powder can also support a short baking makeup technique, in which a slightly more generous layer is left on selected areas for a few minutes and then brushed away. Baking is optional, not a requirement for setting makeup. On dry or textured skin, prolonged baking may make the complexion look tight, so use it sparingly.
When pressed powder makes sense
Pressed setting powder is compressed into a compact, making it easier to carry and less messy than loose powder. It is practical for office bags, travel and quick corrections. Many pressed powders are available in translucent or tinted versions; a tinted option can add a little coverage, but the shade should be close to your complexion to avoid a patchy or darker-looking finish.
Pressed powder is particularly helpful when you need targeted setting powder touch-ups. Use a clean puff or small brush rather than repeatedly rubbing the compact directly over oily makeup. If the face is already very shiny, blot first so the powder does not mix with excess oil and form a thick layer.
Choose powder by skin type and finish
Oily skin
For oily skin makeup, a lightweight loose or pressed powder with a soft-matte finish can help reduce shine around the forehead, nose and chin. Look for a finely milled texture and apply in thin layers. Powdering the entire face heavily may control shine briefly but can create a dry-looking contrast between the centre and outer face.
If you have an oily T-zone but comfortable cheeks, use powder only on the centre. A translucent formula is often the most flexible choice when you want your foundation colour to remain unchanged. Blotting paper can remove surface oil before another small amount of powder.
Dry skin
With dry skin makeup, preparation matters more than adding a large amount of powder. Apply moisturiser suitable for your routine and allow it to settle before foundation. Choose a finely milled powder and press a minimal amount over areas that crease, such as the sides of the nose or under the eyes.
A completely matte finish may make dryness more visible, so keep powder away from flaky-looking areas. You can retain a fresh finish on the cheeks and use only a little powder through the centre. If dryness, irritation or persistent flaking is concerning, seek advice from a dermatologist rather than layering more makeup.
Combination skin
Combination skin makeup usually benefits from zone-based application. Set the forehead, nose and chin lightly, then use little or no powder on the cheeks if they feel comfortable. This gives you control where needed without removing all dimension from the face.
How to use setting powder with the right tool
Tool choice changes how much product reaches the skin. A large, fluffy powder brush gives a sheer layer and is useful for the T-zone or for dusting away excess. A small tapered brush offers more control around the nose, mouth and inner eye. A velvety puff can press powder into areas that crease or become shiny, but it should carry only a small amount.
A damp or dry makeup sponge can be used to press powder over concealer. If damp, squeeze it very well; a wet sponge can disturb base makeup or leave uneven patches. For a natural everyday finish, tap powder onto the back of your hand or the compact lid first, then apply what remains on the tool.
A simple setting routine
- Complete cream products first. Finish foundation, concealer, cream blush and cream contour before setting. Blend edges while the base is still workable.
- Remove excess shine. If the skin feels oily, gently press a tissue or blotting paper over the area. Do not wipe, as wiping can move foundation.
- Start with small amounts. Pick up powder, tap off the excess and press or sweep it only where makeup needs help.
- Set in thin layers. Check the face in natural light before adding more. You can build coverage or oil control, but removing excess is harder.
- Soften the result. If the powder looks visibly dry, a light mist of setting spray can help the layers look more blended. Do not use spray to compensate for a thick powder layer.
Under-eye setting powder without a dry, creased finish
Under-eye setting powder works best when the concealer is placed carefully first. Apply only enough concealer to correct the area you want to brighten, then look up and gently smooth any lines before powdering. If creases appear immediately, remove the settled excess with a clean fingertip or small brush.
Use a tiny tapered brush, a small puff or the pointed edge of a sponge. Press a very thin veil over the crease-prone area instead of sweeping a broad layer across the entire under-eye. Avoid automatically powdering the outer under-eye if it looks dry or textured. A bright concealer does not need a heavy powder layer to appear polished.
For an event, you may press a little more powder at the inner corner or directly below the lower lash line, but check the result from a normal conversation distance. Flash photography can make excess powder more noticeable, so test the finished base in more than one type of light.
When to powder and when to touch up
Set makeup after cream products have been blended and before powder products, unless your particular routine calls for another order. Give skincare and complexion products a moment to settle; powder applied over a very wet layer can become uneven.
During the day, do not automatically add powder every time you notice shine. First press blotting paper or a tissue on the area. Then use a small amount of pressed powder on the forehead, nose or chin if needed. This is the cleanest approach to setting powder touch-ups because it prevents oil and powder from building into a cakey film.
For a short day, one application may be enough. In humid weather, after commuting or before an evening event, a targeted touch-up may help. Carry a compact and a separate clean puff if possible. Wash reusable tools regularly, and do not share them, particularly if you have active irritation or breakouts.
Common powder mistakes to avoid
- Using too much at once: Heavy layers can emphasise pores, fine lines and dry patches.
- Powdering by habit: Skin that is comfortable does not need to be mattified automatically.
- Skipping blotting: Adding powder over visible oil often creates a thick, uneven surface.
- Using one tool everywhere: A large brush is not as precise under the eyes as a small brush or puff.
- Ignoring shade: Tinted pressed powder should blend with the base; an unsuitable shade can make the face look dull or mismatched.
- Confusing setting and coverage: Powder can refine a base, but it cannot reliably replace well-blended complexion products.
Quick decision guide
Choose loose powder if you mostly apply makeup at home, want precise under-eye or T-zone setting, or prefer a very light veil controlled with a brush. Choose pressed powder if portability, speed and easy touch-ups matter most. If you have combination skin, either format can work when applied by zone. If your skin is dry or textured, prioritise a small amount and a comfortable finish over maximum oil control.
The central lesson in makeup basics for setting powder is to use the least amount that achieves your goal. Powder only where makeup moves or shines, select a tool that matches the area and reassess before reapplying. That gives you longer-wearing makeup without sacrificing the skin-like finish that makes the base look fresh.
Products that may help with this routine
Choose only what fits your skin, hair or personal needs. Use the links below to view current options on Amazon India.
Frequently Asked Questions
How do you use setting powder without looking cakey?
Use a small amount on clean, blended base makeup, tap off excess and apply only to areas that crease or become shiny. Blot oil before a touch-up instead of adding powder directly over it. A finely milled formula and a light hand help preserve skin texture.
Is loose or pressed setting powder better for oily skin?
Either can work for oily skin. Loose powder is useful for controlled application at home, while pressed powder is convenient for daytime touch-ups. Choose a lightweight soft-matte formula and apply it mainly to the T-zone rather than heavily covering the whole face.
Which setting powder is best for dry skin?
A finely milled powder used sparingly is generally more suitable than a heavy, strongly mattifying layer. Set only areas that crease, keep powder away from visibly dry patches and retain a little natural finish on the cheeks. Persistent flaking or irritation warrants professional skin advice.
How do you set under-eye concealer with powder?
First smooth away any crease that has formed in the concealer. Then press a very thin layer of under-eye setting powder with a small brush, puff or sponge, concentrating where creasing occurs. Avoid baking for a long time if the under-eye area looks dry or textured.
When should you reapply setting powder?
Reapply only when shine or movement needs correction, often after several hours, commuting or humid weather. Press blotting paper or tissue over oil first, then add a small amount of pressed powder to the affected area.
Can setting powder replace foundation?
Some tinted pressed powders can provide light coverage, but setting powder is primarily designed to reduce slip and set cream or liquid makeup. It can even out minor shine, but it is not a universal replacement for foundation.