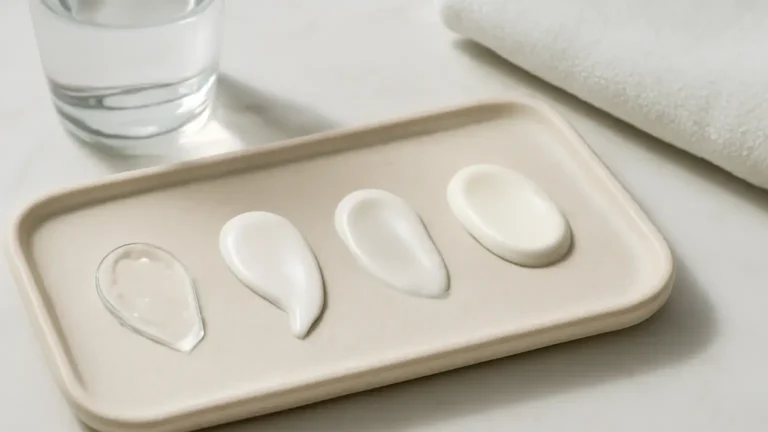
Acne prone skin and makeup brushes need a simple, consistent hygiene plan—not harsh scrubbing or expensive tools. This guide is for anyone whose brushes or sponges touch blemish-prone skin, especially when makeup is used regularly. Wash complexion brushes at least weekly, clean sponges after every use, let tools dry with airflow, and replace damaged applicators before residue and bacteria buildup become part of your routine.
Makeup tools collect more than foundation and blush. Oils from the face, dead skin cells, skincare residue, pigment and moisture can remain between bristles or inside a sponge. When that material is repeatedly pressed back onto the skin, it may contribute to clogged-feeling pores, irritation or the spread of existing surface microbes. Cleaning your tools cannot prevent every breakout, but it is a sensible part of a careful routine.
Why brush hygiene matters for acne-prone skin
Brushes are porous at the level of their fibres, while makeup sponges can hold water and product inside their foam. Neither automatically causes acne, but a dirty tool creates repeated contact between old cosmetic residue and freshly cleansed skin. This is especially relevant for liquid foundation, concealer and cream blush tools, which tend to stay damp or oily for longer.
The aim is not to make every tool sterile. It is to reduce residue, limit unnecessary bacteria buildup on makeup tools and prevent one product from being transferred across the face. A clean tool also applies makeup more evenly, so you may need less rubbing and fewer repeated passes over sensitive areas.
Set a realistic makeup brush cleaning frequency
A practical schedule depends on the tool, the product and how often you use it. Use this as a starting point:
- Foundation, concealer and cream-product brushes: wash after every one to three uses when possible, and at least once a week for regular users.
- Powder, blush and eyeshadow brushes: wash weekly if used often. Brushes used only occasionally can be cleaned after each use or before they return to storage.
- Makeup sponges: clean after every use rather than leaving foundation to dry inside the foam.
- Spot concealer brushes: clean more frequently if they touch active blemishes or several areas of the face.
If your skin is particularly reactive, you share tools, or you have recently had an eye or skin infection, clean relevant tools promptly and do not share them. Throw away products or tools that have been contaminated rather than trying to rescue them with a quick wipe.
How to clean makeup brushes without damaging them
1. Remove loose product first
Wipe excess makeup onto a clean tissue or washable towel. This shortens washing time and prevents a large amount of pigment from dissolving into the sink.
2. Wet only the bristles
Hold the brush with the bristles pointing down and use lukewarm water. Avoid soaking the metal ferrule or handle. Water can loosen the adhesive inside the ferrule, causing shedding and changing the shape of the brush.
3. Use a gentle brush cleanser
Choose a mild liquid cleanser designed for cosmetic tools, or a gentle fragrance-light soap if that is what you have available. Work the cleanser through the bristles with your fingers or a clean textured pad. Do not use strong household disinfectants, bleach or very hot water on tools that touch your face.
4. Rinse until the water runs clear
Product left behind can make bristles stiff and may trap more residue. Rinse downward, squeeze the bristles lightly and reshape them. Do not twist, pull or scrub aggressively.
5. Choose the right brush drying position
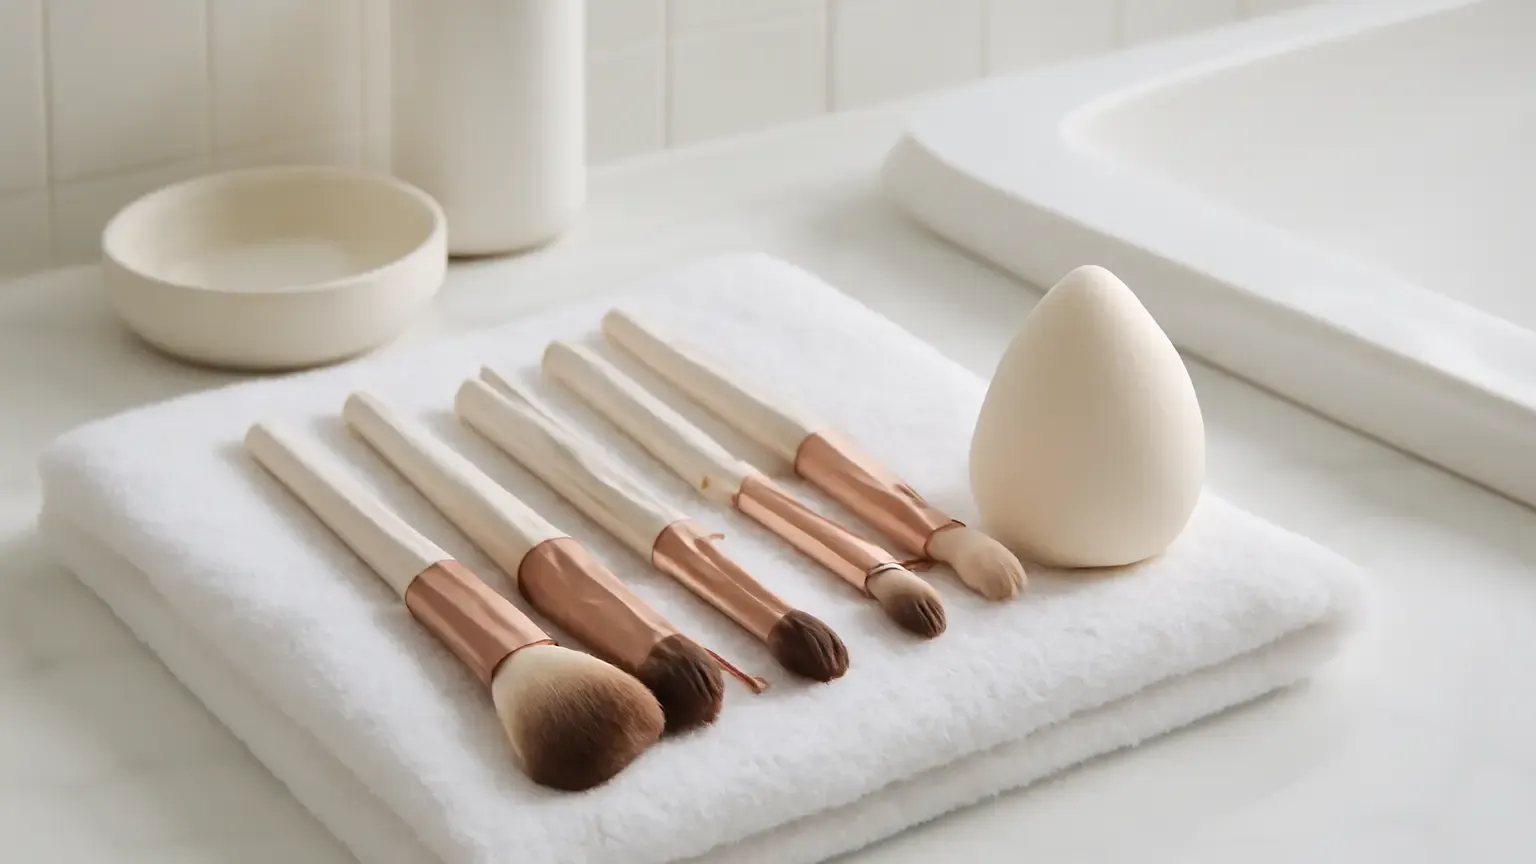
Lay brushes flat on a clean, dry towel with the bristle ends extending slightly beyond the edge of a counter. This allows air to reach the fibres while keeping water from running into the ferrule. Avoid drying them upright while wet, because moisture can collect where the bristles meet the handle. A well-ventilated room is better than a closed drawer or humid bathroom shelf.
Choosing tools and cleansers for an acne-safe makeup routine
“Acne-safe” is not a guarantee that a product will suit everyone. It is more useful to focus on controllable features: easy-to-wash materials, quick drying, intact surfaces and products that do not leave a heavy film on the tool.
Synthetic makeup brushes are often practical for complexion products because their smooth fibres are relatively easy to rinse and dry. Natural hair brushes can also be used, but they may require gentler care and can hold product differently. Select a density and shape that lets you apply makeup with light pressure instead of repeatedly buffing the skin.
For a cleanser, look for a mild formula that removes oils and pigment without leaving a slippery coating. A gentle brush cleanser is preferable to harsh alcohol-heavy products for routine washing. If you disinfect makeup brushes, do so only with a product intended for cosmetic tools and follow its label. Disinfection is not a substitute for washing: visible makeup and oil must be removed first.
When shopping for non-comedogenic makeup tools, remember that “non-comedogenic” is more commonly used for cosmetic formulas than for applicators. The tool’s cleanliness, condition and the makeup used with it matter more than a marketing label alone.
Beauty sponge cleaning: a separate routine
Sponges need more attention than many brushes because their inner material can stay damp after the surface appears clean. For beauty sponge cleaning, wet the sponge with lukewarm water, apply a small amount of mild cleanser, and squeeze repeatedly until the makeup loosens. Do not wring or twist it, as this can tear the foam. Rinse until no visible product remains, then press it inside a clean towel to remove excess water.
Let the sponge dry fully in an open, clean area with air circulating around it. Do not seal a damp sponge in a pouch, drawer or closed makeup box. If you use a storage case, use it only once the sponge is completely dry and keep the case clean too.
Cleaning after each use is the most reliable approach for a damp applicator. If daily washing is not realistic, consider using disposable single-use applicators for specific situations rather than repeatedly applying fresh makeup with a wet, residue-filled sponge.
Know when to replace a makeup sponge or brush
Washing extends the life of a tool, but it cannot restore damaged material. You should replace makeup sponge applicators when they develop tears, deep stains that do not lift, a persistent odour, a rough or crumbly surface, or areas that no longer rinse clean. A sponge that remains damp for unusually long periods is also a poor choice for repeated facial use.
Replace brushes when the bristles shed heavily, stay misshapen, feel scratchy, develop a lasting smell or cannot be cleaned fully. Loose ferrules and cracked handles also make tools harder to wash properly. There is no universal replacement date: condition and hygiene are more useful decision factors than an arbitrary calendar.
Improve storage and daily tool habits
- Wash your hands before handling clean brushes and sponges.
- Keep clean tools separate from used ones in a ventilated holder.
- Do not leave wet tools on a bathroom counter, where splashes and humidity can slow drying.
- Avoid sharing brushes, sponges, eye tools or complexion applicators.
- Do not place a used brush directly into a clean product pan if you can avoid it.
- Wash brush cups and storage containers regularly; brush storage hygiene is part of tool hygiene.
- Clean the handles and ferrules with a suitable wipe, keeping liquid away from joints and adhesive.
Common mistakes that undermine a cleaner routine
One common mistake is washing a brush but putting it back into a closed case while still damp. Another is using a tiny amount of cleanser on a heavily loaded foundation brush, then deciding it is clean because the outside looks better. A third is relying on a quick alcohol mist without removing oil and makeup first.
Over-cleaning with aggressive products can also backfire by damaging bristles, causing shedding and shortening the tool’s usable life. The better approach is frequent, gentle cleaning matched to the product type. If a tool causes stinging, redness or discomfort, stop using it and assess whether the tool, cleanser or makeup formula is the source.
A simple weekly plan for breakout-prone makeup users
At the end of the week, wash all frequently used brushes, clean the sponge immediately after its final use, and wipe down the storage cup. During the week, wash complexion tools more often if they are visibly coated or used with cream products. Before applying makeup, check that the tool is dry, odour-free and intact.
These steps suit people who wear makeup occasionally as well as daily users; the main adjustment is frequency. Someone applying foundation once a week may clean the brush after that session, while a daily user may need several complexion-tool washes. If persistent, painful or worsening skin concerns continue despite a careful routine, consult a dermatologist or doctor rather than treating tool hygiene as the only explanation.
Takeaway
Good acne prone skin and makeup brushes care is mostly about consistency: wash complexion tools regularly, clean sponges after every use, use a mild cleanser, dry tools with airflow and replace anything torn, smelly or impossible to rinse clean. These habits reduce avoidable residue and support a more comfortable makeup routine without promising to prevent every breakout.
Products that may help with this routine
Choose only what fits your skin, hair or personal needs. Use the links below to view current options on Amazon India.
Frequently Asked Questions
How often should you clean makeup brushes for acne prone skin?
Wash foundation, concealer and cream-product brushes after one to three uses when possible, and at least weekly for regular use. Clean powder brushes weekly and wash makeup sponges after every use.
What is the best cleanser for makeup brushes and acne prone skin?
Use a mild cosmetic-tool cleanser or gentle soap that removes oil and pigment without a heavy residue. Avoid bleach, household disinfectants and very hot water. Follow the label if using a tool-specific disinfectant.
How do you clean a makeup sponge for acne prone skin?
Wet it with lukewarm water, work in a small amount of mild cleanser, squeeze repeatedly, rinse until clear, press out excess water with a clean towel and air-dry it fully in an open area.
When should you replace a makeup sponge?
Replace it when it has tears, a persistent odour, deep staining that does not rinse out, a rough or crumbly surface, or areas that stay damp and dirty despite washing.
Can dirty makeup brushes cause breakouts?
Dirty brushes can transfer old makeup, oil, dead skin cells and surface microbes back onto the face, which may contribute to irritation or clogged-feeling pores. Cleaning helps reduce this avoidable exposure but cannot prevent every breakout.