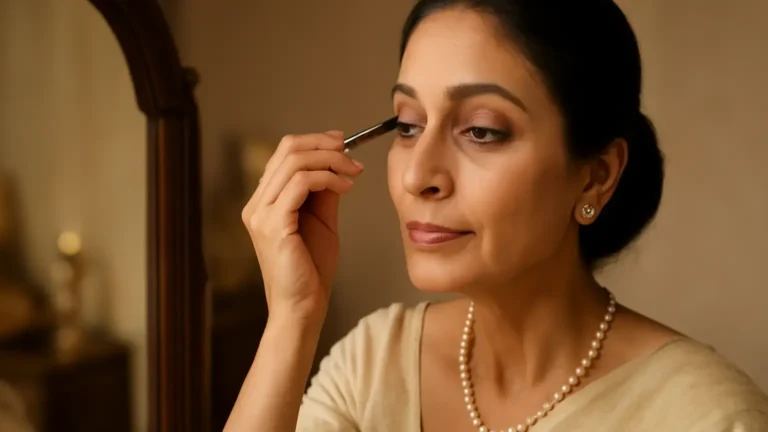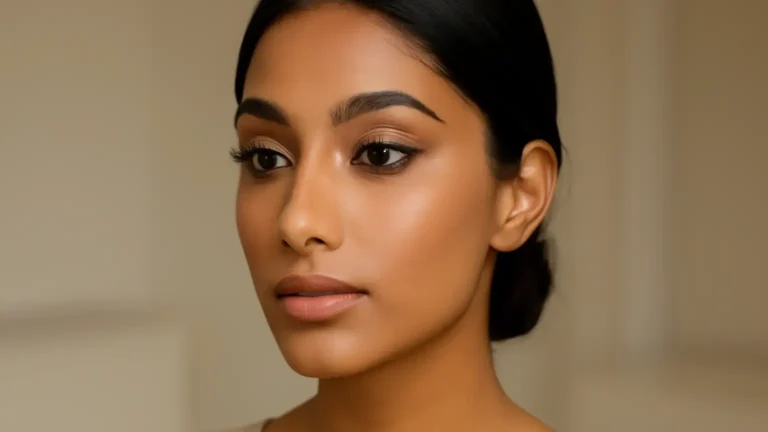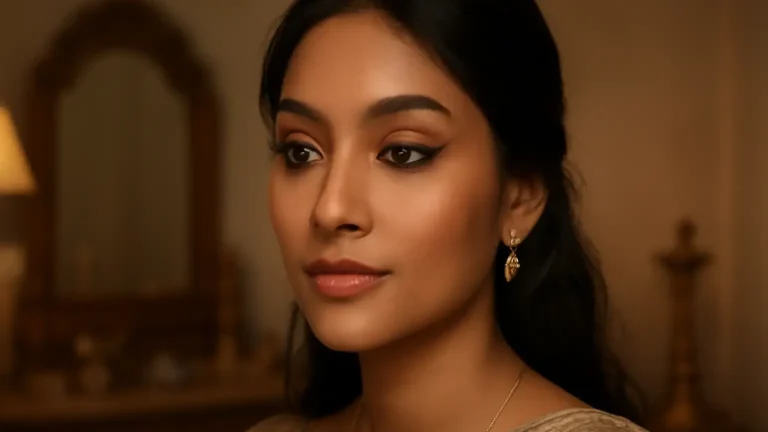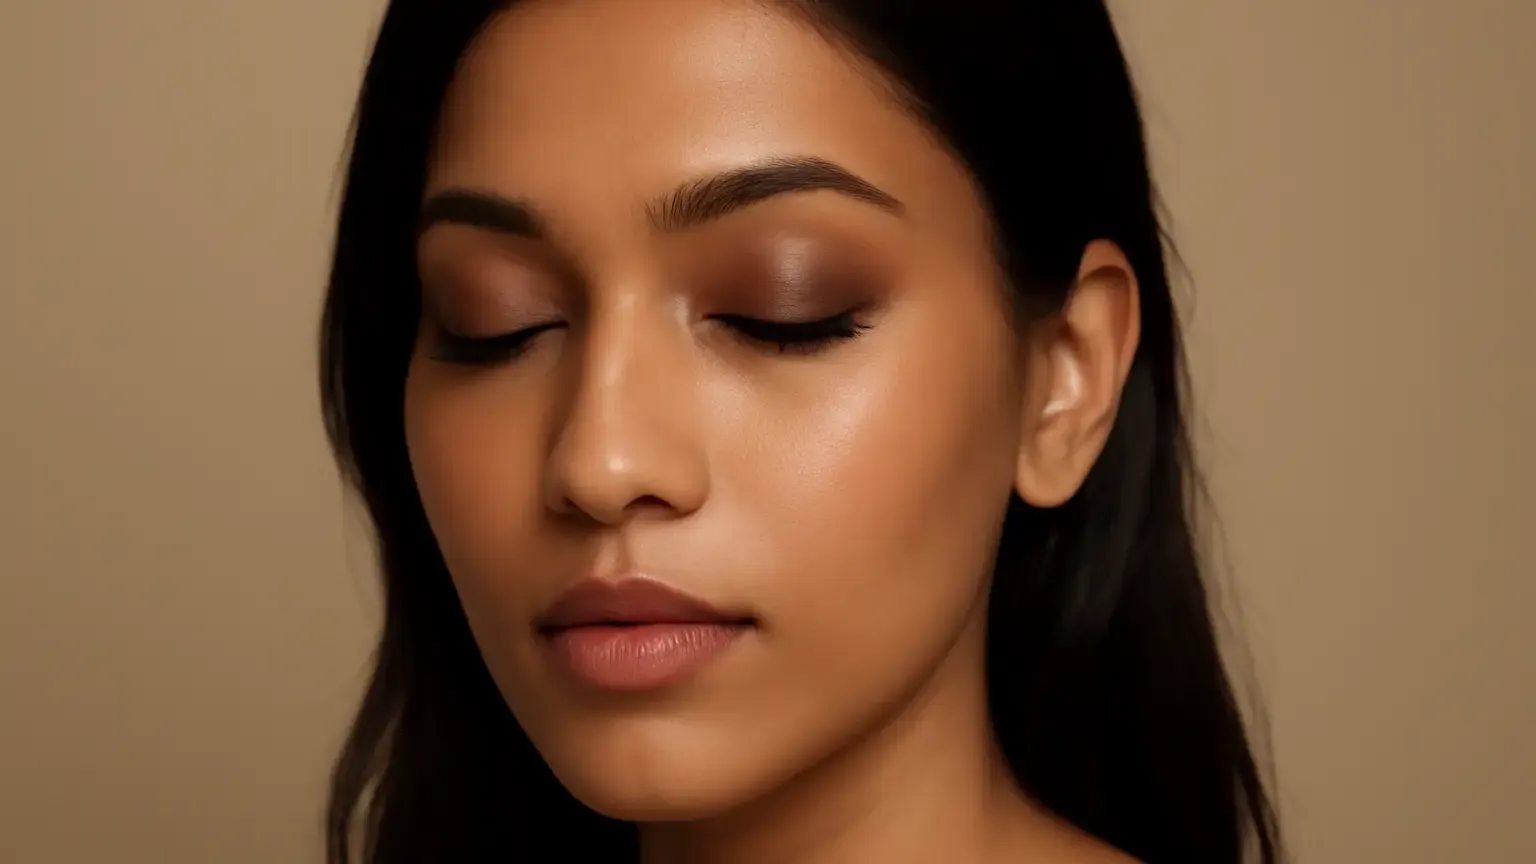
Smokey eye makeup for beginners becomes much easier when you use three shades, light brush pressure and a deliberate crease map. This guide is for anyone who wants a soft, wearable eye look—especially beginners working with Indian skin tones or hooded lids. You will learn where each shade goes, how to balance the lower lash line and what to do when the colour turns patchy instead of blended.
What makes a beginner-friendly smokey eye work?
A smoky eye is not defined by how dark it is. It is a gradual transition from a deeper lash line to a softer edge near the crease and brow bone. For a first attempt, a limited palette is easier to control than a large collection of shades.
Choose three related colours: a light matte transition shade, a medium brown for structure and a deeper brown, charcoal or plum for definition. On Indian skin tones, warm browns, terracotta browns, bronze-browns and muted plums are often easier to blend than a stark black. The best smokey eye shades for Indian skin are not one universal set; they should provide visible contrast against your complexion without looking grey or ashy.
This approach creates a soft smokey eye that can suit daytime makeup, festive occasions or a more defined evening look. Add shimmer only after the matte shape is even.
Step 1: Prepare the lid and choose your tools
Start with clean, dry eyelids. If your lids become oily or your eyeshadow fades quickly, apply a thin layer of eye primer. Let it settle briefly before adding powder shadow. Too much primer can make blending drag or cause the pigment to gather in the crease.
You do not need many products for a beginner smoky eye tutorial. Keep these nearby:
- A small flat shader brush for placing colour on the lid.
- A medium fluffy blending brush for the crease and edges.
- A small tapered brush for the outer corner and lower lash line.
- A clean, soft blending brush for diffusing boundaries.
- A matte eyeshadow palette with a light, medium and deep shade.
Brush quality matters less than using the right size. A very large brush can spread a dark shade too widely, while a tiny stiff brush may leave harsh stripes.
Step 2: Map the crease before adding depth
Dip the fluffy brush into the light matte shade and tap off excess powder. Look straight ahead into a mirror and place the colour slightly above your natural fold if your lid disappears when your eyes are open. This is the first crease placement decision: the transition shade should remain visible when you relax your face, but it should not reach the brow.
Use small windscreen-wiper movements through the socket, then soften the outer edge with tiny circles. Keep most of the product on the outer half of the crease and gradually reduce pressure as you move inward. This creates a clean guide for the darker shade.
For hooded eyes makeup, avoid taking the deepest colour into the entire fold. Work just above the fold with the medium shade, keeping the mobile lid open and bright enough to make the eyes look lifted.
Step 3: Build the medium shade slowly
Pick up the medium brown on the same blending brush or a slightly smaller one. Tap off the excess and press the colour into the outer third of the lid first. Then blend it upwards into the transition shade, using short back-and-forth movements rather than sweeping across the whole eye immediately.
The most useful eyeshadow blending technique is to separate placement from blending. Place colour where you want intensity, then use the clean part of the brush to soften only the border. If you blend with a brush overloaded with pigment, the colour can travel too far and become muddy.
Think of brush pressure makeup as a volume control. Firm pressure deposits pigment; light pressure diffuses it. Use firm tapping on the lid, medium pressure at the outer corner and feather-light pressure along the upper edge.
Step 4: Add depth close to the lash line
Use the small flat or tapered brush to press the deepest shade along the upper lash line and into the outer V. Do not begin by dragging dark shadow through the full crease. Keeping the darkest point near the lashes gives definition while preserving a wearable finish.
Blend the upper edge of the deep shade with the medium brown, but leave the lash-line area concentrated. If you want extra intensity, add a second thin layer rather than one heavy application. This is one of the simplest ways to prevent a patchy eyeshadow fix from becoming an even larger patch of pigment.
A soft pencil can be used before shadow for extra depth, but avoid excessive kohl pencil smudging. A thick, creamy line may set unevenly and make the shadow skip. Keep pencil close to the lashes, then soften it immediately with the deep shadow.
Step 5: Balance the lower lash line
The lower eye should support the upper smoky shape, not create a separate dark stripe. For balanced lower lash line makeup, use the medium shade from the outer corner to roughly the centre of the lower lashes. Connect it softly to the outer V.
If your eyes are small or you prefer a fresher daytime look, stop before the inner third. Use the light transition shade to blur the lower edge. A tiny amount of the deep shade can sit directly beneath the outer lashes, but keep it narrower than the upper shadow.
For a more dramatic evening finish, extend the medium shade slightly further inward and add a touch of the deep colour only at the outer third. This keeps the look symmetrical without closing in the eyes. A small inner-corner highlight or a clean light shade on the centre lid can restore brightness.
Step 6: Refine the edges and choose the finish
Check both eyes with your face relaxed. If one side looks heavier, do not automatically add more product to the other eye. First use the clean blending brush to soften the darker side, or remove a little colour with a cotton bud and a small amount of makeup remover.
For a soft daytime look, leave the lid matte or add a restrained satin shade to the centre. For day-to-night eye makeup, press shimmer onto the centre of the lid, deepen the outer lash line and add mascara. Keep shimmer on the lid rather than using it to disguise an uneven crease.
Finish with mascara after brushing away fallout. If you prefer liner, a thin brown or black line close to the lashes will define the look without hiding the shadow work.
How to fix patchiness without starting over
Patchiness usually comes from one of four causes: an uneven base, too much product, a stiff brush or blending powder that has already dried over a creamy layer. The best approach depends on what you see.
- Uneven colour on the lid: press a small amount of your eye primer or concealer over the spot, allow it to settle, then rebuild with a thin layer.
- A harsh dark patch: use the medium shade around its edges with light pressure. Do not scrub directly over the centre.
- Muddy crease: switch to a clean brush and use the light transition shade to create separation.
- Fallout under the eye: sweep it away with a clean fluffy brush or use a little micellar water on a cotton bud before concealer.
- Uneven intensity: compare both eyes from a normal distance, then add pigment only to the weaker side.
When a shadow refuses to blend, it may be a formula issue rather than a skill issue. Very dry matte powders and wet, tacky bases need different handling. Try less base product and build the powder in thin layers.
Common beginner mistakes to avoid
Using black as the first crease shade is a frequent mistake. Black has a narrow margin for error; brown, plum or deep bronze gives more time to adjust. Another common issue is holding the brush too close to the bristles, which increases pressure and deposits too much colour.
Do not extend the outer corner sharply before checking your eye shape. A rounded blend generally looks softer and is easier to correct. Also avoid copying the same crease height on both eyes without looking straight ahead—eyelids can differ naturally, and matching the visible shape matters more than matching a diagram.
If you are learning easy smokey eye for Indian eyes, test the colour in natural daylight when possible. Indoor lighting can make a warm shade look more orange or a grey shade look flatter than it appears outdoors.
Quick routine and final takeaway
For a reliable routine, use the light shade to map the crease, the medium shade to build the outer lid and the deep shade to define the lashes. Work from light to dark, tap off excess and use a clean brush to soften edges. Keep the lower lash line lighter and narrower than the upper eye unless you deliberately want a dramatic finish.
The key lesson from smokey eye makeup for beginners is control, not complexity. Three shades, sensible crease placement and light brush pressure can create a smooth result. If the look turns patchy, correct the base or soften the edges instead of repeatedly adding pigment.
Products that may help with this routine
Choose only what fits your skin, hair or personal needs. Use the links below to view current options on Amazon India.
Frequently Asked Questions
How to do smokey eye makeup for beginners?
Use three related shades: a light matte transition colour above the crease, a medium shade on the outer lid and a deep shade close to the upper lash line. Blend each boundary with light pressure, keep the lower lash line softer and build intensity gradually.
How to blend smokey eyes without patchiness?
Start with a thin, set base, tap off excess powder and separate colour placement from blending. Press pigment onto the lid first, then use a clean or lightly loaded brush to soften the edges. Add thin layers rather than one heavy layer.
What are the best smokey eye shades for Indian skin?
Warm brown, deep bronze, terracotta-brown, chocolate, charcoal and muted plum can all work well, depending on undertone and desired contrast. Choose shades that remain visible without looking chalky or overly grey on your complexion.
How do you do smokey eye makeup for hooded eyes as a beginner?
Place the transition shade slightly above the natural fold so it remains visible with your eyes open. Keep the deepest colour close to the lashes and outer corner, and avoid filling the entire hood with dark shadow.
How do you balance the lower lash line with a smokey eye?
Use the medium shade from the outer corner to the centre of the lower lashes and connect it to the outer V. Keep the deep shade at the outer third, then soften the edge with the light transition colour.
What brushes do beginners need for smoky eye makeup?
A medium fluffy blending brush, a small flat shader brush and a small tapered brush are enough to begin. A clean blending brush is helpful for diffusing edges, but a large brush collection is not necessary.