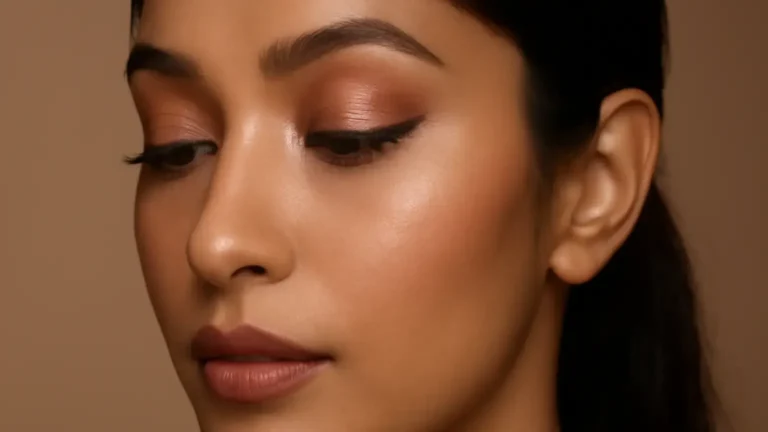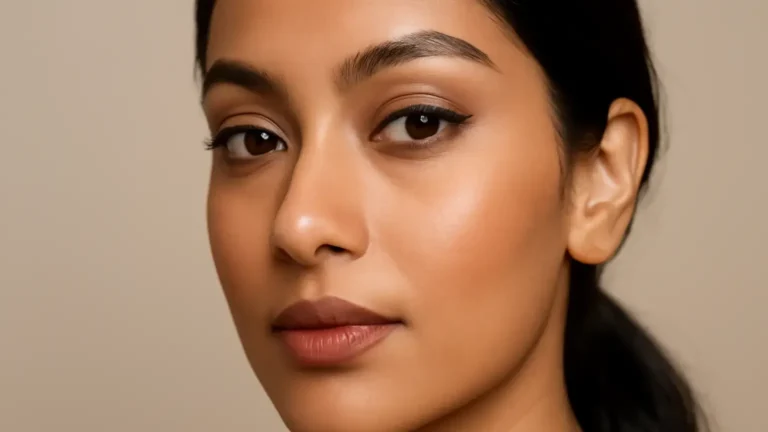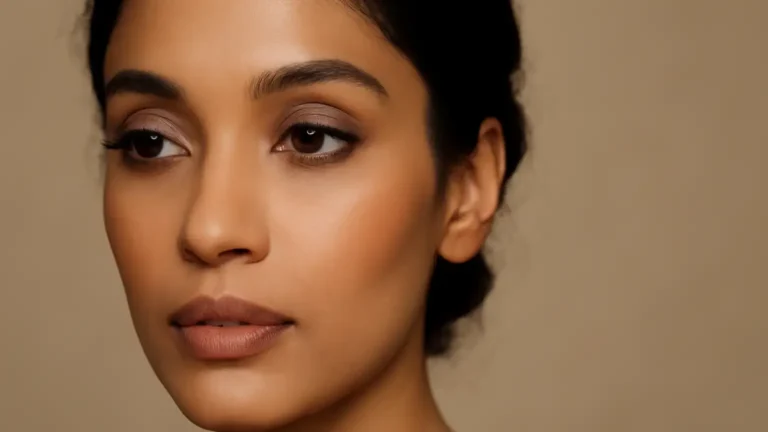
Eye makeup for hooded eyes becomes easier when placement follows what remains visible with your eyes open. This guide is for anyone whose eyelid fold partly covers the mobile lid, whether the hooding is subtle or more pronounced. Map colour above the natural crease, keep liner close to the lashes, lift the outer corner with controlled shading, curl lashes well and set areas prone to transfer. The result is makeup that stays visible without treating your eye shape as something to correct.
Hooded eyes have a fold of skin that can overlap part or all of the mobile eyelid when the eyes are open. The amount varies: some people have a slight fold near the outer lid, while others have limited visible lid space from lash line to crease. Neither is a flaw. It simply means that conventional closed-eye placement may disappear when you look straight ahead.
The most useful rule for makeup placement for hooded eyes is to work with your eyes open and relaxed. Check visibility in a mirror as you apply each layer, then close your eyes briefly to soften edges. These six adjustments help you decide where makeup should sit, rather than asking your eye shape to fit a fixed template.
1. Start with open-eye makeup mapping
Before choosing shades, identify three landmarks: the lash line, the visible lid area and the fold that becomes your natural crease. Do this without lifting your brows or stretching the skin. This is the foundation of open-eye makeup mapping.
- Apply a thin layer of eye primer or concealer only if you need a smoother, more even base.
- Look straight ahead with a relaxed brow and note where a matte shadow remains visible.
- Place a small dot just above the fold to mark the highest point of your visible transition area.
- Repeat on the other eye; the marks do not need to be perfectly symmetrical.
For mild hooding, the dot may sit only a few millimetres above the natural crease. For deeper hooding, it may need to sit higher, but only as high as remains visible without reaching the brow. This approach is more reliable than copying a crease line from another eye shape.
2. Raise the transition shade, not the whole eye look
A transition shade creates a soft gradient between stronger lid colour and the brow area. On hooded lids, applying it directly into the fold can make it vanish. Instead, use transition shade placement based on what you see with your eyes open.
Choose a matte or softly satin shade close to your skin tone but slightly deeper. Use a small, tapered blending brush and place most of the colour just above the fold, concentrating it from the centre of the eye towards the outer corner. Blend upwards and outwards, not straight towards the brow.
If your hooding is subtle, keep the shade close to the natural crease so the result stays soft. If the fold covers more of the lid, build the colour in thin layers above it. A shadow that is too dark or too high can make the brow area look heavy, so step back from the mirror between layers.
Use the closed-eye check sparingly
Close your eyes only to diffuse harsh edges. The final height should be judged with your eyes open because that is when you need the colour to remain visible. This is a practical crease makeup technique, not an attempt to draw an artificial crease in exactly the same place on both sides.
3. Define the outer corner with an upward, contained shape
Outer-corner definition adds structure without requiring a large block of dark shadow. Pick a medium-deep matte shade and press it into the outer third of the lash line. Then blend it diagonally towards the end of the brow, stopping before the colour reaches the fullest part of the hood.
Keep the deepest point low and close to the lashes. If dark colour is placed entirely above the fold, it may appear as a floating stripe when your eyes are open. A small outer V can work, but soften its top edge and keep the inner lid lighter. This makes eyeshadow for hooded eyes look intentional while preserving visible space.
For slightly hooded eyes, a short, lifted sweep may be enough. For more pronounced hooding, use less height and more lash-line depth; an extended wing of shadow can disappear into the fold or make the outer corner look weighed down. A satin highlight on the centre lid can add dimension, but avoid very chunky shimmer where it may emphasise texture or transfer.
4. Keep liner thin, flexible and close to the lashes
Thick liner can cover the little lid space that remains visible. Start with a thin line between the lashes, then decide whether you need more. A pencil, gel or felt-tip formula can work; the important decision is the amount of product and how quickly it sets.
For smudge-proof eyeliner, allow the line to dry before opening and closing your eyes repeatedly. If your fold touches the lash line, a very small wing may be more dependable than a long one. Draw the wing with the eye open, following the direction of the lower lash line, then connect it back in a slim triangle.
When tightlining helps
Tightlining hooded eyes means placing colour at the upper lash roots rather than drawing a wide line across the lid. It gives definition while preserving visible eyeshadow. Use a clean, suitable eye product and stop if your eyes feel irritated or watery. Avoid forcing product into the inner eye or sharing eye makeup, as both can increase discomfort and hygiene risks.
5. Curl the lashes in sections and choose the finish carefully
Lashes can cast a shadow over the lid, particularly when the fold is prominent. Curling lashes for hooded eyes works best in three gentle presses: near the roots, at the middle and near the tips. Do not clamp repeatedly or pull, and curl before mascara rather than after it.
Apply mascara from the roots with a slim or moderately sized wand. Concentrate the first coat at the base, then comb through the lengths. If your lashes are straight or tend to touch the upper lid, a water-resistant or waterproof mascara may hold the curl better. Waterproof formulas can be harder to remove, so use a gentle eye-makeup remover and avoid rubbing.
For mild hooding, a lifted outer-lash emphasis can open the look. For deeper hooding, prioritise separation and root lift over several heavy coats. If mascara regularly marks your brow bone or lid, let each coat dry and choose a formula described for long wear rather than simply adding more product.
6. Finish with transfer-resistant layers
Makeup transfers when a creamy product repeatedly touches the fold, especially in warm or humid weather. A transfer-resistant eye makeup routine starts with thin layers. Too much primer, concealer or cream shadow can remain tacky and make movement more noticeable.
- Use a small amount of primer and let it settle for a moment.
- Press, rather than swipe, a thin layer of eyeshadow over the base.
- Keep shimmer and cream products below the point where the fold makes contact, if that area transfers.
- Set the fold lightly with a matching matte shadow or a very small amount of translucent powder.
- Check the makeup after several minutes and remove any excess at the crease with a clean cotton bud.
A setting spray can support wear, but it cannot replace correct placement or a suitable formula. If you have oily lids, use less emollient skincare immediately around the eyes before makeup. If your lids are dry, avoid aggressively powdering them; a thin, flexible base may look smoother than a heavily set one.
Adjust the routine to your degree of hooding
There is no single definition of a hooded eye. Use these decisions as a starting point rather than a rule:
- Slight hooding: keep the transition shade close to the fold, use a slim liner and let the outer corner provide most of the definition.
- Moderate hooding: apply transition colour slightly above the fold, keep the lid shade lighter and judge the wing with the eye open.
- More pronounced hooding: prioritise lash-line definition, a controlled outer corner and visible colour above the fold. Reduce thick liner and heavy cream layers.
- Uneven folds: map each eye separately and blend for balance rather than forcing identical lines.
These adjustments also suit anyone whose makeup disappears during normal facial movement, regardless of whether they use the label “hooded”. Eye shape descriptions are useful for technique, not for ranking or correcting features.
Common mistakes that reduce visibility
- Applying every shade with the eyes closed: the colour may land in a fold that hides it when you look ahead.
- Drawing a thick black line first: it can erase the visible lid before eyeshadow is added.
- Blending too high without checking: this can make the transition shade look muddy near the brow.
- Putting shimmer directly on the contact fold: a creamy or glittery formula may crease or transfer more quickly.
- Using too many coats of mascara: weight can pull down a curl and leave marks on the upper lid.
- Stretching the eyelid while applying liner: the line can change shape when the skin returns to its relaxed position.
A simple five-minute routine
For an everyday look, prime lightly, map the visible area with your eyes open, sweep a matte transition shade just above the fold, and press a mid-tone shade onto the visible lid. Add a deeper matte shade to the outer lash line, tightline or draw a slim liner, curl the lashes and apply a controlled coat of mascara. Finish by checking the fold after the makeup has settled and remove any excess that has gathered there.
For a longer event, build the same routine in thin layers rather than changing the entire placement. A slightly deeper outer corner and a softly luminous centre lid can add dimension, while a transfer-resistant base helps in India’s humid conditions. Patch-test unfamiliar products according to their instructions and stop using any eye product that causes persistent burning, swelling or irritation; seek medical advice for severe or continuing symptoms.
Takeaway
The most dependable eye makeup for hooded eyes is mapped with your eyes open, placed slightly above the fold where needed, kept slim at the lash line and supported by a well-curled lash and thin, transfer-resistant layers. Adjust the height and intensity to your own degree of hooding. The goal is not to correct your eye shape; it is to make your chosen makeup visible, comfortable and balanced while your eyes are naturally open.
Products that may help with this routine
Choose only what fits your skin, hair or personal needs. Use the links below to view current options on Amazon India.
Frequently Asked Questions
How do I apply eye makeup for hooded eyes?
Map the visible lid with your eyes open, place the transition shade just above the fold, keep deeper colour near the lash line and outer corner, use a slim liner, curl the lashes and set areas that transfer.
Where should crease colour go on hooded eyes?
Place crease colour slightly above the natural fold if the fold hides it, then blend upwards and outwards. The correct height is the highest point that remains visible with your eyes open without reaching the brow.
Should you apply eyeshadow with your eyes open for hooded eyes?
Yes. Applying or checking eyeshadow with relaxed, open eyes shows where colour will actually remain visible. Close your eyes briefly only to soften the edges.
How can I stop eyeliner transferring on hooded eyelids?
Use a thin line close to the lashes, allow it to dry, avoid heavy creamy layers on the contact fold and set the area lightly with a compatible matte shadow or powder.
What is the best way to curl lashes for hooded eyes?
Curl before mascara using three gentle presses at the roots, middle and tips. Concentrate mascara at the roots and choose a water-resistant formula if your lashes lose their lift or touch the upper lid.
How do I make eyeshadow more visible on hooded eyes?
Keep the lid shade light or medium, move the transition colour slightly above the fold, add depth close to the lashes and check the placement with your eyes open throughout the routine.