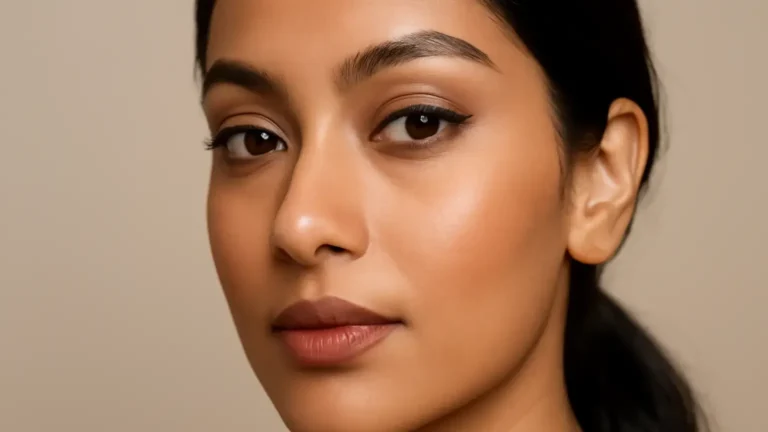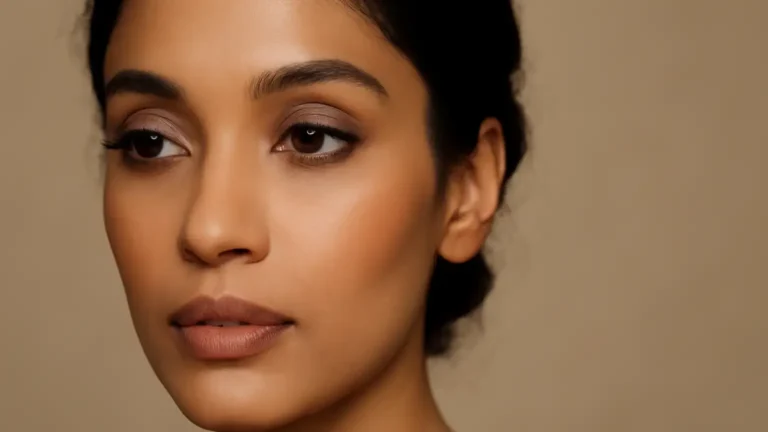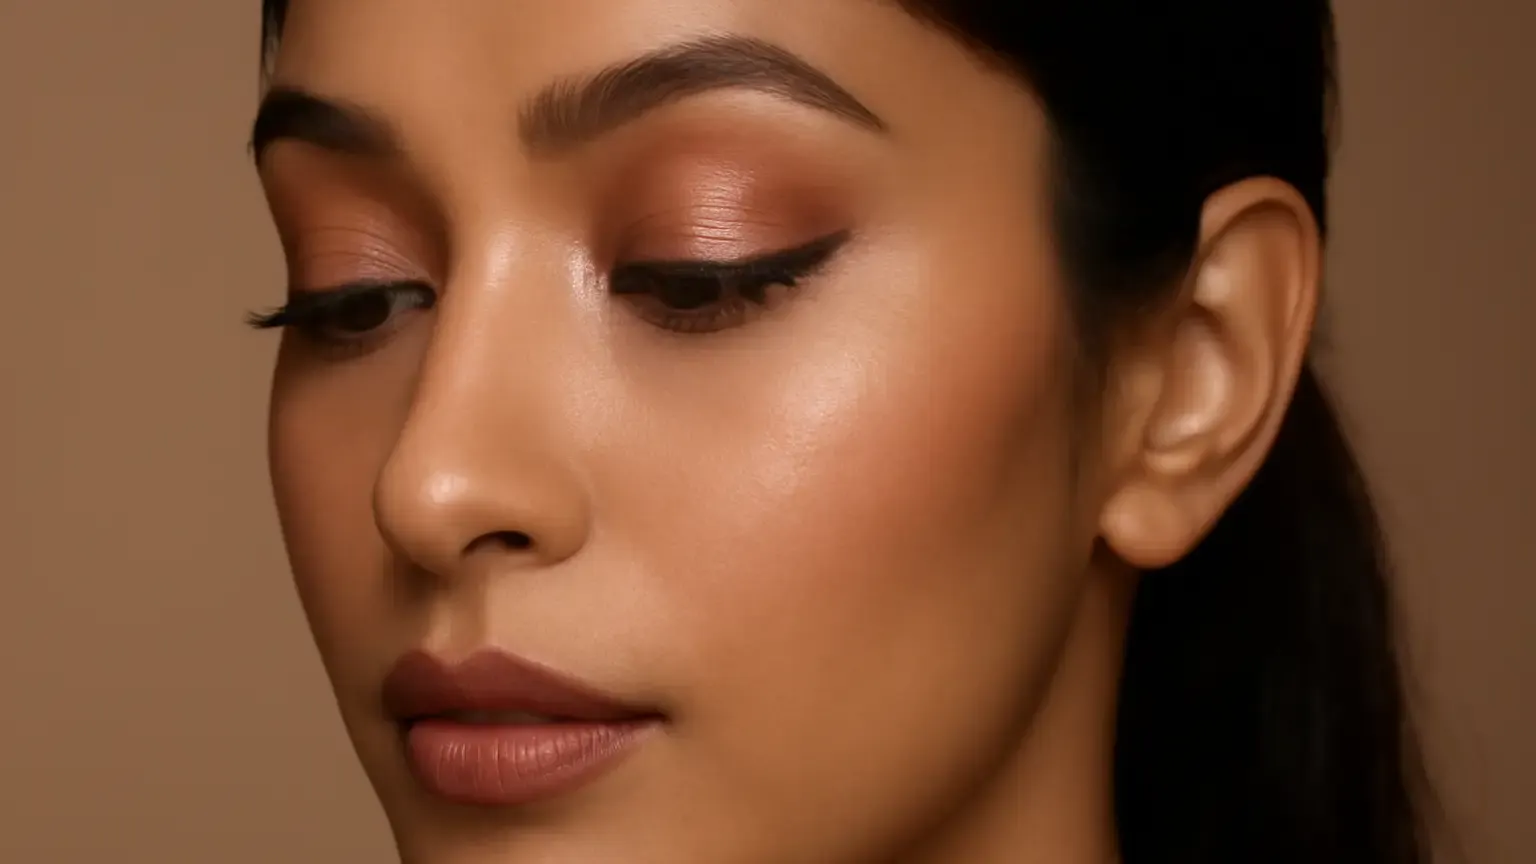
Eye makeup for monolids works best when you place colour and liner where they remain visible with your eyes open. This guide is for anyone with a smooth or minimally creased lid, including beginners creating everyday looks and those planning festive makeup. The key decisions are simple: use a thin liner close to the lashes, build shadow slightly above the natural fold area, curl lashes before mascara, and keep blending controlled rather than spreading colour too high.
What makes monolid eye makeup different?
A monolid is an eyelid shape with little or no visible crease separating the lid from the brow area. The lid may look smooth when the eyes are open, and products applied only to the mobile lid can become hidden. Some people have fully smooth lids, while others have a low or partial crease. Both are normal variations, and the same makeup look may need small adjustments from one person to another.
The most useful rule is to check your makeup with your eyes relaxed and open. If liner or eyeshadow disappears when you look straight ahead, move the visible edge slightly higher or use a stronger contrast. This is not about creating a different eye shape; it is about positioning definition in the part of the lid that can actually be seen.
Monolids are not the same as hooded eyes. With hooded eyes versus monolids, a hooded lid usually has extra skin or brow-bone coverage folding over a visible crease, while a monolid may have no defined crease at all. The techniques can overlap, but avoid forcing a deep crease where your natural structure does not create one.
Five ways to keep definition visible
1. Keep liner thin at the inner and centre lash line
A thick line can take over the visible lid and transfer onto the upper skin when the eyes blink. Begin with a fine line pressed between the lashes, then make the outer third a little thicker if you want lift. This monolid eyeliner technique preserves lid space while still making the lashes look fuller.
For the most reliable placement, look straight into a mirror with your eyes relaxed. Draw the liner in short strokes rather than one long sweep. Keep the inner corner narrow, follow the natural lash direction, and extend the outer end in a short, slightly upward flick. A small wing is generally easier to see than a long, flat wing, which may look uneven when the eye is open.
Choose a pencil for a soft everyday result, a gel formula for more intensity, or waterproof eyeliner when humidity, tears or long festive events are concerns. Allow liquid liner to dry before blinking fully. If you prefer a softer edge, smudge the outer third quickly with a small brush before the formula sets.
2. Place open-eye shadow above the area where colour disappears
For eyeshadow placement for monolids, apply a matte mid-tone shade with your eyes open. Start at the outer corner and sweep the colour just above the visible lid boundary, stopping where the shade can be seen without lifting the brows. Then close the eye and connect the colour back to the lash line. This creates dimension that remains readable when you look forward.
Use a light-to-medium buildable shade first. Warm taupe, soft brown, muted terracotta and rose-brown suit many Indian complexions, but the right choice depends on your undertone and outfit. Place the deepest colour near the outer lash line and outer corner, not across the entire lid. A lighter satin or shimmer shade can then be tapped at the centre or inner lid, where it catches light without requiring a large visible crease.
This is open-eye eyeshadow placement: you map the visible shape while looking ahead instead of relying only on a closed-eye diagram. It is especially useful for crease-free eyeshadow, because a dark artificial crease can look heavy if it is drawn too high or blended without a visible transition.
3. Curl lashes in sections before applying mascara
Curled lashes open the eye without taking away lid space. A practical lash curling technique is to use a clean curler at the lash roots, press gently, move to the middle, and press again. Do not clamp repeatedly with force, and never curl after mascara has dried, as stiff coated lashes can become brittle or stick to the curler.
For straight or downward-pointing lashes, warm the curler very mildly with body heat only; it should never feel hot. Check the temperature on your wrist first. If a standard curler does not fit comfortably, try a smaller tool for the inner and outer corners rather than squeezing the whole eye into an awkward angle.
Follow with a lengthening mascara in a thin coat, focusing at the roots and brushing upward. A formula that remains flexible and holds curl is often more useful than a very wet, heavy formula that pulls lashes down. Comb through clumps while the mascara is still workable and let the first coat settle before adding a light second coat.
4. Blend outward and upward, not broadly across the lid
Blending does not mean making every shade disappear. For monolid eye makeup, keep the deepest pigment concentrated near the lash line and outer corner, then soften only the edges. A small tapered brush gives better control than a large fluffy brush, which can spread colour into the brow area and remove the contrast that makes the look visible.
Use a matte transition shade slightly above the main colour, then add a deeper shade in small amounts. With eyeshadow blending, pause between layers and check the result with your eyes open. If the look appears flat, add contrast at the outer corner or use a small highlight at the inner corner instead of adding more shadow everywhere.
For a quick daytime routine, use one matte brown close to the lash line and one soft wash above it. For evening or wedding makeup, build depth gradually and add shimmer with a fingertip or flat brush. Pressing shimmer onto a primed area usually gives a cleaner finish than sweeping loose sparkle across the full lid.
5. Set the areas most likely to transfer
Heat and natural eyelid oils can cause liner and shadow to move. Apply a very thin layer of eyelid primer or concealer, then set only where needed with a small amount of translucent powder or matte shadow. Too much powder can make the lid look dry and cause shimmer to lose its reflective finish.
For smudge-proof eye makeup, use a thin waterproof or transfer-resistant liner close to the lashes, allow it to dry, and avoid layering a creamy product directly over it. If your eyes water easily, keep the inner corner minimal and choose products labelled for long wear rather than applying a thick coat of any formula.
Tightlining can make the lash base appear fuller, but it is optional. Use a clean, suitable pencil and apply it only along the upper lash roots if comfortable. Avoid pressing into the waterline or using eye products that sting. Remove all makeup gently at night without rubbing the eyelid.
Everyday and festive combinations
A simple everyday eye
- Apply a thin, even layer of primer or a light base and let it settle.
- Press a medium-brown pencil between the upper lashes, keeping the inner half fine.
- Use a matte taupe or soft brown above the visible lid area with eyes open.
- Blend the outer corner upward, keeping the colour compact.
- Curl the lashes and apply one lengthening coat of mascara.
This everyday eye makeup routine is subtle enough for work, college or daytime errands. If you wear glasses, check the outer wing and mascara from the side as well as the front; excessive length or wet mascara can touch the lenses.
A festive version for Indian occasions
For festive eye makeup, retain the same structure but increase contrast rather than simply making every layer thicker. Use a deep brown, charcoal or plum along the outer lash line, then press bronze, champagne, copper or rose-gold shimmer onto the centre of the visible lid. A short wing and softly defined lower outer lash line can balance a saree, lehenga or embellished outfit.
Test glitter or high-shine products before the event, especially if you have sensitive eyes. Use cosmetic glitter designed for the eye area rather than craft glitter, and apply it sparingly. A mist-resistant setting product may support wear, but it cannot replace careful placement and proper drying time.
Common mistakes and easy corrections
- Drawing a thick black line first: Start with brown or a fine black line, then intensify only the outer third.
- Applying shadow with eyes closed only: Map the visible edge with eyes open before building colour.
- Creating a very high dark crease: Keep the transition shade soft and let the lash line carry most of the definition.
- Using too much shimmer: Place it on the centre or inner lid and keep the outer corner matte for structure.
- Skipping the lash curl: Curl before mascara so the lashes lift without requiring several heavy coats.
- Ignoring transfer: Let liquid products dry and set oily areas lightly rather than piling on powder.
- Copying a tutorial exactly: Adapt the height and width to your own open-eye view, brow shape and lash direction.
How to choose products for your lid and routine
Beginners often benefit from a soft pencil, a small blending brush, one matte medium shade and a reliable mascara. These products make it easier to correct placement than a fast-drying liquid liner and a large palette. If your lids are oily or you live in a hot, humid climate, prioritise an eye primer and transfer-resistant formulas.
For dry lids, avoid excessive powder and choose finely milled shadows that blend without repeated rubbing. For sensitive eyes, select fragrance-free eye products where possible, keep applicators clean and stop using anything that causes burning, swelling or persistent redness. Eye makeup should never be shared, and mascara should be replaced according to the product’s hygiene guidance rather than kept indefinitely.
Practise one eye at a time with the eyes open and compare both sides before adding more. The goal is not perfectly identical makeup; it is balanced definition that remains visible during natural expressions.
Quick takeaway
The most effective eye makeup for monolids combines a fine lash-line liner, open-eye shadow mapping, concentrated outer-corner depth, lifted lashes and controlled setting. Start with less product, check the look while facing forward, and build only where definition disappears. This approach works for a five-minute daily routine as well as a more reflective festive look.
FAQs
How do I do eye makeup for monolids without hiding my lid?
Keep liner thin near the inner and centre lashes, then place matte shadow slightly above the area that disappears when your eyes are open. Build depth at the outer corner instead of covering the whole lid with dark colour.
What is the best eyeliner style for monolids?
A fine lash-line line with a slightly thicker outer third and a short lifted wing is usually easy to see without taking over the lid. Pencil, gel or waterproof liquid liner can work; choose based on the finish and wear time you need.
How do you apply eyeshadow on monolids?
Begin with your eyes open and apply a transition shade where it remains visible. Connect that colour to the lash line with your eye closed, keep the deepest shade near the outer lashes, and blend the edges without spreading pigment too high.
How can I make monolid eyes look bigger with makeup?
Curl the lashes, use a light or satin shade on the centre lid, keep the lash line defined but fine, and add soft depth at the outer corner. Avoid a very thick full-width liner, which can reduce visible lid space.
How do I keep eyeliner from disappearing on monolids?
Apply it in short strokes close to the lashes, check the line with your eyes open, let liquid formulas dry, and set oily areas lightly. If transfer continues, try a thinner layer of a transfer-resistant or waterproof formula.
Is festive eye makeup for monolids different from everyday makeup?
The placement stays similar, but festive makeup can use stronger outer-corner depth and pressed shimmer on the visible centre or inner lid. Increase contrast and shine gradually rather than making the liner uniformly thick.
Products that may help with this routine
Choose only what fits your skin, hair or personal needs. Use the links below to view current options on Amazon India.
Frequently Asked Questions
How do I do eye makeup for monolids without hiding my lid?
Keep liner thin near the inner and centre lashes, then place matte shadow slightly above the area that disappears when your eyes are open. Build depth at the outer corner instead of covering the whole lid with dark colour.
What is the best eyeliner style for monolids?
A fine lash-line line with a slightly thicker outer third and a short lifted wing is usually easy to see without taking over the lid. Pencil, gel or waterproof liquid liner can work; choose based on the finish and wear time you need.
How do you apply eyeshadow on monolids?
Begin with your eyes open and apply a transition shade where it remains visible. Connect that colour to the lash line with your eye closed, keep the deepest shade near the outer lashes, and blend the edges without spreading pigment too high.
How can I make monolid eyes look bigger with makeup?
Curl the lashes, use a light or satin shade on the centre lid, keep the lash line defined but fine, and add soft depth at the outer corner. Avoid a very thick full-width liner, which can reduce visible lid space.
How do I keep eyeliner from disappearing on monolids?
Apply it in short strokes close to the lashes, check the line with your eyes open, let liquid formulas dry, and set oily areas lightly. If transfer continues, try a thinner layer of a transfer-resistant or waterproof formula.
Is festive eye makeup for monolids different from everyday makeup?
The placement stays similar, but festive makeup can use stronger outer-corner depth and pressed shimmer on the visible centre or inner lid. Increase contrast and shine gradually rather than making the liner uniformly thick.