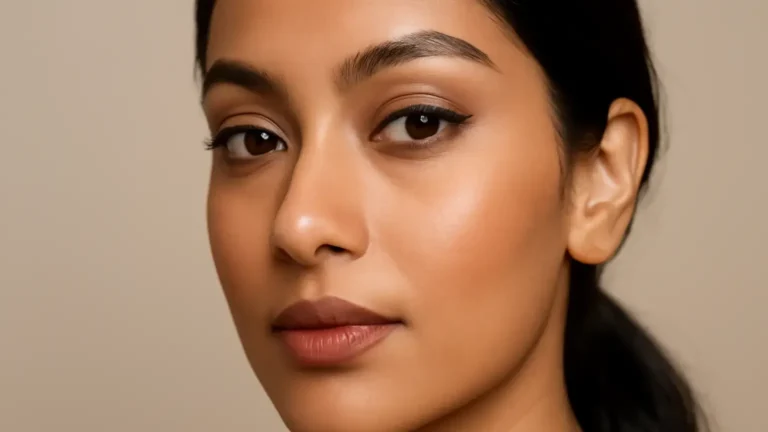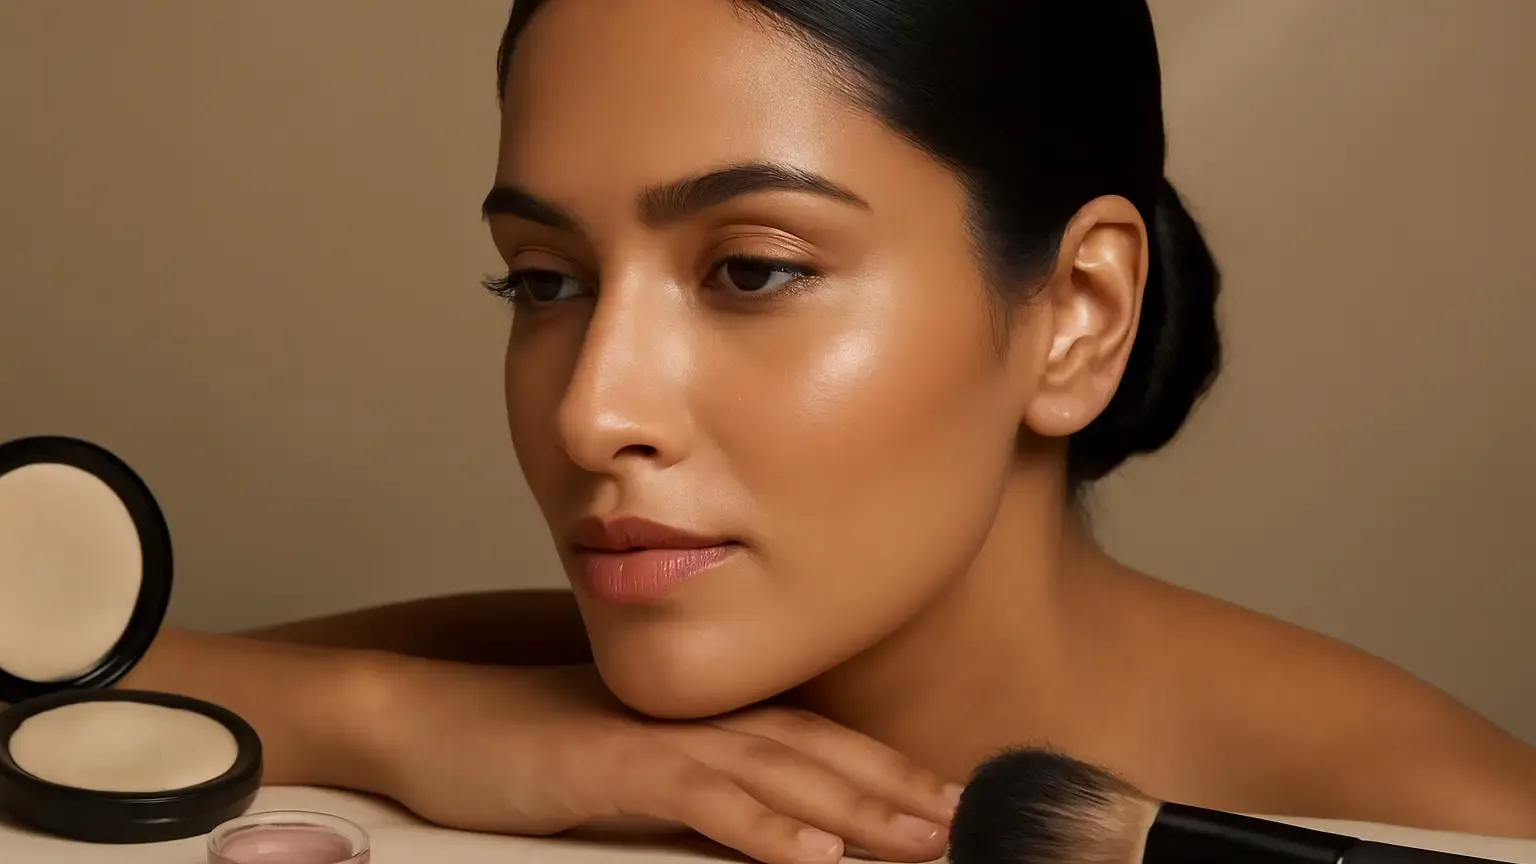
Makeup Basics for Highlighter is simpler when you treat shine as light placement, not a stripe across the face. For beginners, mature skin and anyone wanting natural glow makeup, tap cream or finely milled powder on the high points of the cheekbones, then use only a trace on the nose and brow bones. The result is a lifted, fresh finish: choose cream for seamless radiance, powder for set makeup, and always adjust the amount to your skin texture and daylight.
Highlighter reflects light from selected areas of the face. It does not reshape the face, but thoughtful placement can make the cheekbones look more prominent and the complexion look rested. The most flattering result usually comes from a small amount placed on broad, naturally raised planes rather than from covering every area with shimmer.
Rule 1: Choose the formula before choosing the placement
The right texture matters as much as the shade. A cream highlighter melts into foundation and skin, making it useful for a fresh, lived-in finish. It is especially easy to sheer out with fingertips or a damp sponge. Choose one with fine reflective particles rather than visible glitter if you want a polished daytime look.
A powder highlighter works well over a set base and gives more control over intensity. It can be ideal for combination or oily skin, humid conditions and occasions when you want your makeup to stay defined. Press it on with a small brush instead of sweeping repeatedly, which can disturb the foundation underneath.
For dry or visibly textured areas, neither formula is automatically perfect. A thick cream may catch in uneven patches, while a very metallic powder can emphasise them. Look for a smooth, finely milled finish and apply less than you think you need. This is the practical answer to choosing a cream or powder highlighter for textured skin: prioritise thin layers, soft reflection and flexible application over maximum shine.
Rule 2: Put most of the glow on the upper cheekbones
The most reliable cheekbone highlighter placement is the upper outer cheek, beginning above the apple of the cheek and moving towards the temple. Keep the brightest point slightly outside the centre of the face. This follows the natural facial plane and creates a lifted impression without drawing attention to pores around the nose.
- Finish your foundation, concealer and blush first.
- Smile gently only to find the cheek area; relax your expression before applying.
- Tap a small amount along the top of the cheekbone, stopping before the hairline.
- Blend the edges into the blush so there is no obvious stripe or colour break.
If you have a rounder face, keep the highlight higher and more horizontal. If your face is longer, a shorter patch closer to the centre of the cheek can look balanced. These are guidelines, not fixed rules: natural light should still be your final judge.
Rule 3: Use the nose and brow bone sparingly
Strategic nose highlighter can brighten the centre of the face, but a long, unbroken line often looks artificial. Use a tiny tap on the bridge, avoiding the area where glasses rest, and add the smallest dot on the tip only if you like that effect. Blend sideways until the shine is barely visible from the front.
For brow bone highlighter, place a narrow touch beneath the outer half of the brow rather than tracing the entire arch. Keep it close to the skin and soften it with a clean finger or fluffy brush. A lighter matte concealer may be more flattering than shimmer for daytime or for skin with pronounced texture.
You can also add a pin-sized amount to the inner corners of the eyes. This is optional and should coordinate with the cheek highlight; mixing several different finishes can make the face look busy.
Rule 4: Build glow in thin layers
Good makeup layering techniques prevent highlighter from becoming heavy. Apply complexion products first, then blush and bronzer, followed by cream highlighter. If you need more intensity, let the cream settle for a moment and press a compatible powder over the centre of the glow.
How to layer cream and powder highlighter
Use the cream as a sheer base and the powder as a targeted top layer. The powder should be the same colour family and placed on a smaller area, not swept across the whole cream patch. This combination is optional; on humid days in India, one controlled layer may look fresher and wear more comfortably than two strong formulas.
For a dewy makeup look, tap cream onto bare-looking skin and leave the surrounding complexion softly set. For a longer-wearing finish, use powder only on the cheekbones and keep the nose and brow bone nearly bare. A setting spray can visually melt powder into the base, but it should not be used to compensate for over-application.
Rule 5: Match intensity to texture, light and occasion
A highlighter that looks elegant in a dim room may appear much stronger in direct afternoon sun. Check your makeup near a window before leaving home. The glow should be visible when you turn your face, not look like a solid metallic patch when you face the light.
For highlighter for textured skin, choose a satin or soft-focus finish and avoid placing shine directly over prominent bumps, enlarged pores or dry flakes. Keep the product on the smoother upper cheek area, press rather than rub, and use a clean fluffy brush to blur the border. If the skin is irritated, peeling or unusually sensitive, skip shimmer on that area until it feels comfortable again.
Those who prefer subtle face makeup can use a shade close to their skin tone with a fine pearl. A champagne tone often suits light-to-medium complexions, while soft gold, bronze or rose-gold families may complement deeper or warmer complexions. Undertone matters, but a translucent finish and a restrained amount usually matter more than a rigid shade rule.
How to apply highlighter with the right tool
Fingertips are useful for cream formulas because warmth presses the product into the base. A damp sponge gives the sheerest finish and is helpful when you have applied too much. A small tapered highlighter brush offers precision on the cheekbones, while a soft fan brush creates a lighter veil. Avoid a dense brush unless you want a deliberately intense result.
Start with the amount on the back of your hand, remove excess from the brush or finger, and build only where needed. This method is more reliable than placing a large dot directly on the face. Clean tools regularly, particularly in hot or humid weather, to reduce product build-up and keep blending even.
Common mistakes that flatten the finish
- Highlighting the whole cheek: Keep the reflective area narrow enough to preserve dimension.
- Applying before the base: Most highlighters look cleaner over finished complexion makeup, unless you deliberately want an underpainting effect.
- Using glitter instead of glow: Large particles can look harsh in daylight and may emphasise texture.
- Ignoring blush placement: Highlighter should blend into blush, not sit as a separate white band above it.
- Rubbing over unset foundation: Tapping prevents lifting and patchiness.
- Copying a placement map exactly: Face shape, glasses, pores and personal style should guide the final adjustment.
A five-minute lifted-glow routine
Apply your base and a natural blush. Choose either a cream or powder formula, then place a small amount on the upper cheekbones. Blend towards the temples. Add a tiny touch to the bridge of the nose only if needed, followed by a restrained brow-bone or inner-corner accent. Step into daylight, soften any visible edges, and set only the areas that crease or become oily.
This approach is a softer alternative to full strobing makeup. It keeps the face dimensional while allowing skin, blush and the natural contours of the face to remain visible.
Makeup Basics for Highlighter: the takeaway
For the most flattering result, place the majority of the product on the upper cheekbones, keep the nose and brow bones restrained, and select cream or powder according to your base, texture and occasion. Build in thin layers and inspect the finish in natural light. The best highlighter placement for natural glow is the amount that lifts the face without announcing the product.
Products that may help with this routine
Choose only what fits your skin, hair or personal needs. Use the links below to view current options on Amazon India.
Frequently Asked Questions
How do you apply highlighter makeup for a natural finish?
Apply a small amount to the upper cheekbones after blush, then tap and soften the edges. Use only a trace on the nose or brow bone, and check the result in daylight before adding more.
What is the best highlighter placement for natural glow?
The upper outer cheekbones are the most dependable placement. Keep the highlight above the apples of the cheeks and blend it towards the temples, using less product near the centre of the face.
Should I use a cream or powder highlighter for textured skin?
Choose a thin, smooth formula with fine reflective particles. Cream can look seamless when applied lightly, while finely milled powder can work over a set base; avoid thick or glittery finishes on uneven areas.
Where should you put highlighter on your face?
Start with the upper cheekbones. Optional locations include a tiny amount on the nose bridge, beneath the outer brow and at the inner eye corners, depending on your style and skin texture.
How do you layer cream and powder highlighter?
Use sheer cream first, allow it to settle, then press a compatible powder only onto the centre of the cheek glow. Keep the second layer smaller so the finish does not become heavy.
How can you apply highlighter without looking glittery?
Select a satin or finely pearled formula, remove excess before touching the face, tap rather than sweep, and keep the brightest area narrow. Natural daylight will reveal whether you need to blend further.