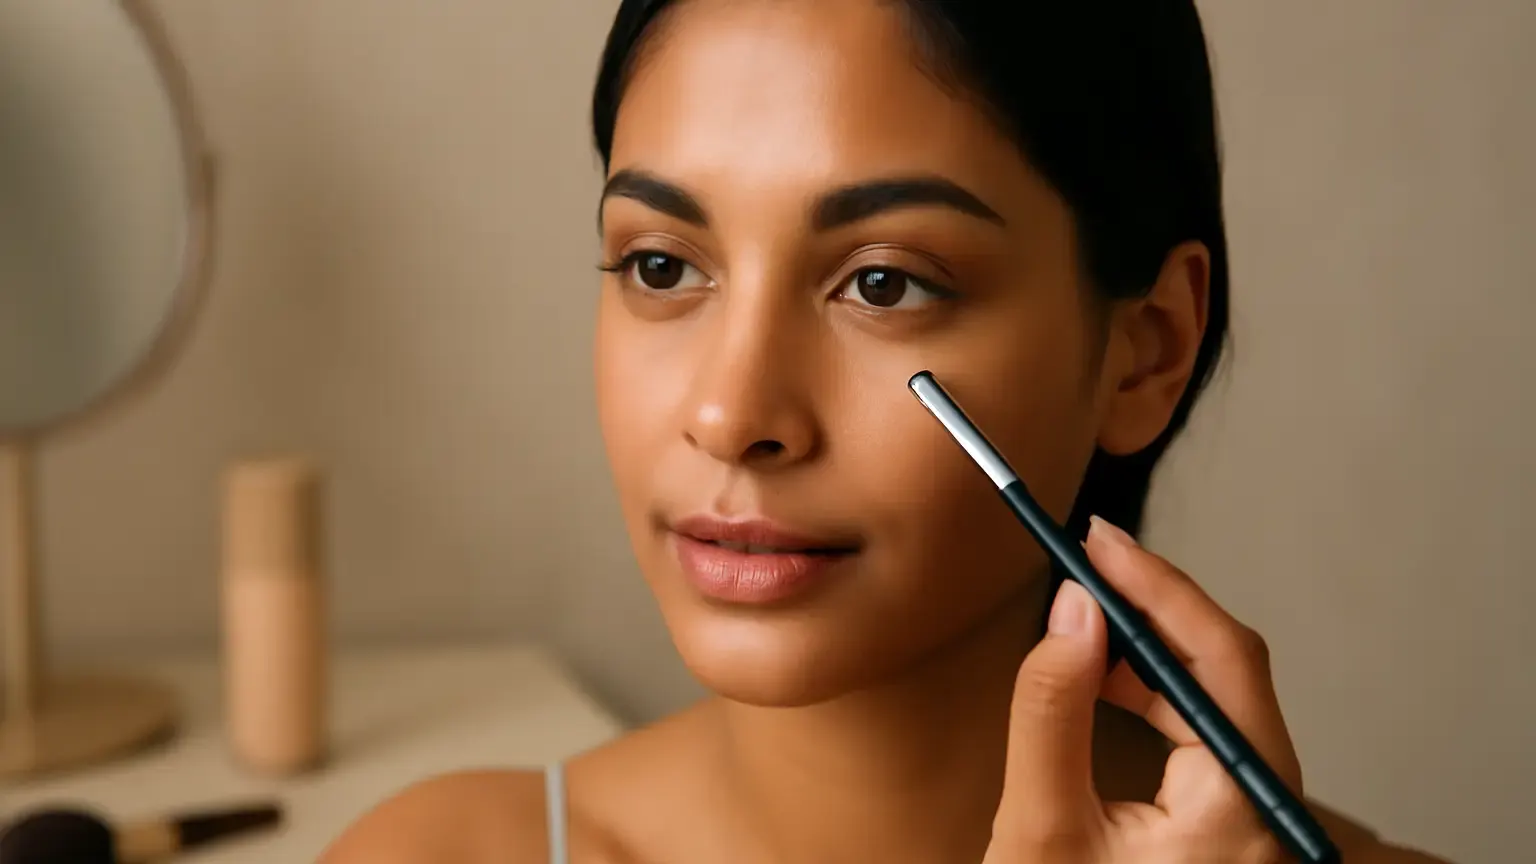
These makeup basics for concealer are for anyone who wants dark circles, redness or individual blemishes covered without a thick-looking base. The most reliable approach is simple: prepare the skin, match the shade to the job, use a small amount, place it only where coverage is needed, then set selectively. Brighten under-eyes with a flexible formula, spot-conceal blemishes with more precision, and add thin layers rather than one heavy coat.
Concealer works best as a targeted product, not as a second layer of foundation over the whole face. It can brighten the under-eye area, tone down redness and disguise the appearance of a spot, but the result depends on more than the shade in the tube. Skin preparation, formula, placement and quantity all affect whether coverage looks smooth or cakey.
What concealer is meant to do
Concealer is a concentrated complexion product designed to add coverage in selected areas. Foundation usually creates a more even base across larger sections of the face, while concealer handles local concerns. Using it selectively keeps the makeup lighter and helps natural skin texture look more believable.
There is no single best concealer for every task. A flexible, hydrating formula can suit the under-eye area, which tends to move and show fine lines. A more opaque, long-wearing formula may be useful for a blemish or persistent redness. If your skin is dry, an overly matte product can emphasise flakes. If your skin becomes oily, a very emollient formula may move unless it is set carefully.
Start with skin prep before makeup
Good skin prep before makeup reduces the need for excess product. Begin with clean, comfortable skin and apply a lightweight moisturiser suited to your skin type. Give it a few minutes to settle. If your daytime routine includes sunscreen, allow that layer to absorb as well before applying complexion products.
Do not apply concealer over visibly wet skincare. Too much slip can make it separate, while no moisturisation at all may leave dry patches looking more prominent. The ideal surface feels hydrated but not greasy. If the under-eye area is particularly dry, tap on a small amount of eye-safe moisturiser and remove any excess before makeup.
Primer is optional. Use it when a specific concern needs it, such as excess shine around the nose or makeup movement in a crease-prone area. Adding several layers of skincare, primer and base without allowing them to settle can contribute to pilling and uneven coverage.
Concealer shade matching: choose for the job
Concealer shade matching is easier when you separate brightening from covering. For a blemish or redness, choose a shade close to your skin tone and undertone. A very light shade can make the area look more noticeable rather than concealed.
For the under-eye area, a shade that is slightly lighter than your complexion can add brightness, but going several shades lighter often creates a grey or stark appearance. If your dark circles look blue, purple or brown, a subtle colour corrector may help neutralise the cast before concealer. Use the smallest amount possible; an orange or peach corrector should not be clearly visible beneath the final layer.
- For spot coverage: match your foundation or natural skin tone as closely as possible.
- For gentle brightening: choose only a little lighter, with a compatible undertone.
- For strong discolouration: consider a thin colour-correcting layer followed by a skin-matched concealer.
Test a shade along the jawline or near the area where it will be used, rather than relying only on the colour shown on a screen. Natural daylight is useful for checking whether the shade blends into the surrounding skin.
Concealer placement makeup basics for dark circles
Where to place concealer for dark circles depends on where the shadow is visible, not on a fixed triangle shape. Large triangles of product under both eyes can add unnecessary weight and settle into lines. Instead, start at the inner corner if darkness is strongest there, follow the hollow or shadowed section, and blend the edges outward.
- Apply a tiny dot at the inner corner, where the nose and eye meet, if that area looks dark.
- Add a few small dots along the visible shadow rather than coating the entire under-eye.
- Leave the outer area light unless it genuinely needs coverage.
- Tap with your ring finger, a small concealer brush or a slightly damp beauty sponge.
- Look straight ahead and check the result before adding more product.
This concealer placement keeps coverage close to the discolouration and preserves movement around the eye. Avoid dragging the product across the skin; gentle tapping gives more control and is less likely to disturb the base underneath.
How to cover blemishes without cakey makeup
To cover blemishes without cakey makeup, use a skin-matched blemish concealer and work in a small area. First, remove any oil or skincare sitting on the spot with a clean tissue or cotton bud. Apply one small dot directly over the discolouration, allow it to sit briefly, then tap around the edges with a small concealer brush.
Keep the centre covered and the perimeter diffused. If the mark is still visible, add a second very thin layer only to the centre. This spot-concealing method is usually more natural than spreading a thick patch across the entire cheek. Do not repeatedly brush over the area after the product begins to set, as this can lift coverage and reveal the texture again.
Makeup can reduce the appearance of redness or uneven tone, but it does not change the underlying skin. Avoid picking at a spot before applying makeup, and use clean hands and tools. If an area is painful, broken or persistently concerning, prioritise appropriate medical advice rather than layering more product over it.
Thin concealer layers beat one heavy coat
The most common quantity mistake is starting with too much. A useful rule is to begin with less than you think you need: one small dot under each eye or one pin-sized amount for a blemish. You can build coverage, but removing excess without disturbing the base is difficult.
Use thin concealer layers by spreading the first layer only across the target area, then waiting a few seconds before deciding whether another is necessary. The product may look more opaque as it settles. If the first layer has creased, tap it smooth before adding anything else.
A concealer brush gives precise control for spots and corners. A fingertip warms a creamy formula and can create a seamless finish under the eyes. A damp sponge softens edges and removes some excess, but pressing too hard can lift product. Match the tool to the task rather than assuming one method works everywhere.
Setting concealer without drying the skin
Setting concealer helps limit movement, but powder should be used selectively. For the under-eye area, first look up and gently smooth any crease with a fingertip. Then press a very small amount of finely milled translucent powder where makeup tends to move. A fluffy brush can provide a lighter result than packing powder on with a puff.
Should you set under-eye concealer with powder? Usually, yes, if your concealer creases or transfers, but not necessarily with a heavy layer. Dry skin may need little or no powder, while an oilier area may benefit from a modest amount. On blemishes, press powder over the spot only after the cream concealer looks even. Too much powder can make texture and dry patches more visible.
Setting spray is optional and does not replace correct application. Use it when it suits the rest of your makeup, but do not spray repeatedly in an attempt to fix a thick layer. Cakey concealer fixes start with removing excess, smoothing the area and rebuilding lightly.
Common mistakes that create a cakey finish
- Using a brightening shade on blemishes: the contrast can draw attention to the mark.
- Applying concealer before skincare settles: the base may slide, pill or separate.
- Covering the whole under-eye with a thick triangle: extra product collects in lines and looks heavy.
- Layering without checking: you may add coverage where the first layer was already enough.
- Choosing a formula that fights your skin: a very dry matte finish can exaggerate texture, while a rich formula may crease.
- Powdering automatically: unnecessary powder can remove freshness and emphasise dryness.
- Rubbing instead of tapping: friction can move both concealer and foundation underneath.
When a finished area looks cakey, do not immediately add more product. Press a clean, slightly damp sponge over it, or tap with a fingertip to lift excess. A tiny amount of moisturiser on a clean fingertip can soften a dry patch, followed by a minimal touch-up if needed.
A simple concealer routine for beginners
If you are learning how to use concealer for beginners, follow this order:
- Prepare and lightly moisturise the skin, then let skincare and sunscreen settle.
- Apply foundation first if you wear it, so you can see how much concealer is genuinely needed.
- Use a corrector only where discolouration needs neutralising.
- Place a small amount of concealer on the inner under-eye shadow, redness or blemish.
- Tap the edges until they merge with the surrounding makeup.
- Inspect the result in natural light and add a thin second layer only to uncovered areas.
- Set selectively, focusing on movement or shine rather than powdering the entire face.
For a natural finish, stop when the area looks balanced from a normal conversational distance. Concealer does not need to erase every trace of skin texture to look polished.
Quick takeaway: makeup basics for concealer
The best makeup basics for concealer are about restraint and placement. Match the shade to whether you are covering or brightening, prepare the skin without leaving it slippery, apply small amounts only where needed, and build thin layers. Use a precise tool for blemishes, a flexible technique under the eyes and powder only where makeup moves. These choices create coverage that looks smoother, lighter and more like skin.
Products that may help with this routine
Choose only what fits your skin, hair or personal needs. Use the links below to view current options on Amazon India.
Frequently Asked Questions
How do I use concealer as a beginner without making it cakey?
Start with moisturised, settled skin and apply a small amount after foundation if you wear it. Tap concealer onto the specific area, blend only the edges, and add a thin second layer only where coverage is still needed. Set selectively rather than covering the entire area with powder.
Where should I place concealer for dark circles?
Place it on the actual shadow, usually near the inner corner and along the hollow under the eye. Avoid automatically drawing a large triangle across the whole under-eye, because excess product can settle into lines and look heavy.
How can I cover blemishes without cakey makeup?
Use a concealer close to your skin tone, apply one small dot directly over the blemish and diffuse only the edges with a small brush or fingertip. Add another very thin layer to the centre if necessary, then set that small area lightly.
How much concealer should I use?
Begin with one tiny dot under each eye or a pin-sized amount for a blemish. Let the first layer settle before deciding whether you need more. Building gradually is easier than trying to remove excess product.
Should you set under-eye concealer with powder?
Set it only if the product creases or transfers. Smooth any crease first, then press on a very small amount of finely milled powder. Dry skin may need little or none, while an oilier area may benefit from light setting.
How should I prep my skin before concealer?
Cleanse as usual, apply a suitable lightweight moisturiser and let skincare and sunscreen settle before makeup. The skin should feel comfortable but not greasy or wet. Remove excess slip before applying concealer.