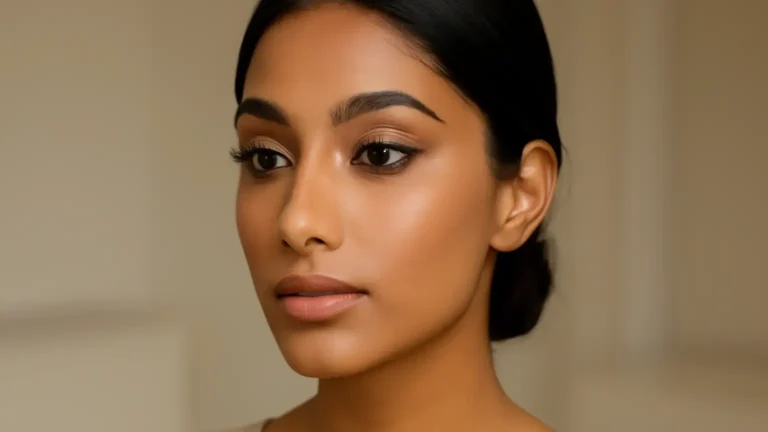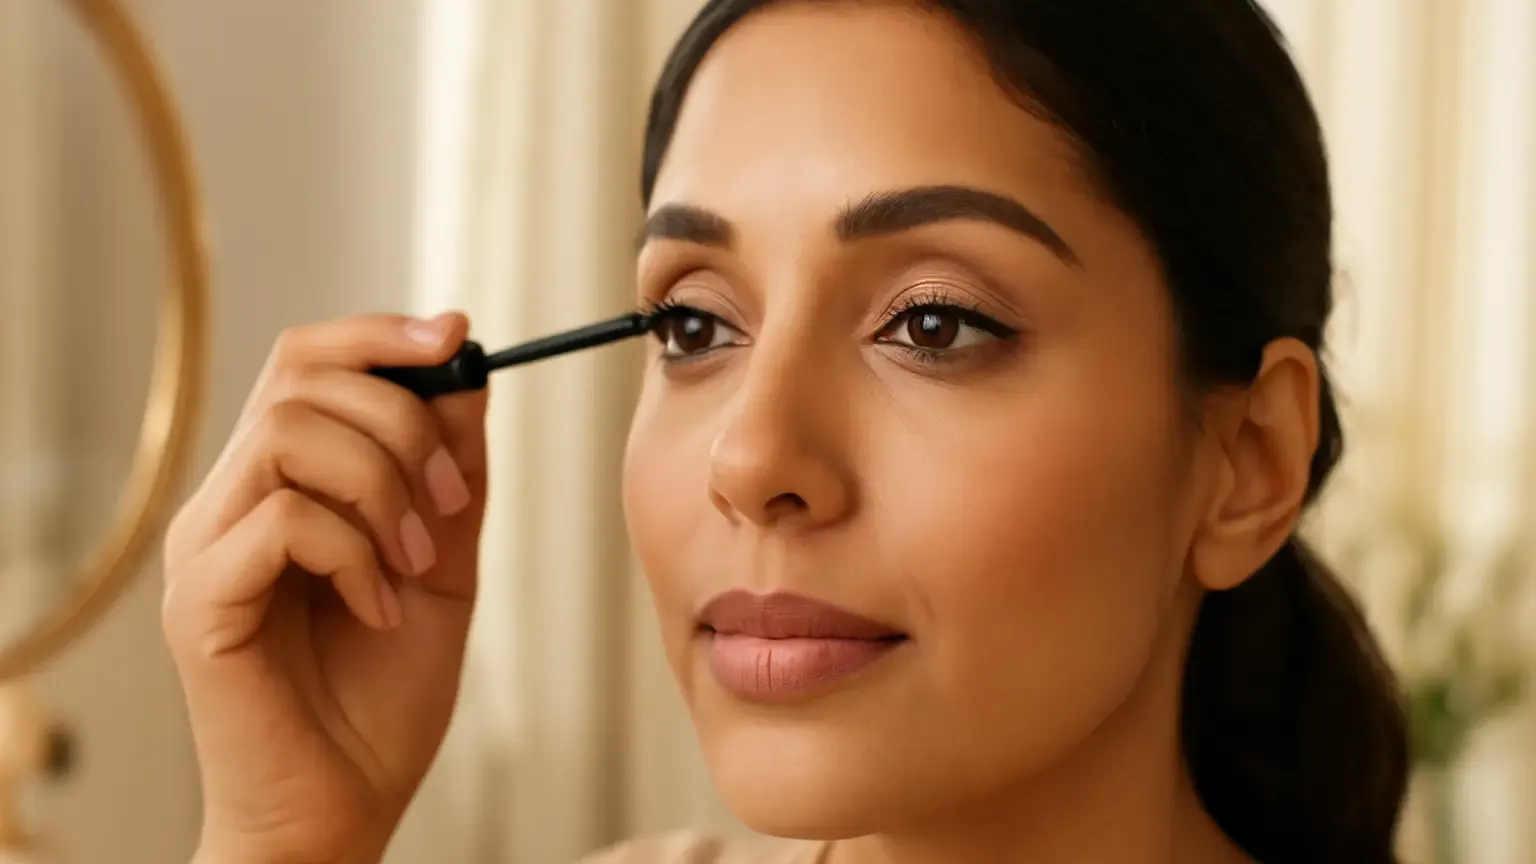
Makeup basics for mascara come down to five controllable choices: curl clean lashes, place the mascara wand at the roots, use thin layers, keep lower-lash product precise and remove it gently at night. This routine suits beginners, glasses wearers and anyone who wants lifted, separated lashes rather than heavy volume. The key decision is whether you need length, volume, hold or easy removal; choosing the formula around that need prevents most clumps before they happen.
Why mascara clumps—and what prevents them
Clumps usually come from one of four problems: applying mascara to oily or damp lashes, using too much product at once, letting coats dry unevenly, or repeatedly pumping the wand inside the tube. A thick formula can also gather at the lash tips when the brush is overloaded. Good mascara application basics are less about brushing faster and more about controlling product quantity and placement.
Before beginning, complete eyeshadow and eyeliner if you are wearing them, then check that your lashes are clean and dry. If you use an eye cream or sunscreen near the eyes, allow it to settle first. Excess moisture and oil can make mascara slide, transfer or form small beads along the lashes.
Choose the finish according to the result you want. A lengthening mascara is useful when lashes look short or disappear against dark eyeliner. A volumising mascara creates a fuller effect but may need a lighter hand. For humid days, ceremonies or watery eyes, waterproof mascara can improve hold, although it generally needs more careful removal. A tubing mascara is another option for people who prefer a formula that forms flexible coatings around individual lashes and can often be removed with warm water and gentle pressure.
1. Curl clean lashes before mascara
The simplest way to make lashes look lifted is to create the bend before applying any formula. This is one of the most important answers to how to curl lashes before mascara: use a clean lash curler on bare, dry lashes, never on lashes already stiff with mascara.
- Open the curler and bring it close to the upper lash line without pinching the eyelid.
- Press gently at the base for about five seconds.
- Release, then repeat lightly at the middle and near the tips if you want a softer curve.
A gradual curve usually looks more natural than one sharp crease. Keep the pressure gentle; force is not a substitute for correct placement. If the curler catches skin, move it slightly forward and try again. Clean the pad regularly and replace it when it becomes cracked, stiff or misshapen.
People with straight lashes may benefit most from curling, while naturally curly lashes may need only a careful coat of lengthening mascara. If your eyes are sensitive, take extra care around the waterline and stop if the tool causes discomfort.
2. Use the root-to-tip technique for lifted upper lashes
For clump-free lashes, the brush should do most of its work at the roots rather than depositing a large amount on the ends. Look slightly downward into a mirror, keep the eyelid relaxed and position the mascara wand at the base of the upper lashes. Wiggle it gently from side to side, then sweep upward to the tips.
Work in small sections: inner, centre and outer lashes. This helps the shorter inner lashes receive attention without forcing one overloaded stroke across the entire eye. At the outer corner, angle the wand slightly towards the temple for a lifted, fanned-out appearance. At the inner corner, turn the wand vertically or use only the tip so the product does not gather into a dark blob.
Wipe one side of the brush lightly against the tube opening before application. You do not need to remove all the product; the aim is to reduce excess at the tip. Avoid pumping the wand repeatedly, as this pushes air into the tube and can make the formula dry faster.
Choose the brush for the result
- A slim, tapered brush offers control for small or short lashes.
- A curved brush can help reinforce an existing curl.
- A comb-style brush is useful when separation matters more than dramatic volume.
- A fuller brush may suit dense lashes, but requires careful wiping before use.
The best brush is the one you can place close to the roots without touching the eyelid. Brush shape matters, but control matters more.
3. Build controlled layers instead of one heavy coat
Can you layer mascara without clumps? Yes, if each coat is thin and the next layer is added while the previous one is still slightly flexible. One heavy coat tends to overload the tips and sticks neighbouring lashes together. Two light coats usually give better separation and hold.
Start with one coat from root to tip. Wait briefly—just long enough for the surface to lose its wet shine, not until it becomes hard and brittle. Then add a second coat only where you need more definition, such as the outer or centre lashes. If the formula is fast-drying, work one eye at a time.
Do not keep brushing after the lashes have started to set. Repeated dry brushing creates flakes and pulls lashes into spikes. For a more natural look, use a lengthening formula on the first coat and a small amount of volumising mascara at the roots on the second. Mixing formulas can work, but check that both remain comfortable and do not become excessively thick.
What to do when a clump appears
Separate it while the mascara is still soft with a clean lash comb or a clean, dry disposable spoolie. Move from root to tip with light pressure. Do not tug or use a sharp object near the eye. If several lashes have fused together, removing the product and starting again is safer and usually quicker than adding more.
4. Keep lower-lash application small and precise
Lower lashes need less product than upper lashes because they are shorter, finer and closer to the skin beneath the eye. For lower lashes, hold the mascara wand vertically and touch the tip lightly to individual lashes. Another option is to use the remaining product on the brush after the upper lashes have been coated.
Place a folded tissue or a clean thin card beneath the lower lashes if you often mark the skin. Look straight ahead, keep your face relaxed and use short taps rather than a full sweeping motion. Concentrate on the centre and outer lower lashes if you want definition without making the eyes look smaller.
If your mascara commonly transfers beneath the eyes, choose a smaller brush, use less product or consider a tubing mascara. Waterproof mascara can resist water, but it is not automatically the best choice for everyday wear if removal involves vigorous rubbing. Those with sensitive eyes should avoid applying product directly to the waterline and should discontinue use if burning, swelling or persistent irritation develops.
5. Remove mascara gently at the end of the day
Good lash care includes removing every trace of eye makeup before sleep. Rubbing can make the delicate skin around the eyes feel sore and may pull at lashes, especially when removing waterproof formulas. The answer to how to remove mascara gently is to let the remover do the work.
- Soak a cotton pad with a suitable eye makeup remover. For waterproof mascara, choose a remover designed to dissolve long-wear or oil-resistant products.
- Close one eye and hold the pad over the lashes for around 10 to 15 seconds. This softens the coating.
- Glide downward and outward without scrubbing from side to side.
- Use a fresh cotton bud or pad to clean the lash roots and corners carefully.
- Rinse or cleanse according to the remover instructions, then pat the area dry.
If you wear contact lenses, follow the product and lens-care guidance you normally use and avoid allowing remover to pool in the eye. Anyone with sensitive eyes should favour fragrance-free, eye-area-appropriate products and stop using a product that causes repeated stinging. Persistent redness, swelling, discharge or pain warrants advice from an optometrist or doctor rather than more makeup experimentation.
Common mascara mistakes to avoid
- Starting with a dirty wand: Wipe excess product from the opening instead of scraping it onto the tube neck, where it can dry and fall back into the formula.
- Applying before curling: A lash curler can stick to dried mascara and pull or break lashes.
- Using too many coats: More layers do not always mean more lift. Stop when the lashes are defined and comfortable.
- Ignoring the corners: A large brush can leave inner lashes bare or deposit too much product. Turn it vertically for precision.
- Sharing mascara: Eye products should be personal. Replace old or changed-smell mascara according to the manufacturer’s guidance, and do not add water or saliva to revive it.
- Sleeping in eye makeup: Even a light coat can become harder to remove after several hours and encourage rubbing.
A quick routine for different lash goals
For a soft everyday look, curl clean lashes, apply one thin lengthening coat and add a small amount to the lower lashes. For more volume, use a fuller brush at the upper roots, then separate the tips with a clean spoolie before the product sets. For short lashes, a slim wand and root-focused application usually give more visible improvement than a very thick formula. For humid conditions, prioritise hold, but balance waterproof performance with a remover that dissolves it without repeated rubbing.
The decision is straightforward: choose curl preparation for lift, brush placement for separation, formula choice for the finish and removal technique for comfort. These four factors work together; a strong formula cannot compensate for overloaded application, and a perfect curl will disappear if the lashes are weighed down.
Takeaway: simple makeup basics for mascara work best
The most reliable makeup basics for mascara are practical rather than complicated: curl bare lashes gently, start at the roots, use thin controlled layers, treat lower lashes as a precision step and dissolve the product before wiping it away. Adjust the brush and formula to your lash length, desired finish and eye sensitivity. When mascara remains light at the tips and comfortable throughout the day, lifted lashes look cleaner, softer and more intentional.
Products that may help with this routine
Choose only what fits your skin, hair or personal needs. Use the links below to view current options on Amazon India.
Frequently Asked Questions
How do you apply mascara without clumps?
Curl clean lashes first, wipe excess mascara from the wand, wiggle at the roots and sweep to the tips. Use one thin coat, then add a second only where needed while the first is still slightly flexible.
How do you curl lashes before mascara?
Use a clean lash curler on dry, bare lashes. Press gently at the base, release, then repeat lightly at the middle or tips for a gradual curve. Never curl lashes after mascara has dried.
What is the best mascara technique for short lashes?
Use a slim or tapered brush, place it close to the roots and work in small sections. A lengthening formula and a light second coat at the outer lashes can add definition without weighing them down.
How do you apply mascara to lower lashes?
Hold the wand vertically and use the tip to tap individual lower lashes. Apply very little product, concentrating on the centre and outer lashes to reduce smudging and prevent a heavy appearance.
How do you remove mascara gently?
Hold an eye makeup remover-soaked cotton pad over closed lashes for 10 to 15 seconds, then glide downward without scrubbing. Repeat with a fresh pad rather than rubbing harder.
Can you layer mascara without clumps?
Yes. Use thin coats, allow each to become slightly less wet before adding the next, and focus the second coat only on areas that need extra length or volume.