Makeup basics for blush become much easier when you place the first touch high on the outer cheek, use a compatible formula and build sheer layers. That simple order gives you a lifted flush without a visible stripe or patchy edges. This beginner-friendly guide explains where to put blush, how to choose cream or powder, and how to adapt the finish for different skin types and face shapes.
Blush can add colour, dimension and freshness, but a misplaced or overloaded application may make the face look lower, wider or uneven. The most reliable approach is to control three things: where the pigment begins, how much you apply and how the edges fade into your base. These makeup basics for blush work for everyday makeup, whether you prefer a dewy finish or a softer matte finish.
Choose the right blush formula first
Start with the makeup already on your skin, your preferred finish and how much control you want. Both cream and powder can look natural when applied in a thin layer.
Cream blush vs powder blush
- Cream blush: Works well over liquid or cream foundation, particularly when the skin feels dry or you want a fresh, skin-like finish. Tap it on rather than rubbing. A set-down or balm-like cream is often easier to manage in warm, humid weather.
- Powder blush: Usually suits powder foundation, setting powder or a base that is no longer wet. It can offer simpler oil control and is easy to soften with a clean, fluffy brush.
- Layering blush products: For extra wear, apply a very sheer cream layer, let it settle and add a closely related powder shade. This is optional; strong layers can look heavy.
Do not put powder directly over a wet cream base. It can catch in certain areas and create the patchiness you are trying to prevent. If you use cream blush, allow skincare and foundation to settle first.
Use an undertone check to choose your shade
This blush undertone guide can help narrow your options without making shade selection complicated:
- Warm or golden undertones: Try peach, apricot, warm coral, terracotta or orange-leaning rose.
- Cool or pink undertones: Consider soft pink, berry, raspberry, mauve or blue-based rose.
- Neutral undertones: Balanced rose, peach-pink and muted coral shades are useful starting points.
For natural blush shades, choose a colour similar to the flush your cheeks develop after mild activity, but slightly clearer and more polished. Very pale shades may disappear on deeper complexions, while vivid pigment needs a lighter hand. On Indian complexions, terracotta, warm rose, plum, brick and peach can all work when their depth and undertone suit the wearer.
When possible, swatch on the cheek or jaw rather than relying only on a hand swatch. Check the colour in daylight because indoor lighting can make coral appear dull or mauve appear grey.
Blush placement makeup basics by face shape
Blush for face shape should support your preferred effect rather than force your features into a fixed category. Begin on the high outer cheek and keep the strongest colour slightly back from the centre of the face. Then adjust the direction.
Round face
For a lifted effect, place blush above the fullest part of the cheek and sweep it diagonally toward the temples. Keep the colour away from the broadest centre area and blend upward, not in a flat horizontal band. This is a practical best blush placement for round face makeup.
Oval or long face
Apply colour across the upper cheek, beginning near the outer cheekbone and blending slightly inward. Avoid taking it too far toward the temples if that makes the face appear longer. A softly horizontal shape can add balance.
Square face
Concentrate blush on the fleshy upper cheek and soften the edges toward the hairline. Rounded blending can gently balance stronger angles. Keep the direction moderate rather than sharply diagonal.
Heart-shaped face
Start on the outer cheek and blend toward the centre with a rounded finish. This adds softness to the lower cheek without placing a large amount of colour near the nose or chin.
When you are unsure of your face shape
Smile lightly, locate the upper part of the cheek’s natural fullness and place the first small amount just above it. Blend outward and upward. This is often more useful than copying a placement map that does not match your cheekbones.
How to apply blush for beginners
- Prep without over-lubricating: Apply moisturiser and sunscreen, then let them settle. If the surface feels slippery, press away excess with a tissue.
- Finish the base: Apply foundation or concealer in a thin layer. Decide where you need setting powder before adding blush; a heavily powdered cheek can make cream drag.
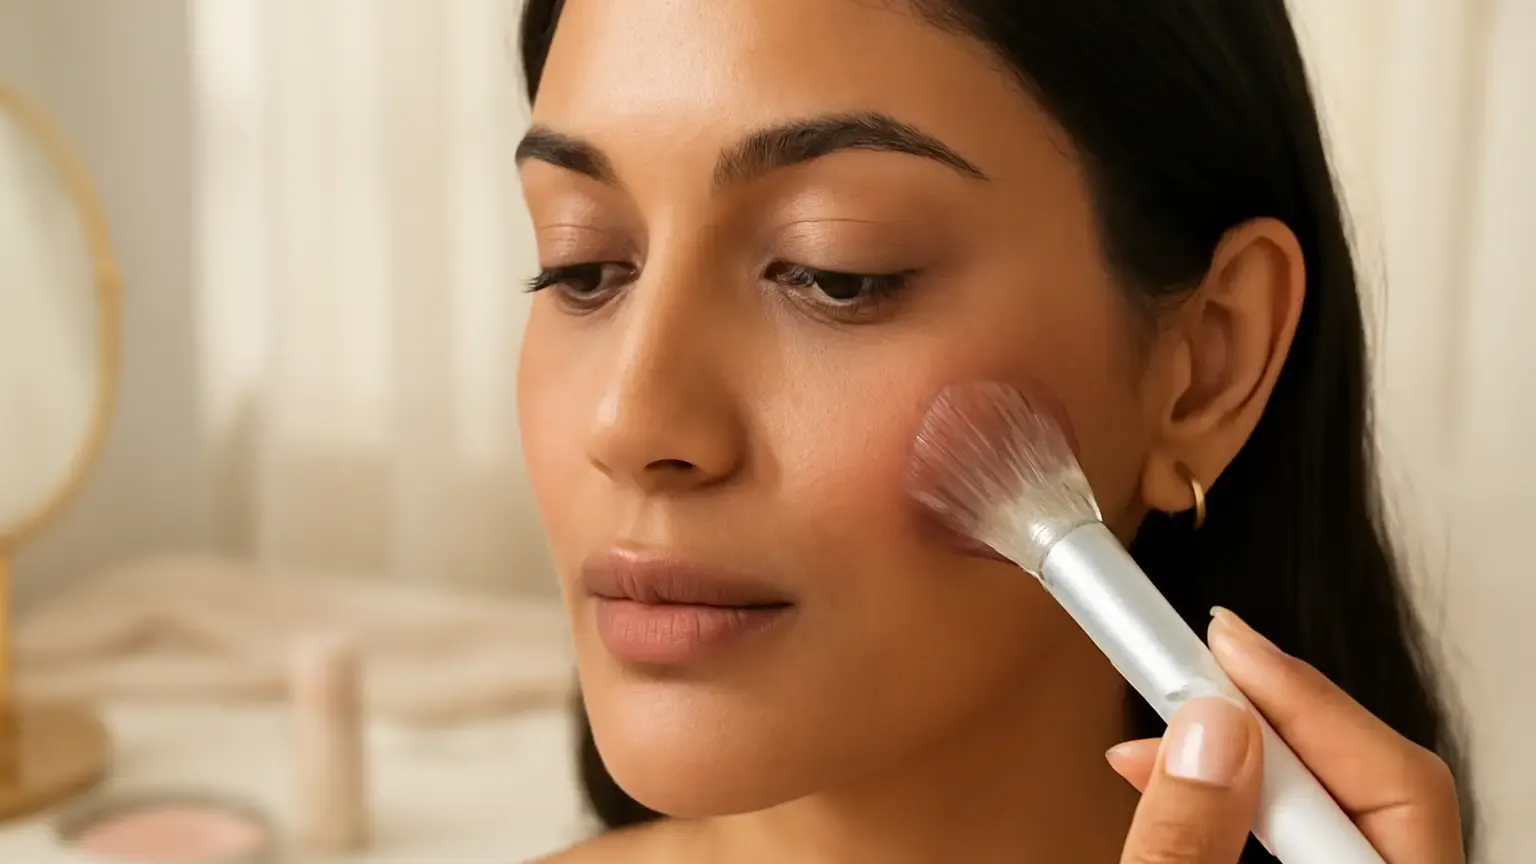
- Load less than you expect: Pick up a small amount with a clean blush application brush, sponge or fingertips. Tap excess cream onto your hand and gently tap off excess powder.
- Place the first touch high and outer: Put the strongest point on the upper outer cheek, not directly beside the nose. It is easier to bring colour inward than to correct an overloaded centre.
- Stipple before sweeping: Press and lift the product onto the skin first. Once most pigment is deposited, use small circular or upward strokes to soften the perimeter.
- Build sheer layers: Add a second light layer only after the first looks even. This is the most dependable way to prevent patchy blush.
- Check both sides: Look straight ahead and turn your face slightly. Match position and intensity, then blend the edges into the base.
For powder, a soft, moderately sized brush gives more control than a dense one. For cream, fingertips offer warmth and precision, while a damp makeup sponge can diffuse colour. The goal when learning how to blend blush is to soften the perimeter, not erase the colour from the centre.
Adapt the routine for your skin type
Blush for dry skin
Use a comfortable moisturising base and avoid applying blush over visibly flaky or unsettled skincare. Cream or liquid textures often blend easily, but do not repeatedly rub the same area. Press the product in, then soften the edge with a clean sponge. If you are comparing cream blush or powder blush for dry skin, cream is often the more forgiving starting point when the base is well moisturised.
Blush for oily skin
Blot excess oil, apply a light base and powder only where needed. Powder blush may offer simpler control, while a set cream formula can also work when used sparingly. A long-lasting blush routine depends more on thin, compatible layers than on applying a thick first coat.
For a textured or uneven-looking base
Use less pigment and avoid dragging a brush across the texture. Stippling distributes colour while disturbing less foundation. If one spot becomes too strong, press a little foundation or a clean sponge over it instead of wiping the blush away.
Common blush mistakes and quick fixes
- Starting near the nose: Move the strongest colour outward and leave only a soft remainder toward the centre.
- Using one heavy swipe: Tap off excess and build gradually instead of creating a stripe.
- Blending in one direction only: Soften the top, bottom and outer edges so the colour fades into the base.
- Mixing incompatible textures: Set a wet base before powder, or use cream over a compatible liquid layer.
- Matching both cheeks by adding more: Reduce the stronger side with a clean sponge or a little base rather than intensifying the other cheek.
- Ignoring natural light: Check the finished makeup near a window before leaving home.
A simple decision guide before you apply
Choose cream when your base is liquid, your skin feels dry or you want a dewy finish. Choose powder when your base is powdered, you need more oil control or you want an easy touch-up. Choose a muted rose or peach for an everyday look, and use brighter coral, berry or terracotta in a lighter layer. Start high on the outer cheek, adapt the direction to your face shape and stop blending once the border disappears.
Takeaway
The core of makeup basics for blush is controlled placement: choose a compatible formula, select an undertone-friendly shade and apply it in thin layers. Keep the strongest point high and outer, then soften the edges until no visible border remains. This method lets blush lift and enliven the face without looking streaky, heavy or disconnected from the rest of your makeup.
Products that may help with this routine
Choose only what fits your skin, hair or personal needs. Use the links below to view current options on Amazon India.
Frequently Asked Questions
How do I apply blush for beginners?
Use a small amount on a compatible base, place it high on the outer cheek, tap or stipple it in and build thin layers. Blend the edges upward and outward, then check both sides in natural light.
Where should I put blush for a lifted look?
Place the strongest colour on the upper outer cheek, slightly above the fullest part of the cheek, and blend diagonally toward the temples. Keep the area near the nose softer.
Should I use cream blush or powder blush for dry skin?
Cream blush is often easier to blend over well-moisturised dry skin because it can give a more skin-like finish. Apply a thin layer and avoid rubbing over dry patches.
How can I stop blush from looking patchy?
Let skincare and base makeup settle, use a compatible formula, remove excess product before application and build colour gradually. Stippling is usually gentler than dragging a brush.
Which blush shades suit warm undertones?
Peach, apricot, warm coral, terracotta and warm rose usually complement golden or warm undertones. Choose the depth according to your complexion and apply bright shades lightly.
Can I layer cream and powder blush together?
Yes. Apply a very sheer cream layer first, let it settle and add a small amount of a similar powder shade. Too much of either layer can look heavy or uneven.