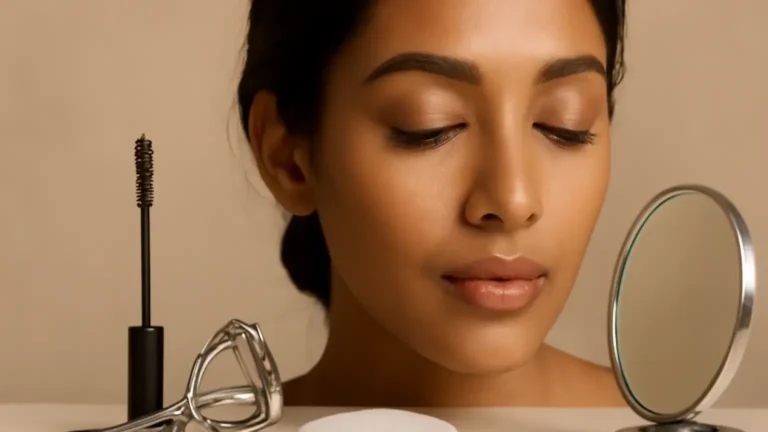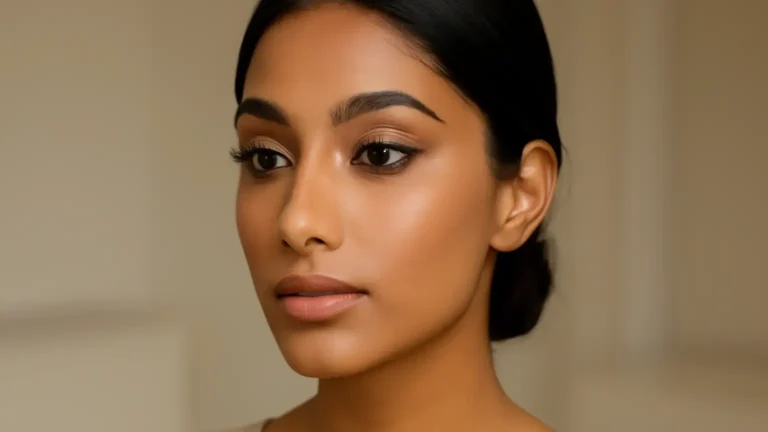
Makeup basics for concealer come down to three decisions: match the formula and shade to the area, apply less than you think you need, and set only where movement or shine requires it. This guide is for beginners and anyone whose concealer looks grey, heavy or patchy. You’ll learn where to place under-eye concealer versus blemish concealer, how to build coverage in thin layers, and which finish works best for dry, oily or combination skin.
Concealer is not meant to cover the entire face by default. It is a precision product: use it where discolouration, shadows, redness or a spot needs extra help, then blend the edges into the surrounding skin. This approach usually looks more natural than applying a thick layer everywhere.
Start with the right concealer shade and formula
Good application cannot fully correct a poor shade match. Before choosing coverage, decide what you want the product to do.
- For under-eye darkness: choose a concealer close to your skin tone, or up to half a shade lighter if you want gentle brightening. Going several shades lighter can make the area look grey or overly prominent.
- For blemishes and redness: match your skin tone as closely as possible. A lighter shade can draw attention to the spot instead of disguising it.
- For highlighting: use a subtly lighter shade only on selected high points, such as the centre of the forehead or the inner under-eye area.
Concealer shade matching also depends on undertone. Warm undertones often look golden or olive, cool undertones may appear pink or rosy, and neutral undertones sit between them. Test a small amount along the jawline in daylight where possible. If the shade disappears into the skin rather than looking noticeably yellow, pink or pale, it is likely a better match.
Choose the texture according to the area. A flexible liquid or serum-like formula usually suits the under-eye area, while a more concentrated cream can be useful for spot concealing. If your skin is dry or textured, prioritise a comfortable, moisturising formula over a very matte one. For oily skin, a thin, long-wearing formula may stay neater, especially around the nose and chin.
Makeup basics for concealer: place it according to the concern
Under-eye concealer
Darkness is not always strongest directly beneath the entire eye. Look at the inner corner, hollow near the nose and the shadow below the lower lash line. Apply small dots only in those areas rather than drawing a large triangle from the eye to the cheek.
Let the product sit for a few seconds, then tap with a clean fingertip, a small concealer brush or a damp makeup sponge. Keep the coverage concentrated where the shadow is strongest and soften the outer edge. Avoid rubbing, which can move the product into fine lines and make the finish uneven.
Blemish concealer
For a spot, place a tiny amount directly over the centre of the redness. Use a small, firm concealer brush or the pointed side of a sponge to tap the product into place. Blend only the perimeter; excessive blending removes the coverage you intentionally placed there.
When covering blemishes, allow skincare and moisturiser to settle first. A very slippery base can cause concealer to separate, while a completely dry base may make the edges look flaky. If the area is sore, broken or irritated, avoid applying makeup directly over it and follow appropriate skin-care guidance.
How to apply concealer in thin, controlled layers
The most reliable method is to build coverage instead of starting with a heavy coat.
- Prepare the skin: Apply moisturiser suited to your skin type and allow it to absorb. Use sunscreen during the day, allowing that layer to settle before makeup.
- Apply your base first if you wear one: Foundation or skin tint may already reduce some redness, so you can use less concealer afterwards.
- Place small amounts: Dot product only on the shadow, redness or mark. One small dot is often enough for a first layer.
- Pause briefly: A short wait lets the formula become slightly more workable and prevents you from spreading it too far.
- Tap, then soften: Press the product into the target area and blend the edge into the skin. Do not repeatedly sweep across the centre of a blemish.
- Assess in natural light: Add a second thin layer only where the first has not provided enough coverage.
This is the practical advantage of buildable coverage: you can increase opacity without creating a thick, inflexible surface. Thin layers also tend to wear more evenly in warm or humid conditions, including much of India’s climate.
Choose the finish for your skin type
Dry skin makeup
Dry skin makeup generally looks fresher with a natural or softly radiant finish. Prep with moisturiser, avoid placing excessive powder over the whole under-eye area, and use a flexible formula. If concealer catches on dry patches, adding more product rarely solves the problem; better preparation and a smaller amount usually help more.
Oily skin makeup
Oily skin makeup benefits from thin, controlled application and targeted setting. Use a lightweight formula, give skincare time to settle, and press a small amount of setting powder over areas that crease or become shiny. A very thick matte layer may crack or separate as the face produces oil, so long wear does not require maximum product.
Combination skin makeup
Combination skin makeup works best when you treat zones differently. Keep the cheeks and under-eye area comfortable and lightly set, while using a little more powder around the nose, forehead and chin if needed. There is no requirement to use one finish across the entire face.
A natural finish makeup look usually comes from matching the product to the area: flexible and skin-like under the eyes, more precise over spots, and lightly powdered only where movement or shine is an issue.
When to use a colour corrector
A colour corrector can help when concealer alone leaves a persistent grey, green or ashy cast. Use it sparingly before concealer, not as a thick replacement for it.
- Peach or salmon: can visually soften blue or purple-looking under-eye shadows, particularly on medium to deep skin tones.
- Green: may help neutralise visible redness, but it should be applied in a very thin layer so green does not show through.
- Yellow or orange-toned correctors: may suit some types of uneven discolouration depending on depth and undertone.
The answer to “how to use colour corrector before concealer” is simple: apply the smallest amount to the discoloured area, tap it until the colour is diffused, then add a skin-matched concealer. If the concealer already covers the concern without looking grey, skip correction.
Set strategically for a smoother finish
Setting is optional, but useful where concealer moves. Wait until the product has been blended, then inspect the area by gently looking up and relaxing the face. If the concealer has collected in a fold, tap it smooth before setting.
Use a small fluffy brush or a puff to press a fine layer of setting powder over the crease-prone under-eye area, sides of the nose or blemish edges. Avoid sweeping a large amount across the face. On dry skin, no powder or a minimal amount may look better. On oily skin, targeted powder can improve wear. A setting spray may add comfort, but it does not replace appropriate shade selection or careful placement.
Common concealer mistakes to avoid
- Using one very light shade everywhere: It can make blemishes look raised and under-eyes look grey.
- Applying a large triangle under each eye: This adds unnecessary product to areas that may not need coverage.
- Blending until all coverage disappears: Soften the edges, but leave the centre of the concern covered.
- Powdering before the product settles: This can lock creases and exaggerate texture.
- Layering over wet skincare: Concealer may slide, separate or become patchy.
- Ignoring tools and hygiene: Clean brushes and sponges regularly, and avoid sharing makeup to reduce the risk of irritation or contamination.
A simple concealer routine to remember
Prepare the skin, apply foundation or tint if desired, identify the exact area needing coverage, and choose a close shade. Place a small amount, tap it in, soften only the edges and add a second thin layer if necessary. Set the areas that crease or shine, not automatically the whole face.
The central lesson in makeup basics for concealer is placement over quantity. When shade, texture, coverage and setting match the concern and your skin type, concealer can even out the complexion while still looking like skin.
Products that may help with this routine
Choose only what fits your skin, hair or personal needs. Use the links below to view current options on Amazon India.
Frequently Asked Questions
How do you choose a concealer shade for under eyes?
Choose a concealer close to your skin tone, or up to half a shade lighter for subtle brightening. Match the undertone and avoid going several shades lighter, which can look grey or stark.
How do you apply concealer without cakiness?
Prepare the skin, apply a small amount only where coverage is needed, tap rather than rub, and build in thin layers. Set only crease-prone or shiny areas with a light layer of powder.
Where should you put concealer for blemishes?
Place a tiny amount directly over the centre of the blemish, then tap the edges into the surrounding skin. Keep the coverage concentrated instead of blending the entire area heavily.
What is the best concealer routine for dry skin?
Moisturise first, allow skincare to settle, use a flexible natural or softly radiant formula, and apply minimal powder. Add coverage gradually rather than using one thick layer.
Should you set under-eye concealer with powder?
Set it only if it creases or moves. Press a very small amount of fine powder into the crease-prone area after smoothing the concealer. Dry skin may need little or no powder.
How do you use a colour corrector before concealer?
Apply a very thin layer of the appropriate corrector only over the discolouration, tap until diffused, and follow with a skin-matched concealer. Skip correction if regular concealer already works.