Oily skin and clay masks can work well together when the mask is placed where oil builds up, not automatically spread over every dry-feeling area. For most people, a kaolin or gentle bentonite formula on the forehead, nose and chin once weekly is a sensible starting point. This guide is for oily, combination and blemish-prone skin, including skin that feels dehydrated, and explains how to choose the clay, time the application, rinse gently and moisturise without a greasy after-feel.
What clay masks actually do for oily skin
A clay mask is a rinse-off product made with absorbent mineral powders. It can temporarily bind some surface oil, sweat and residue, leaving skin feeling cleaner and less shiny. That makes it useful as an occasional step in an oil control skincare routine, but it is not a permanent fix for excess sebum, enlarged-looking pores or breakouts.
The most important distinction is between reducing surface oil and drying the skin. A mask that leaves the face tight, flaky or uncomfortable has probably been used too often, left on too long or applied to areas that did not need it. Healthy oily skin still needs water, lipids and a functioning skin barrier.
Kaolin or bentonite: which clay is better?
Neither clay is universally best. The right choice depends on how oily, sensitive or dehydrated your skin feels and what else is in the formula.
| Clay type | Typical feel | Often suits | Use with care if |
|---|---|---|---|
| Kaolin clay | Usually milder and less aggressively absorbent | Combination, sensitive or first-time users | Your skin is already flaky or irritated |
| Bentonite clay | Often feels more absorbent and mattifying | Very oily areas used occasionally | Your skin is oily-dehydrated, reactive or tight after cleansing |
Ingredients such as fragrance, essential oils, strong exfoliating acids or high amounts of drying alcohol can make a clay product feel harsher. Read the full label rather than judging a mask by its clay name alone. A simple kaolin formula is often a sensible clay mask for oily skin when you are unsure where to start.
Choose T-zone masking or a full-face application
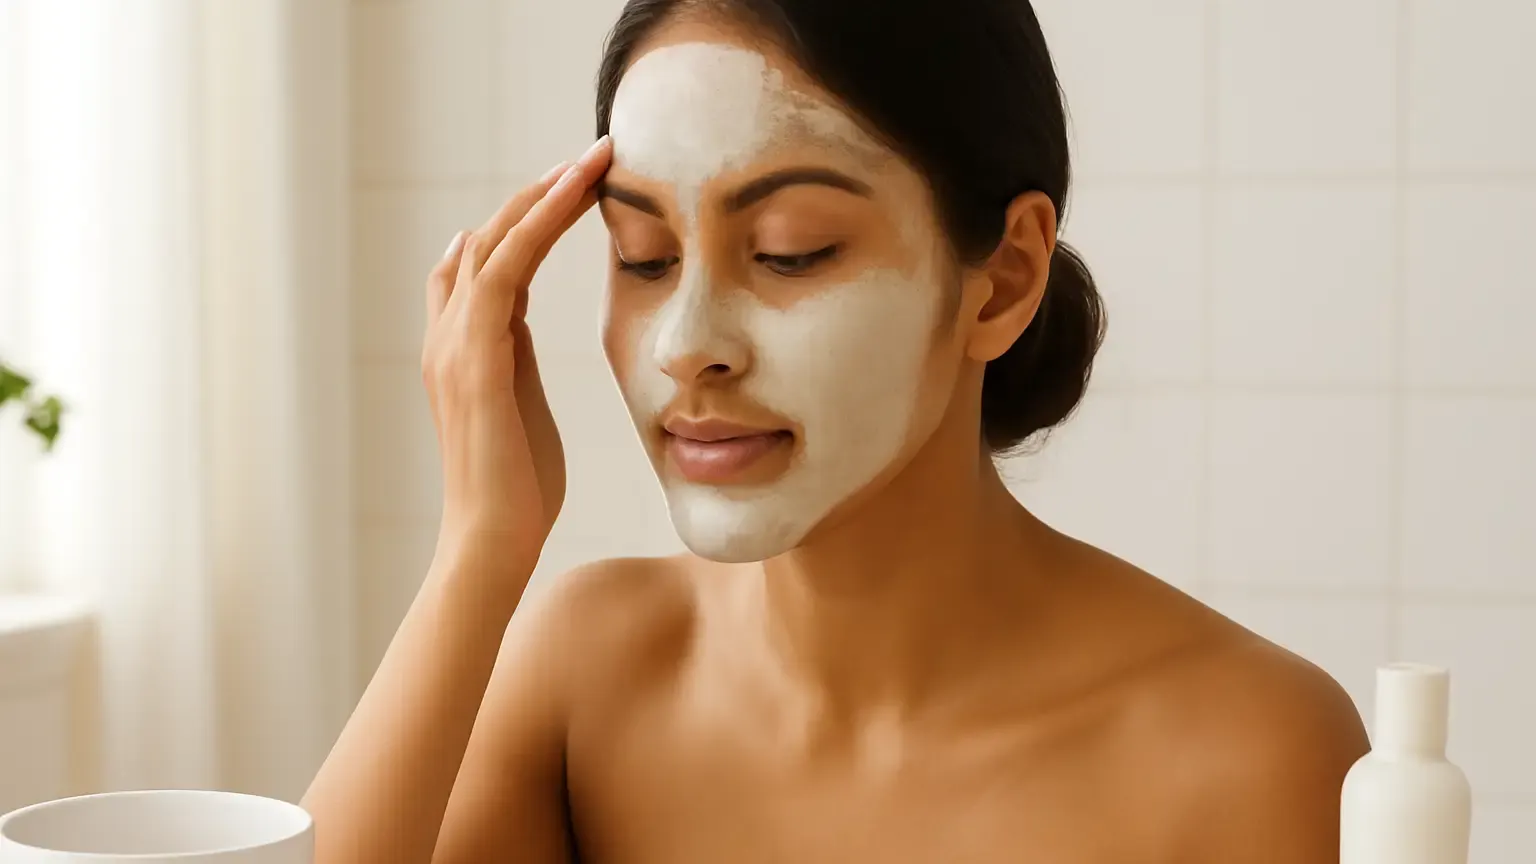
T-zone masking is usually the more precise option. Apply a thin layer to the forehead, sides and bridge of the nose, and chin if those areas become shiny or congested. Leave the cheeks, jaw and around the mouth bare if they feel comfortable, dry or tight. This approach is particularly useful for combination skin because oil production is rarely identical across the face.
A full-face clay mask can make sense when the entire face becomes noticeably greasy and the skin is not sensitive or dehydrated. Even then, use a thin, even film rather than a thick coat. More product does not create proportionally better oil control; it mainly makes removal harder and can increase tightness.
A quick placement test
- If the area looks shiny by midday but does not sting or flake, it may be suitable for clay.
- If it feels tight after cleansing, skip the mask there.
- If one cheek is dry and the nose is oily, use a targeted application instead of treating both areas identically.
- If an area has open, sore or visibly irritated spots, avoid rubbing a mask over it.
How often should you use a clay mask?
For many oily or combination skin types, once a week is a practical starting point. If your skin remains comfortable and still becomes very oily, you may consider using it up to twice weekly on the T-zone. Twice-weekly use should not mean two thick full-face applications, especially in a hot, humid Indian climate where sweat can tempt you to over-cleanse.
Clay mask frequency should be guided by your skin’s response, not a fixed promise on the jar. Reduce use to every 10–14 days or pause it if you notice persistent tightness, peeling, redness, burning or increased sensitivity. If you also use retinoids, exfoliating acids, scrubs or acne-focused products, a lower frequency may be more comfortable. Do not layer several potentially drying steps on the same evening.
A careful clay-mask routine, step by step
1. Cleanse without over-stripping
Start with a gentle cleanser and lukewarm water. Remove sunscreen and makeup properly, but do not scrub the skin to make the mask “work harder”. Pat dry, leaving the face comfortable rather than rubbed raw.
2. Apply a thin layer
Use clean fingers or a clean mask brush to spread the product over the selected areas. Keep it away from the eyelids, lips, nostrils and hairline. Follow the product’s stated timing; if it gives a range, begin at the shorter end.
3. Do not wait for a cracked, fully hard finish
A clay mask does not need to become stiff or visibly cracked to be effective. A common mistake is leaving it on until every part feels dry. That can increase discomfort without improving the result. If the mask starts to sting or burn, remove it immediately.
4. Rinse gently
Soften the mask with lukewarm water before wiping. To how to rinse off a clay mask safely in practice: splash or press a wet, soft cloth against the skin, then rinse away the loosened product without scrubbing. Pat dry with a clean towel. Avoid very hot water, rough muslin cloths and repeated rubbing around the nose.
5. Moisturise straight afterwards
Apply a light, fragrance-free post-mask moisturiser while the skin is still slightly damp. Look for a non-comedogenic moisturiser with humectants or barrier-supporting ingredients such as glycerin, panthenol or ceramides. A gel-cream may feel comfortable in humid weather, while a slightly richer lotion can suit oily skin that is also dehydrated. Moisturising does not cancel the mask’s oil-control effect; it helps reduce the urge to compensate with more oil or more product.
Adjustments for oily-dehydrated and acne-prone skin
Oily-dehydrated skin can look shiny while feeling tight, rough or dull. In this case, prioritise gentle cleansing and regular moisturising before increasing clay use. Choose kaolin or a lower-absorption formula, use it only on the shiny zones, and keep the contact time short. A mask is not a substitute for hydration, and repeated drying can make the routine feel progressively less comfortable.
For acne-prone skin, targeted use may be preferable to full-face application. Keep the mask away from tender, broken or inflamed areas and never use it as a spot treatment unless the product specifically says it is suitable. Clay may reduce surface oil temporarily, but it does not treat every cause of acne. Avoid picking or scrubbing blemishes before and after masking.
Introduce one new mask at a time and patch test according to the product’s instructions. Persistent, painful, spreading or scarring breakouts, or skin that repeatedly burns and peels, deserve advice from a dermatologist. Continue any prescribed routine unless your clinician tells you otherwise.
Common mistakes that make clay masks feel harsh
- Using it daily: More frequent application can disrupt comfort and the barrier rather than improve shine.
- Applying it everywhere by default: The cheeks may not need the same oil absorption as the nose and forehead.
- Leaving it on until it cracks: Follow timing instructions instead of waiting for a dramatic visual finish.
- Scrubbing during removal: Loosen the product first; friction is not extra cleansing.
- Skipping moisturiser: Oily skin still benefits from a light hydration step.
- Combining too many actives: Avoid stacking a mask with a scrub, peel or strong leave-on treatment when your skin is easily irritated.
A simple decision guide
Choose T-zone masking if shine is localised, your cheeks feel normal-to-dry, or you are new to clay. Choose a thin full-face application only if oiliness is widespread and your skin tolerates the product without tightness. Start with kaolin when sensitivity or dehydration is a concern; consider bentonite for occasional use on particularly oily areas if your skin remains comfortable.
The best routine is the one that leaves skin clean but calm: gentle cleanse, targeted clay when needed, careful rinse and a suitable moisturiser. In short, oily skin and clay masks are most compatible when the mask is treated as an occasional, localised oil-control step—not as a daily cure for shine.
Products that may help with this routine
Choose only what fits your skin, hair or personal needs. Use the links below to view current options on Amazon India.
Frequently Asked Questions
How often should you use a clay mask for oily skin?
Start once a week. If your skin stays comfortable and the mask is mainly used on the T-zone, you may increase to twice weekly. Reduce the frequency if you notice tightness, peeling, redness or burning.
Is a clay mask better on the T-zone or full face?
The T-zone is usually better when oiliness is concentrated on the forehead, nose and chin. Use a full-face mask only when the whole face is oily and non-sensitive, and avoid dry or irritated areas.
Which clay is best for oily skin, kaolin or bentonite?
Kaolin is generally the gentler starting option, especially for combination or oily-dehydrated skin. Bentonite may feel more absorbent, so it is better reserved for occasional use on very oily areas if your skin tolerates it.
How long should you leave a clay mask on oily skin?
Follow the product instructions and begin at the shorter stated time. Do not leave it on until it cracks or feels painfully tight; rinse it sooner if stinging or burning develops.
How do you moisturise after using a clay mask?
Rinse gently with lukewarm water, pat dry and apply a light, fragrance-free non-comedogenic moisturiser while the skin is slightly damp. Choose a gel-cream or lotion according to how dehydrated your skin feels.