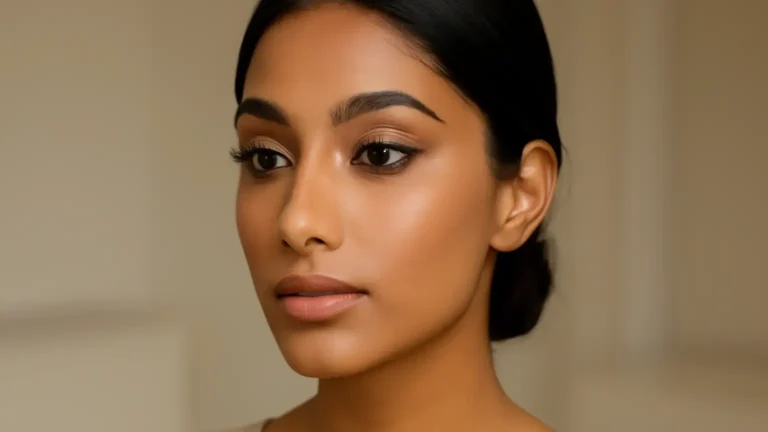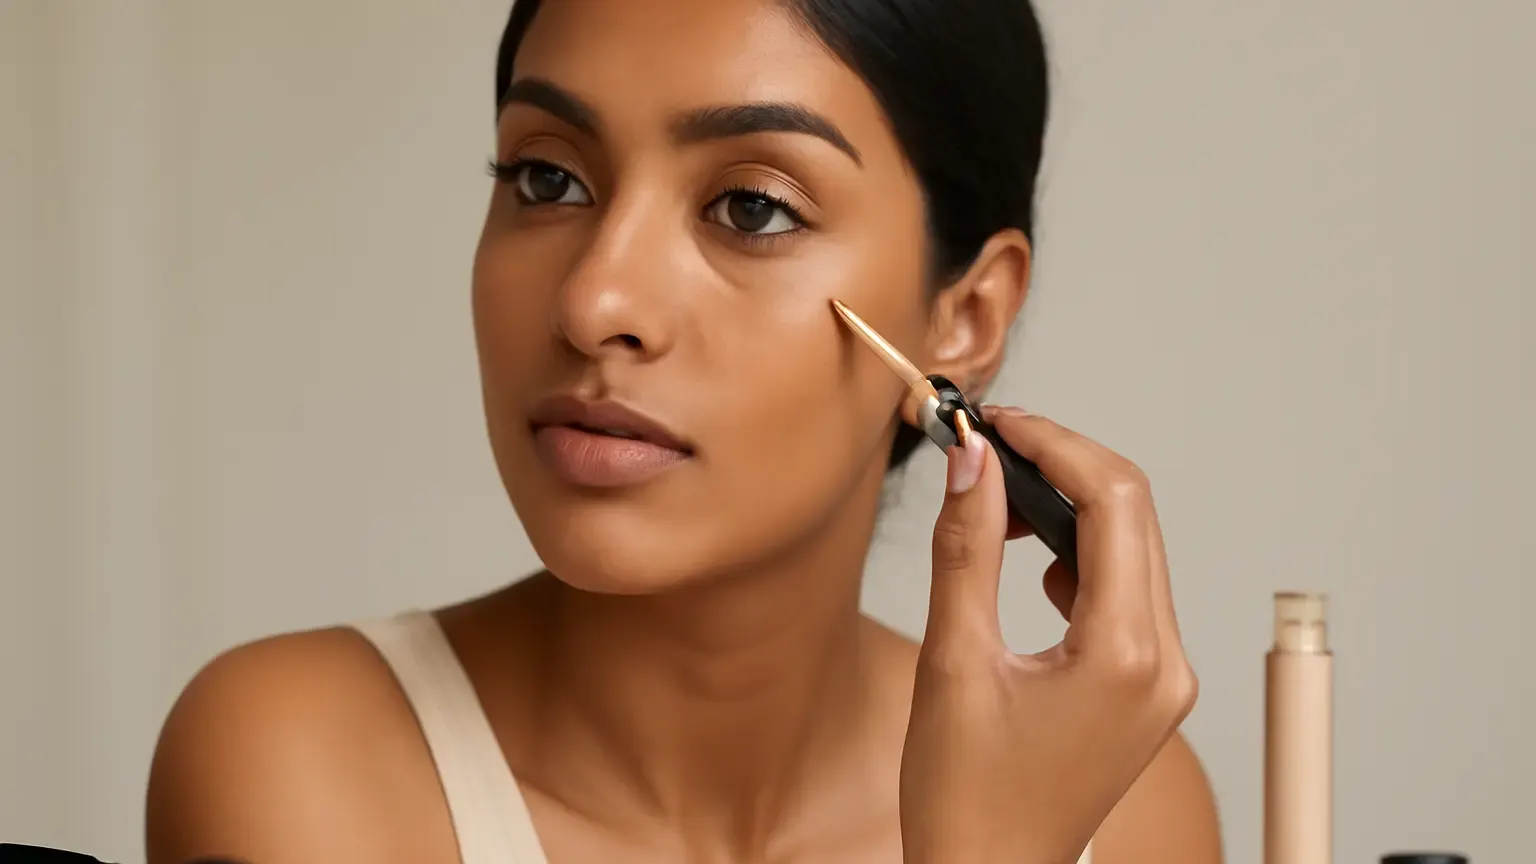
Makeup basics for concealer are simple: match the formula to your skin concern, place a small amount only on discolouration, then set areas that crease or become oily. This guide is for beginners who want natural-looking coverage in India’s heat and humidity, without a heavy base. You will learn which concealer to choose, where it belongs on blemishes and under-eyes, and how to build coverage without making texture more visible.
What concealer is—and what it should do
Concealer is a concentrated complexion product used to neutralise or cover specific areas such as dark circles, redness, pigmentation and occasional blemishes. It is not automatically meant to replace foundation. A targeted application usually looks fresher because untouched skin keeps its natural variation.
The best result comes from matching three decisions: the formula, the shade and the amount. A thin layer that is pressed into the skin will generally look more convincing than a thick layer dragged across the face.
- Lightweight concealer: best for mild discolouration, everyday makeup and areas with visible texture.
- Full coverage concealer: useful for persistent-looking pigmentation or a defined spot, but apply it precisely rather than across the whole cheek.
- Liquid concealer: versatile and easy to build in thin layers.
- Cream or stick concealer: often offers denser coverage, though it needs careful blending around dry patches.
- Colour corrector: changes the appearance of a distracting undertone before your skin-matched concealer goes on.
For daily use, choose a formula that remains comfortable after several hours. A very matte product can emphasise dryness, while an overly emollient formula may move in a hot, humid climate.
How to choose the right concealer shade
Concealer shade matching depends on the area you are covering. One shade rarely does every job well.
For blemishes and pigmentation
Choose a shade that closely matches the surrounding skin, including its undertone. If the product is much lighter, the spot can look highlighted rather than hidden. Test a small amount along the jaw or beside the area you want to cover, and check it in natural daylight where possible.
For under-eyes
An under-eye concealer can be approximately half to one shade lighter than your complexion if you want gentle brightening. Avoid going dramatically pale: a very light colour can make blue, brown or grey shadows look ashy.
If the darkness is strong, use a thin layer of a suitable colour corrector first. Peach or salmon tones can help counter a blue or purple cast on many medium-to-deep Indian skin tones, while orange may be more appropriate for deeper pigmentation. The correct shade depends on your depth and undertone, so start with less than you think you need.
Concealer placement guide: where to put it
Placement should follow the concern, not a fixed triangle pattern. Apply product to the darkest or reddest part, then soften the edges.
Under the eyes
- Apply eye cream or moisturiser sparingly and allow it to settle.
- Place two or three tiny dots at the inner corner, along the deepest shadow and, if needed, at the outer corner.
- Press the product outward with a damp sponge, small brush or ring finger. Do not rub the delicate area.
- Leave the natural hollows alone unless they genuinely need coverage. More product can collect in fine lines.
For a natural finish, take any remaining product from the under-eye brush down towards the upper cheek rather than adding another layer.
On spots, redness and marks
For a blemish concealer routine, apply skin-matched concealer directly to the mark with a small pointed brush or clean fingertip. Let it sit briefly, then tap only the edges. Keep the centre covered; sweeping over it can remove the product you just placed.
Redness around the nose, mouth or a healing mark can be concealed in small sections. If the mark is raised or flaky, makeup cannot make its texture disappear. Preparing the skin and using a thinner layer will usually look better than repeatedly adding coverage.
On pigmentation and uneven tone
Use a small amount of corrector only where the colour is strongest, followed by a skin-matched concealer. This is more effective than applying a bright concealer over a large area. Blend the boundary into the surrounding skin, not necessarily the centre of the mark.
How to apply concealer for beginners: the correct order
The best order depends on the amount of foundation you use, but this sequence is reliable for most everyday looks:
- Prep: cleanse gently, moisturise according to your skin’s needs and apply sunscreen in the daytime. Give skincare a few minutes to settle.
- Apply foundation, if using: spread a thin layer over the areas that need overall evening. It often reduces how much concealer is required.
- Correct selectively: use a tiny amount of peach, salmon or orange corrector only where a shadow remains.
- Conceal: place a skin-matched product on blemishes and a suitable brightening shade under the eyes.
- Blend by pressing: use tapping motions and keep the coverage concentrated at the centre of the concern.
- Check before setting: look straight ahead and in side light. Add a second thin layer only where the first has not done enough.
- Set strategically: powder the crease-prone or oily areas rather than automatically covering the entire face.
Should you apply concealer before or after foundation? For most people, apply it after foundation when you want to avoid wiping it away. Apply a corrector before foundation, and consider concealer first when you are doing precise spot concealment without foundation or when a particular cream foundation tends to lift it.
Setting concealer for Indian weather
Heat, humidity and perspiration can make complexion products separate or crease. Setting concealer is most successful when you use a small quantity of finely milled loose or pressed powder.
- Wait a short while after blending so the product is not still visibly wet.
- Use a small fluffy brush or puff to press powder under the inner eye, around the nose and on the centre of the forehead if those areas become oily.
- Use less powder over dry cheeks and textured areas.
- For a natural finish, dust away excess rather than leaving a thick layer.
People seeking concealer for oily skin may prefer a long-wearing, soft-matte formula and targeted powder through the T-zone. Those with concealer for dry skin concerns should prioritise skin preparation, a flexible formula and minimal powder. Neither skin type requires a completely matte face.
In makeup in humid weather, thin layers are more dependable than heavy baking. Blot perspiration gently with tissue or blotting paper instead of rubbing. A setting spray can be used as a final step if it suits your skin and the rest of your makeup, but it cannot replace correct shade selection or good placement.
Concealer layering without a heavy finish
Concealer layering means building coverage gradually, not stacking several full coats. Start with the thinnest amount that can work. Let it settle, inspect the area and add coverage only to the remaining visible portion.
When layering over a corrector, the first product should be almost invisible after blending. If you can clearly see orange or peach, the second layer needs to be more precisely placed or the corrector is too strong. When layering on a blemish, use a smaller brush for the second pass and avoid expanding the covered area.
To keep under-eyes comfortable, use less product near the outer corner and directly beneath the lower lash line. Fine lines are normal; the aim is to reduce distracting darkness, not erase every crease.
Common concealer mistakes to avoid
- Using one very light shade everywhere: this can make marks grey or draw attention to them.
- Applying a large triangle under each eye: it adds unnecessary product and may crease as you move.
- Skipping skin preparation: dry flakes can show through even an expensive formula.
- Rubbing instead of tapping: friction moves coverage away from the concern.
- Powdering too much: excess powder can make under-eyes and dry patches look flat or textured.
- Ignoring tools and hygiene: wash reusable sponges and brushes regularly, and avoid sharing eye or complexion products.
If a spot is painful, unusually persistent, rapidly changing or accompanied by concerning symptoms, makeup should not be used as a substitute for professional advice. A dermatologist can assess ongoing skin concerns.
A simple routine by concern
| Concern | Product choice | Placement and finish |
|---|---|---|
| Mild under-eye shadow | Lightweight, slightly brightening concealer | Inner corner and deepest hollow; set lightly |
| Strong blue or purple shadow | Thin peach or salmon corrector plus concealer | Correct only the discoloured area; avoid a thick triangle |
| Small blemish | Skin-matched blemish concealer | Dot on the centre, tap the edge, set if needed |
| Brown pigmentation | Corrector if required, then matching concealer | Use precise layers and blend the border |
| Oily nose or forehead | Long-wearing formula and a little powder | Press product into the area; blot rather than rub later |
Takeaway: keep coverage deliberate
The most polished complexion is rarely the one with the most product. Match the formula to the concern, select separate shades when necessary, place concealer precisely and build in thin layers. Set only where movement, oil or humidity calls for it. These makeup basics for concealer create coverage that looks like skin while still giving you control over the areas you want to soften.
Products that may help with this routine
Choose only what fits your skin, hair or personal needs. Use the links below to view current options on Amazon India.
Frequently Asked Questions
How to apply concealer for beginners?
Prep and moisturise the skin, apply a thin foundation layer if you use one, then place small dots of concealer only on under-eye shadows, redness or blemishes. Tap to blend, add a second thin layer if needed and set only crease-prone or oily areas.
Where to put concealer on face?
Put concealer directly on the darkest, reddest or most uneven areas: the inner under-eye shadow, a blemish, redness around the nose or concentrated pigmentation. Avoid applying a large amount over areas that do not need coverage.
What shade concealer should I use for under eyes?
Choose a concealer close to your skin tone for coverage, or up to about one shade lighter for subtle brightening. If the darkness looks blue, purple or brown, a thin peach, salmon or orange corrector may help before concealer.
How to stop concealer creasing in humid weather?
Use less product, allow skincare to settle, press concealer into the skin and remove excess before setting. Apply a small amount of powder to crease-prone areas, avoid heavy under-eye layers and blot perspiration instead of rubbing.
Do you apply concealer before or after foundation?
Usually apply skin-matched concealer after foundation so you do not cover it while blending. Use colour corrector before foundation, and apply concealer first when doing precise spot coverage without foundation.
How do you cover acne marks with concealer?
Use a clean, skin-matched concealer and a small brush to place product directly on the mark. Tap around the edges, keep the coverage on the centre and build a second thin layer only if necessary.