Makeup basics for blush placement become much easier when you choose the effect first: place colour high and outward for lift, across the apples for freshness, along the temples for draping, or over the nose for a sun-kissed finish. This guide is for beginners and makeup lovers in India who want blush to suit their face shape, skin texture and climate, with practical advice on formula, finish and brush choice.
How blush placement changes your face
Blush does more than add colour. Its position can visually raise the cheeks, soften the centre of the face, create a sculpted sweep or mimic the warmth that appears after time in the sun. The amount matters, but the starting point and direction matter just as much.
Before applying, look straight into a mirror with a relaxed expression. Identify the fullest part of the cheek, the outer corner of the eye, the top of the cheekbone and the temple. These landmarks help you place pigment deliberately instead of following a one-size-fits-all rule.
A useful general principle is to keep the strongest colour where you want attention. For a lifted blush look, that usually means the upper outer cheek. For a natural flush makeup effect, it means the centre of the cheek, blended until the edges disappear.
Makeup basics for blush placement: 5 zones to try
1. Upper outer cheek: the lifted zone
Start slightly above the apple of the cheek, in line with the outer edge of the iris, and sweep towards the temple. Keep the colour on the cheekbone rather than directly underneath it. This is the most versatile placement for a fresh, raised appearance and is particularly useful when you want definition without heavy contour.
Use a small amount first, then blend up and out. Avoid taking saturated pigment all the way to the hairline; a diffused finish at the temple looks more natural. This placement suits most face shapes, but people with narrow or angular faces may prefer a shorter, softer sweep.
2. Apples of the cheeks: the freshness zone
Smile gently to locate the apples, then place a modest dot at their fullest point. Blend slightly upward rather than dragging the colour down. This gives the face a youthful, lively flush and works well with sheer cream blush or a softly diffused powder.
Once you relax your expression, check that the colour has not settled too low. Blush below the natural cheek fullness can make the face appear pulled down, especially when the pigment is strong or matte.
3. Cheekbone to temple: the draping zone
Blush draping uses colour in a wider arc, beginning on the cheekbone and extending towards the temple. It can be combined with a light touch at the outer forehead for a coordinated, sculptural effect. Choose a buildable formula and blend the upper edge thoroughly so the look remains seamless.
This method is effective when you want blush to provide some visual structure. It is also a good way to connect blush with bronzer, but keep the two shades distinct: blush adds colour, while bronzer gives warmth.
4. Nose and central cheeks: the sun-kissed zone
For a sun-kissed blush look, lightly sweep a warm blush across the upper cheeks and add the smallest amount over the bridge of the nose. The colour should be concentrated on areas where sunlight might naturally warm the face, not painted as a solid stripe.
Use a muted peach, terracotta or warm rose that works with your undertone. If your base is very light or your blush is highly pigmented, tap most of the product off the brush first. The result should look softly warmed, not visibly red across the nose.
5. Centre-to-outer cheek: the balanced zone
If you are unsure where to begin, place blush between the apple and the outer cheek, then blend in both directions with a slight upward bias. This middle zone creates colour without making the cheeks look overly round or sharply sculpted. It is especially useful for everyday office, college or occasion makeup.
Keep the inner edge a little softer near the nose and leave a small gap from the nostril. That space prevents the blush from making redness look concentrated in the centre of the face.
Blush placement for face shape
Face shape can guide your starting point, but it should not restrict you. Skin texture, personal style and the finish of the product are equally important.
- Round face: Begin on the upper cheekbone and blend diagonally towards the temple. Avoid placing a dense circle directly on the apples if you want a more elongated appearance. A blush for round face makeup should be higher and more outward than inward.
- Oval face: Most zones work well. Try the balanced centre-to-outer placement, or use the lifted placement for a more defined finish. Keep the colour proportional so it does not dominate the centre of the face.
- Long face: Place blush more horizontally across the cheeks, with the strongest colour near the centre rather than extending too far towards the temple. This can create the impression of width.
- Square face: Soften the look by applying blush to the apples and blending in rounded motions. A gentle drape can work too, provided the edges are diffused around the temples.
- Heart-shaped face: Concentrate colour slightly lower on the cheekbone and blend outward without taking it too high onto the temple. This balances a wider upper face with a narrower chin.
For blush for mature skin, place product on the upper cheek rather than in fine lines beneath the eye. Use a light hand and avoid pulling the skin while blending. A flexible, softly luminous finish usually looks more comfortable than a very dry, heavily powdered layer.
Choose the formula and finish before the brush
Cream blush application is often the easiest route to a skin-like flush. Creams can be tapped over a thin base with fingers, a sponge or a compact synthetic brush. They are a helpful choice when you want a dewy blush finish, although very emollient formulas may need a light powder veil in hot or humid conditions.
A powder blush technique is useful when you prefer adjustable intensity, a more polished finish or longer wear over a set base. Powder generally blends best over powder or lightly set foundation. Applying it directly onto a wet, unset base can create patches.
Choose finish according to texture and occasion:
- Matte: refined and easy to layer, but apply sparingly if the skin looks dry or textured.
- Satin: softly reflective and versatile for daily makeup.
- Shimmer: brightening, but best kept away from prominent texture if you do not want to emphasise it.
- Dewy: fresh and modern, though it may require setting around the sides of the nose and under the eyes.
For Indian skin tones, consider the depth and undertone of both your skin and the base makeup. Peach, coral, rose, berry and terracotta can all work; the right choice depends on whether you want freshness, warmth or contrast. Test a small amount and judge it in natural light rather than relying only on the pan colour.
Which blush brush should beginners use?
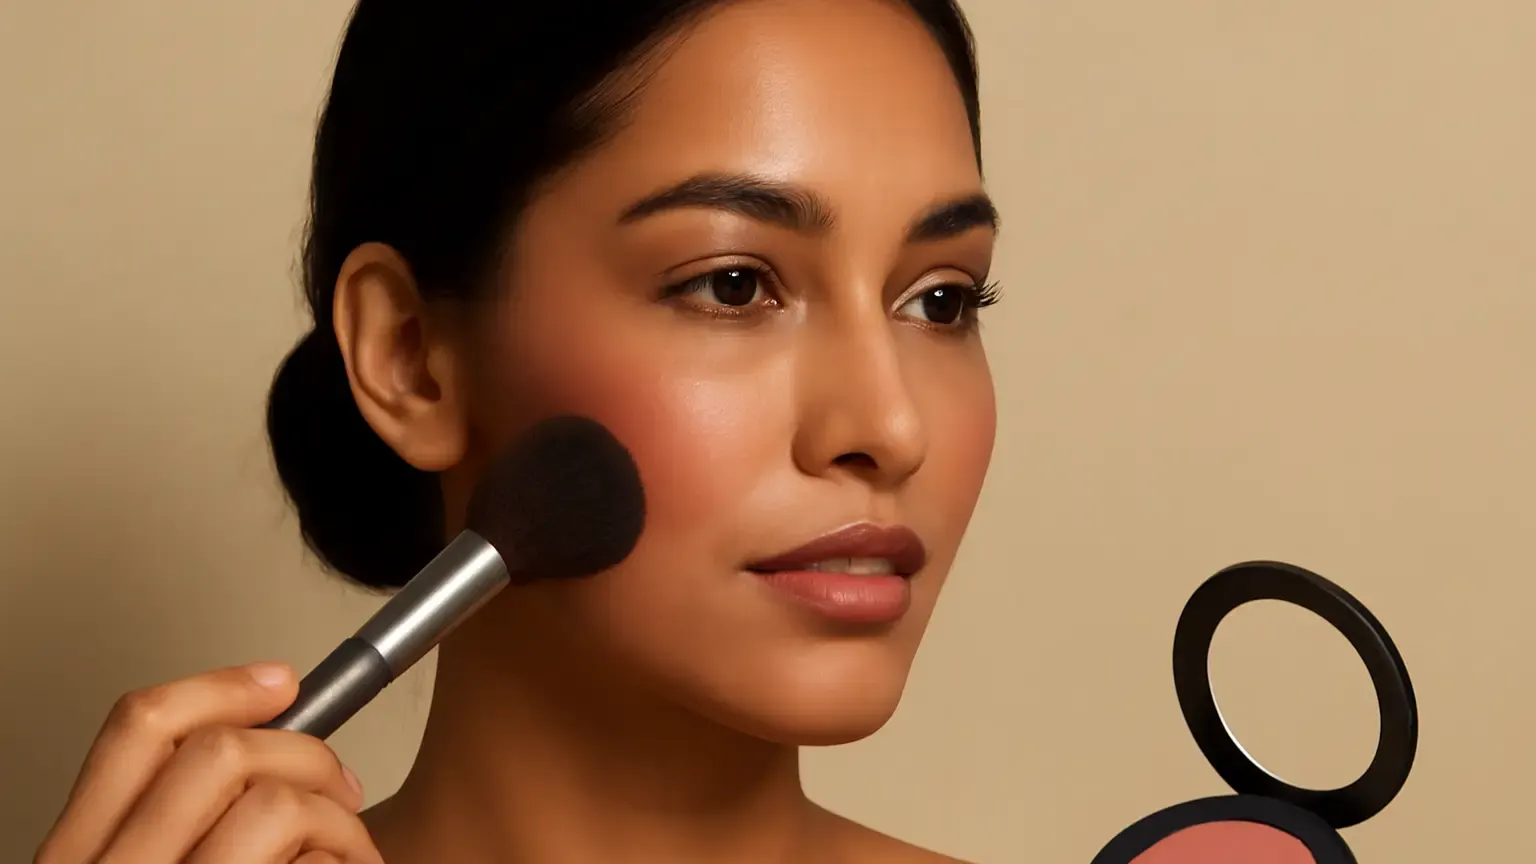
A medium-sized, rounded or gently angled blush brush with soft, flexible bristles is the most practical starting point. A loosely packed brush gives a sheer wash and more time to blend. A denser brush deposits stronger pigment and is better reserved for experienced application or very sheer formulas.
- Pick up a small amount of product.
- Tap off excess, especially with bright or deep shades.
- Place the first touch in the chosen zone.
- Blend the edges with small circular or upward sweeping motions.
- Check both sides in daylight and add only if the colour has disappeared.
For cream products, fingers provide warmth and control, while a damp sponge gives a diffused finish. Clean brushes regularly, particularly in warm, humid weather, and avoid sharing tools directly on the skin.
How to make blush last in humid weather
Long-lasting blush is usually the result of thin, compatible layers rather than one heavy application. Start with moisturised skin, allow skincare to settle, and apply a light base. Tap on cream blush, set only where needed, then use a small amount of matching or complementary powder blush on top.
Keep the finish balanced: too much glow beneath powder can cause movement, while excessive powder can make the cheeks look flat. A setting spray may help the layers look more integrated, but it cannot replace good placement or careful preparation.
Common blush placement mistakes to avoid
- Using too much product immediately: Build in thin layers so you can stop at the right intensity.
- Placing colour too low: Reposition the centre upward and blend the lower edge away.
- Making both cheeks identical by force: Face symmetry varies. Aim for balanced colour, not perfectly traced shapes.
- Mixing incompatible textures: Give cream layers time to settle before applying powder.
- Matching blush only to lipstick: Consider your undertone, outfit, lighting and the warmth of your bronzer as well.
- Ignoring the neck and lighting: Strong indoor lights can hide intensity that becomes obvious outdoors.
A simple decision guide for your next application
Choose the upper outer cheek when lift is the priority. Choose the apples for a cheerful, youthful flush. Choose draping when you want a more editorial or sculpted effect. Choose the nose-and-cheek zone for believable warmth. When in doubt, begin with the balanced zone and adjust the direction after checking your face in natural light.
The best results come from matching placement to the formula: sheer cream for a lived-in flush, buildable powder for precision, satin for everyday versatility and a controlled shimmer for targeted brightness. With these makeup basics for blush placement, you can change the mood of the same shade simply by changing where it starts and where it fades.
Quick takeaway
Blush placed high and outward gives lift, blush on the apples gives freshness, a cheekbone-to-temple sweep creates draping, and a restrained touch across the nose creates warmth. Start with a small amount, use a brush suited to your formula, and adapt the zone to your face shape and skin texture.
Products that may help with this routine
Choose only what fits your skin, hair or personal needs. Use the links below to view current options on Amazon India.
Frequently Asked Questions
Where to apply blush for a lifted look?
Place blush on the upper outer cheek, slightly above the apple, then blend diagonally towards the temple. Keep the strongest colour high and soften the edges so the result looks raised rather than striped.
How to apply blush for a round face?
For a round face, start on the upper cheekbone and sweep towards the temple. Keep the colour higher and more outward, and avoid a dense circular application directly on the apples if you want a more elongated effect.
What is the best blush placement for mature skin?
Apply a small amount to the upper cheekbone and blend gently outward. A buildable cream or satin formula usually looks comfortable, while heavy powder or strong shimmer may emphasise texture.
How do I create a sun-kissed blush look?
Use a warm peach, coral, rose or terracotta shade across the upper cheeks, then add only a trace over the bridge of the nose. Blend thoroughly so it resembles natural warmth rather than a solid band.
Should beginners choose cream or powder blush for Indian skin?
Either can work. Cream blush gives a skin-like finish and is easy to tap on gradually, while powder offers precise layering and can wear well over a set base. Choose based on your skin texture, preferred finish and climate.
Which blush brush should beginners use?
A medium-sized, soft, rounded or gently angled brush is the most versatile option. A loosely packed brush gives beginners more control because it applies a lighter wash of colour.