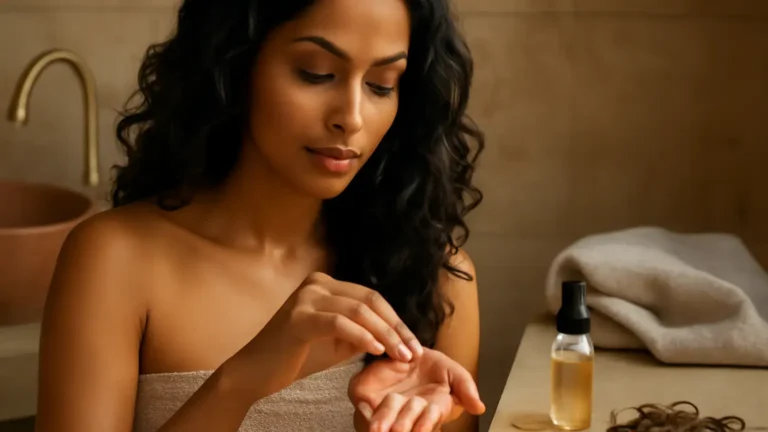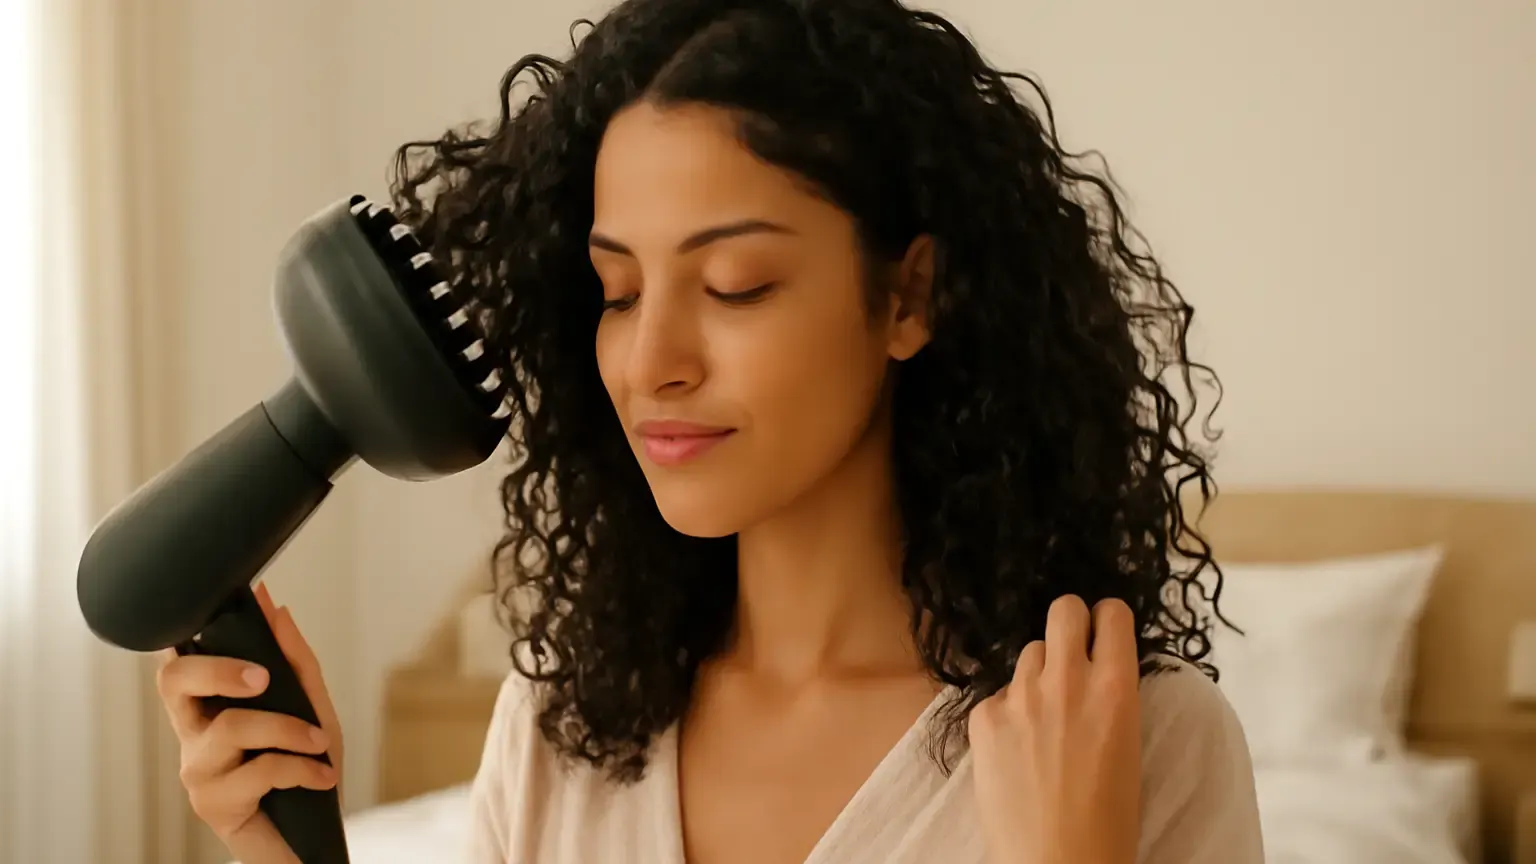
Curly wavy hair diffusing works best when you adjust six things: heat, airflow, section size, drying direction, product quantity and stopping point. This guide is for anyone with loose waves, ringlets or mixed textures who wants definition without stiff, crunchy lengths. Start with damp—not dripping—hair, use low to medium heat and gentle airflow, then stop when the roots are dry and the ends are nearly dry. The remaining moisture can finish naturally while your cast sets softly.
What the six diffuser choices control
A diffuser spreads air over a wider area than a bare dryer nozzle. That gentler airflow helps curls and waves retain their shape instead of being blown apart. However, a diffuser cannot compensate for unsuitable styling products, excessive heat or constant touching. The best result comes from making six deliberate choices:
- Heat: choose enough warmth to dry efficiently without overheating the hair.
- Airflow: use a speed that does not visibly scatter your curl clumps.
- Sectioning: work with manageable sections without separating every curl.
- Direction: decide whether you want maximum definition, root volume or a balance.
- Product quantity: apply enough hold for your texture, but not so much that waves collapse.
- Stopping point: finish before repeated heat and movement create frizz.
Fine waves often need lighter products and shorter drying sessions. Dense curls may need smaller sections and more time at the roots. Treat the settings as adjustable, not fixed rules.
1. Choose a low heat setting first
Begin with a low heat setting or a comfortable medium setting if your hair is very dense. High heat may shorten the drying time, but it can also make the outer layer feel rough and encourage frizz, especially in humid Indian weather. Keep the dryer warm rather than hot against your hand; if the air feels uncomfortably hot on your scalp, lower the temperature.
Always apply a suitable heat protectant for curls if you use heat styling regularly. Use a lightweight spray or lotion on fine waves and a more moisturising formula for coarse curls, following the product directions. A heat protectant supports safer styling, but it does not make unlimited heat exposure risk-free.
Move the diffuser rather than holding intense heat on one spot. Pause briefly at the roots, then shift to another section. If your ends dry before the roots, reduce the heat further and concentrate on the scalp area.
2. Pair gentle airflow with the right drying method
Low airflow is usually the safest starting point for definition. Strong air can pull apart wet clumps, lift the cuticle and create a halo of frizz. If your dryer has only two speeds, use the gentler one until a cast forms.
Hover diffusing for a new cast
Hover diffusing means holding the diffuser a few centimetres away from the hair without touching it. Use this method during the first few minutes, when the hair is very wet and fragile. It begins to set the surface while keeping the curl groups undisturbed.
Pixie diffusing for faster root drying
Once the hair has firmed slightly, try pixie diffusing: place a small section into the diffuser bowl, bring it towards the scalp and hold it still. Turn the dryer off before moving the bowl away if your hair frizzes easily. Restarting after repositioning prevents a sudden blast from disturbing the shape.
For most textures, the useful sequence is hover first, then pixie diffusing. Fine wavy hair may need mostly hovering because placing it in the bowl can over-scrunch and reduce natural elongation.
3. Section without breaking your curl clumps
Start with damp hair that has been gently squeezed with a microfibre towel or soft cotton T-shirt. Dripping-wet hair takes much longer to dry; hair that is already drying in random directions may need a light mist of water to reform the clumps.
Divide the hair into two to four broad zones rather than many tiny sections. Clip the upper layers loosely out of the way if the underneath remains very wet. Root clipping can add lift at the crown, but use lightweight clips and remove them once the roots are dry enough to hold their shape.
Do not rake through the hair repeatedly while diffusing. If a section has separated, cup it gently in the diffuser bowl rather than brushing or finger-combing it. Broad sections usually give waves a softer, more natural finish; smaller sections are useful for dense curls that stay wet inside.
4. Set the drying direction for definition or volume
Drying direction changes the final shape even when the product is the same. For maximum definition, hold the diffuser beside the head or slightly below it and keep the section supported in the bowl. This limits movement and helps the existing curl pattern stay together.
For more root volume, tilt your head to one side or gently bring the diffuser under the roots. You can also lift the roots with your fingers before hovering, but avoid lifting the whole wet length repeatedly. Waves often lose their shape when they are pulled upward before a cast develops.
If your hair is prone to frizz, use a consistent direction around the head: avoid switching from downward blasts to vigorous upside-down shaking. A little movement at the roots is helpful; rough handling through the lengths is not.
5. Match product quantity to your texture
Product quantity is one of the most overlooked settings in a diffuser routine for wavy hair. Apply styling products to soaking-wet or very damp hair, depending on the formula, then remove excess water with cupped hands. The aim is even coverage, not a heavy coating.
- Fine waves: begin with a small amount of lightweight mousse or gel. Add more only to sections that do not form clumps.
- Medium waves and curls: try a small amount of curl cream followed by gel if you need longer-lasting hold.
- Dense or dry curls: use a little more conditioning product, but keep the hold product concentrated on the outer lengths and ends.
Use scrunching waves gently from ends towards the scalp to encourage shape. If the hair feels slippery but has no hold, add gel; if it feels coated, sticky or limp, reduce the cream next time. A gel cast is not a failure. Let it dry completely, then gently squeeze the lengths to soften it.
6. Know when to stop drying
Most people over-diffuse because they wait for every strand to feel completely dry. Stop when the roots are dry, the outer layer is set and the ends are about 80–90% dry. Slightly damp ends can finish in the air with less manipulation. This is particularly helpful for waves, which can become fluffy when repeatedly lifted and blasted.
For a dense curl pattern, you may need to continue until the inside feels mostly dry, but take short breaks. Let the hair cool for a minute, check the roots and resume only where moisture remains. If your hair starts expanding, feels hot or loses its clumps, you have probably reached the useful stopping point.
Once fully dry, leave the hair alone for a few minutes before touching it. Break the gel cast with clean, dry hands using a gentle scrunch. Do not brush through the hair unless you intentionally want a softer, fuller finish.
How to diffuse curly wavy hair without frizz
Frizz usually comes from a combination of disrupted clumps, excessive airflow, too little hold or touching the hair before it is dry. For better frizz control, keep the diffuser moving during hover diffusing, keep the bowl still during pixie diffusing and avoid repeatedly changing the shape of the same section.
Humidity can make a finished style feel less crisp, so choose a hold product that suits your climate. If your hair becomes dry or rough, reduce heat and review the amount of cleansing, brushing and manipulation in the entire routine. Diffusing is only one part of the result.
Common mistakes and quick adjustments
| What you notice | Likely adjustment |
|---|---|
| Waves look flat | Use less cream, add a light hold product and dry the roots with the head tilted. |
| Hair becomes puffy immediately | Lower airflow, use larger sections and stop touching the hair until dry. |
| Crunch remains after drying | Use less gel next time, or soften the fully dry gel cast with dry hands. |
| Roots stay wet for too long | Clip or separate the roots lightly and use short pixie-diffusing intervals. |
| Ends feel rough | Lower heat, use heat protection and stop once the ends are nearly dry. |
Who this method suits
This routine suits naturally wavy, curly and mixed-texture hair that forms some shape when wet. It is especially useful when air-drying takes too long or leaves the roots flat. Adjust it for your hair’s density, length, porosity and sensitivity to heat. Very fine hair may prefer mousse and hovering; thick curls may benefit from a bowl diffuser and more careful root drying.
If you have persistent scalp discomfort, unusual shedding, significant breakage or a sudden change in texture, pause experimentation and speak with a qualified dermatologist or doctor. A styling routine cannot identify or treat an underlying concern.
Concise takeaway
Successful curly wavy hair diffusing is controlled drying, not aggressive drying. Use low to medium heat, gentle airflow, broad sections and a product amount that matches your density. Hover first, cup sections only when they are beginning to set, aim the airflow for your desired volume and stop when the roots are dry and the ends are nearly there. Those six decisions create definition while leaving the finished texture softer and more natural.
Products that may help with this routine
Choose only what fits your skin, hair or personal needs. Use the links below to view current options on Amazon India.
Frequently Asked Questions
How do you diffuse curly wavy hair without frizz?
Use damp hair with evenly distributed hold product, begin with low heat and low airflow, hover before cupping sections, and avoid touching the hair until it is dry. Stop when the roots are dry and the ends are nearly dry.
What heat setting should I use to diffuse wavy hair?
Start with low heat or a comfortable medium setting if your hair is dense. Lower the heat if your hair feels hot, rough or increasingly frizzy, and use a heat protectant designed for your styling routine.
When should I stop diffusing curly hair?
Stop when the roots are dry, the outer layer has set and the ends are roughly 80–90% dry. Dense curls may need more time inside, but take breaks and avoid continuing once the hair begins to expand or lose clumps.
How long should you diffuse wavy hair?
There is no universal time because density, length and starting moisture vary. Check the roots and inner layers instead of following a timer; many waves are ready when the roots are dry and the ends can finish naturally.
Can you diffuse wavy hair without losing volume?
Yes. Use a light product, avoid excess cream, dry the roots with the head tilted and use gentle pixie diffusing near the scalp. Keep the lengths supported rather than repeatedly lifting them.