A curly wavy hair diffuser can speed up drying while protecting the shape you created in the shower. This guide is for people with loose waves, spirals or mixed curl patterns who want definition without a fuzzy finish. Start with low-speed airflow and low-to-medium heat, then choose between hover diffusing for a firmer cast and cup diffusing for fuller clumps. If your hair dries comfortably and keeps its shape, air-drying may still be the gentlest option.
Diffusing is not simply a matter of switching on a hair dryer and placing the bowl over your head. The result depends on five choices: airflow, heat, how much hair you handle, whether you hover the diffuser or cup the ends, and when you stop. A good technique removes excess water without breaking up wave and curl clumps.
What a curly wavy hair diffuser actually does
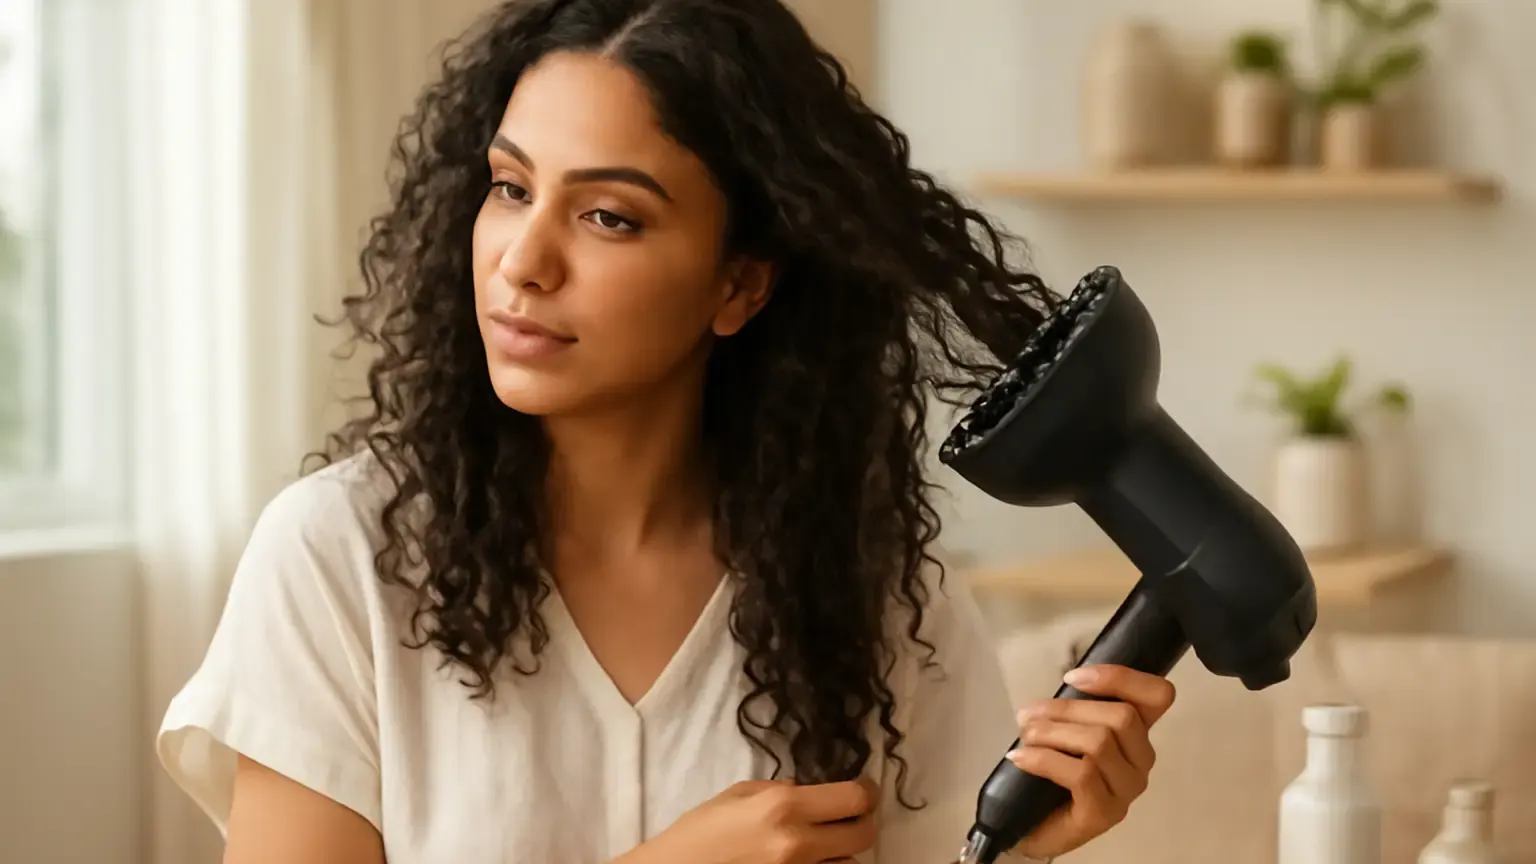
A diffuser attachment spreads the dryer’s airflow across a wider area. Instead of a narrow, forceful stream pulling strands apart, the prongs and bowl support sections of hair as they dry. This can help preserve a curl pattern, improve root lift and reduce the time hair stays wet.
However, a diffuser does not create a curl pattern by itself. Product choice, soaking-wet styling, scrunching and your natural texture still matter. Fine waves may need a lighter routine, while dense curls may benefit from more hold and longer drying in sections.
Five diffuser settings for definition and less frizz
1. Choose low-speed airflow first
Low-speed airflow is usually the safest starting point for both waves and curls. Strong airflow can disturb wet clumps, lift the cuticle and create a halo of frizz before the gel or mousse has formed a cast. Keep the diffuser close to the hair without pushing it aggressively into the roots.
If your hair is very dense or still dripping after product application, use medium speed briefly at the beginning, then return to low speed as the shape starts to set. The best diffuser settings for curly wavy hair are not necessarily the fastest ones; controlled airflow is often more useful than maximum power.
2. Begin with low to medium heat
Low-heat hair drying gives the surface more time to dry without making the outer layer feel excessively hot. Medium heat can shorten the process for thick hair, but move the diffuser rather than holding heat on one spot. Test the temperature on the back of your hand: it should feel warm, not uncomfortably hot.
Apply a suitable heat protectant for curly hair if your styling product does not already provide thermal protection. Heat protection is especially sensible when you diffuse frequently, use medium or high heat, or have coloured, lightened or fragile lengths. At the end, a short cool-air phase can help the hair feel less warm before you touch it.
3. Section according to density, not habit
Sectioning is a practical curl definition routine, not a rule that requires perfect salon-style partings. Divide very thick hair into four to six loose sections. For fine waves, two or three sections may be enough. Clip away the areas you are not drying, but avoid repeatedly separating small clumps with your fingers.
Start at the back or lower layers, where hair often stays wet longest. Bring a section into the diffuser bowl, support it from underneath and hold still for 20 to 40 seconds before moving on. Allowing each section to settle reduces the temptation to rake through it while wet.
4. Use hover diffusing for a gentler set
Hover diffusing means holding the diffuser a few centimetres away from the hair rather than placing the ends inside the bowl. It is useful at the beginning of drying, when clumps are fragile, and near the end, when you want to firm the cast without disturbing the shape.
Hover over the roots first for root lift for waves, then work around the sides and lengths. Keep the dryer moving between sections so one area does not receive prolonged heat. This method is also helpful for people who find that cup diffusing makes their waves expand or encourages short flyaways.
5. Use cup diffusing for curl support and volume
Cup diffusing involves placing the ends and mid-lengths gently into the diffuser bowl, then lifting the bowl towards the scalp. It can support tighter spirals, encourage curl shrinkage and produce more visible definition. Do not scoop hair into the bowl repeatedly; arrange a section once and leave it still while the airflow does the work.
For a balanced finish, alternate cup diffusing on the lengths with hover diffusing at the roots. Cup diffusing upside down may create extra volume, while upright drying can give a more controlled silhouette. Stop when the hair is around 80 to 90 percent dry if you want to avoid overworking the final few damp areas.
How to use a diffuser on wavy hair without flattening it
Wavy hair styling often needs less handling than curly styling. Waves can stretch under their own weight, so use a light mousse or gel on soaking-wet hair, scrunch upward with a microfibre towel if needed, and avoid brushing after the clumps have formed. Hair plopping can remove some water before diffusing, but keep the wrap loose and short if your waves become compressed at the roots.
- Apply styling product to very wet hair and scrunch gently.
- Remove excess water with a microfibre towel or a soft cotton T-shirt.
- Use low-speed airflow and hover around the roots first.
- Cup the ends only after the wave groups have begun to hold together.
- Finish drying naturally or with cool air, then gently scrunch out any firm cast.
For loose waves, keeping the diffuser still is more important than constantly chasing damp spots. If the roots look flat, lift them with the bowl or use small clips while the hair sets, rather than increasing the airflow.
How to diffuse curls without frizz
For defined curls, begin with clumps that are already formed. Apply leave-in conditioner sparingly if needed, follow with a curl cream or mousse, and add a hold product when your hair loses shape easily. The exact combination depends on density, porosity and climate; in humid parts of India, a stronger gel cast may help the style last longer, though it should still feel comfortable on the scalp.
Place the bowl under a section and lift it slowly. Avoid rubbing the diffuser prongs against the scalp or moving the bowl in circles. Keep your hands out of the hair until it is fully dry or nearly dry. Once cool, scrunch gently to soften the cast. This sequence supports frizz control for curls because it limits friction during the most vulnerable wet stage.
When air-drying may be better
Air drying curly hair can be preferable when your hair is fine, dry, heat-sensitive or already forming a strong shape without help. It is also a sensible choice when you have enough time and do not need extra root volume. Air-drying avoids direct heat, but it is not automatically frizz-free: prolonged dampness, touching the hair and humid weather can still disturb the pattern.
Choose diffusing when wet hair would remain damp for several hours, when you want more volume, or when your curl pattern needs support to set. Choose air-drying when your hair becomes puffy with airflow, when the style looks best with minimal manipulation, or when your ends feel unusually dry after frequent heat styling. A useful compromise is to diffuse the roots and hover over the top, then let the lengths finish naturally.
Common mistakes that reduce definition
- Starting on high heat and high speed: This can separate clumps and make the surface feel rough.
- Diffusing soaking-wet hair for too long: Remove some water first so the dryer is not doing unnecessary work.
- Touching before the cast sets: Finger-combing or scrunching too early can create frizz.
- Overfilling the bowl: A crowded section dries unevenly and may lose its shape.
- Holding the diffuser in one place: Even warm airflow can feel excessive when concentrated on one area.
- Ignoring the roots: Drying only the ends can leave the scalp damp and make waves look heavy.
A simple decision guide for your next wash day
Use low speed and low heat if your priority is a smooth, controlled finish. Add medium heat only when your hair is dense, your schedule is short or the air is particularly humid. Choose hover diffusing for fragile clumps, looser waves and a softer set. Choose cup diffusing for tighter curls, root volume and stronger shape. If the style is already working and your hair dries within a reasonable time, stop early rather than chasing complete dryness with more heat.
The right curly wavy hair diffuser routine is the one that preserves your natural pattern with the least necessary handling. Start gently, observe how your texture responds and adjust one setting at a time.
Concise takeaway
For most curls and waves, begin with low-speed airflow, low-to-medium heat and organised sections. Hover diffuse while the clumps are fragile, cup diffuse once they can support themselves, and keep your hands away until the hair is nearly dry. If air-drying gives you a defined result without uncomfortable dampness, it may be the better option.
Products that may help with this routine
Choose only what fits your skin, hair or personal needs. Use the links below to view current options on Amazon India.
Frequently Asked Questions
How to use a diffuser on wavy hair without making it frizzy?
Apply styling product to soaking-wet hair, remove excess water gently, then use low-speed airflow. Hover around the roots first and cup the ends only after the waves begin to hold together. Avoid touching the hair until it is nearly dry.
What are the best diffuser settings for curly wavy hair?
Start with low-speed airflow and low-to-medium heat. Use hover diffusing for fragile clumps and cup diffusing for tighter curls or more volume. Medium heat can suit dense hair, but keep the diffuser moving and do not concentrate heat on one area.
How do you diffuse curls without frizz?
Form curl clumps with wet styling products, avoid brushing once the shape has formed, and support each section in the diffuser bowl instead of rubbing or shaking it. Keep your hands out until the cast has set, then gently scrunch when the hair is cool.
Should I air dry or diffuse wavy hair?
Air-dry if your waves hold their shape, your hair is heat-sensitive and you have enough time. Diffuse if your roots stay damp, you need more volume or humid weather makes drying slow. A combination of root diffusing and natural drying can also work well.
Which heat setting is best for a curly hair diffuser?
Low heat is a dependable starting point for most textures. Medium heat may be practical for thick or dense hair, but check that the airflow feels comfortably warm and keep it moving. Finish with cool air if your dryer offers that option.