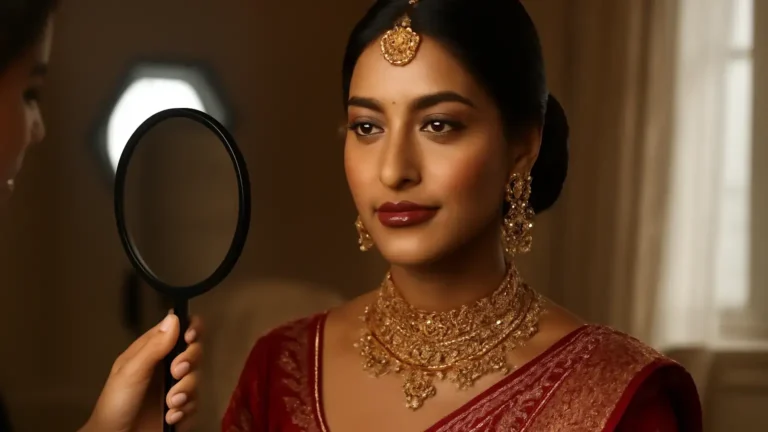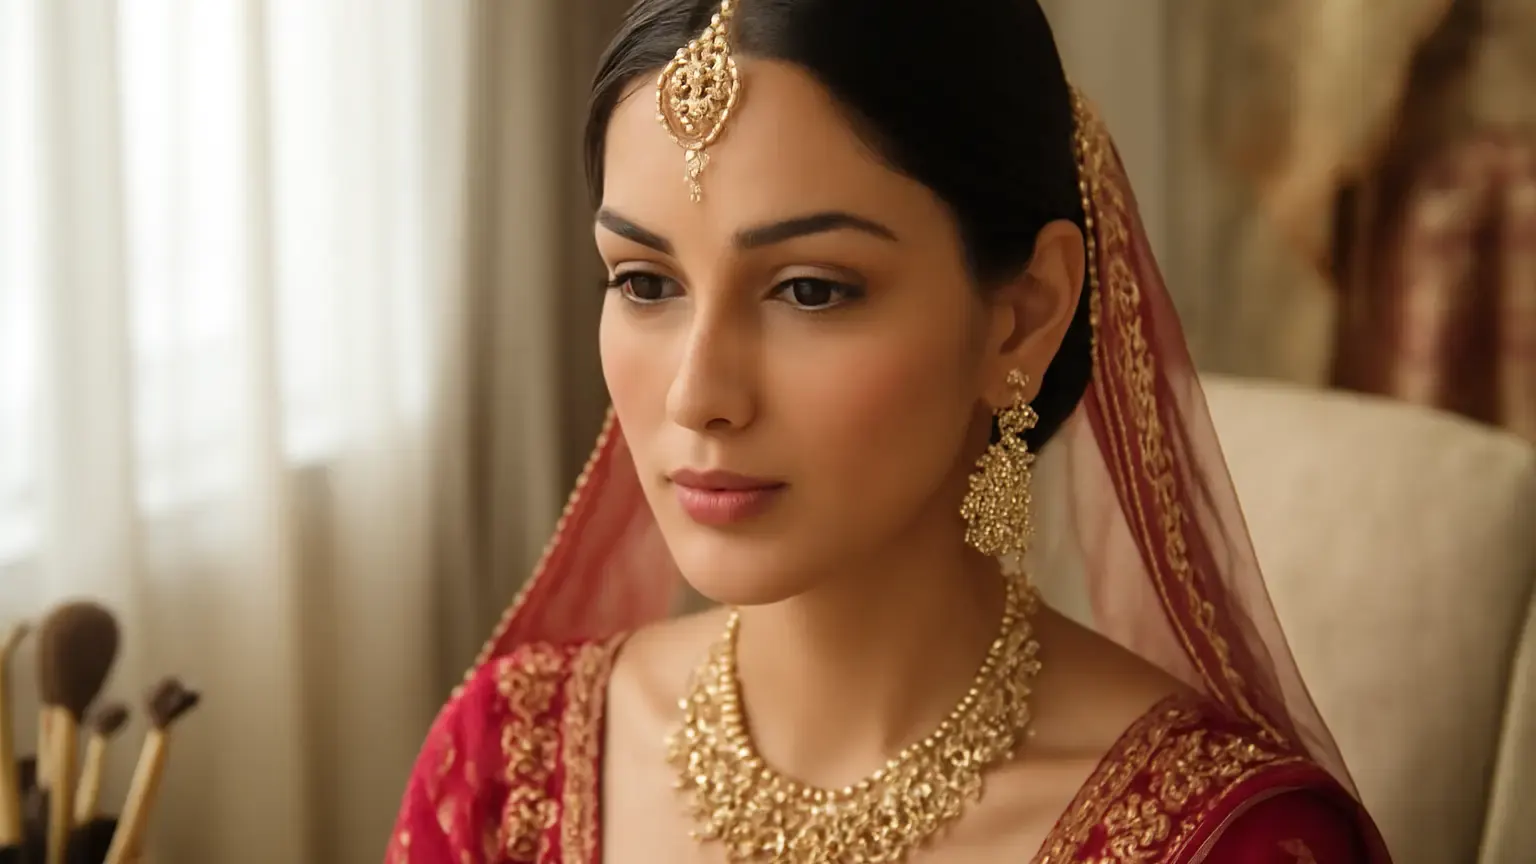
Daytime bridal makeup works best when it balances breathable skin, soft definition and strategic longevity rather than heavy coverage. This seven-step plan is for brides getting married in bright natural light, including warm or humid Indian-weather settings. It helps you choose the right base, eye and lip textures so your makeup looks fresh in person, holds through the ceremony and photographs with dimension instead of appearing flat, greasy or overly powdered.
Why daytime bridal makeup needs a different approach
Natural daylight is revealing: it shows texture, patchiness and colour mismatches more clearly than a dim evening venue. At the same time, wedding makeup must withstand heat, happy tears, garlands, hugs, travel between venues and hours of photography. The answer is not necessarily more product. It is better preparation, thin layers and targeted setting.
A successful day wedding bridal makeup look usually has three qualities: skin that still resembles skin, definition that can be seen in photographs, and colour placed where it will not disappear under bright light. Choose textures according to your skin type and climate. A satin finish is often more forgiving than an intensely glossy or completely matte one.
Step 1: Build a calm, well-prepped canvas
Begin bridal skin prep several days before the wedding by keeping your routine familiar. Avoid introducing strong exfoliants, peels or unfamiliar facials immediately before the event. On the day, cleanse gently, apply a lightweight moisturiser and give each layer time to settle. If your skin is dry, press a little extra moisturiser into the cheeks; if your T-zone becomes oily, keep that area comfortable rather than heavily coated.
Apply sunscreen when the ceremony is outdoors or during daylight, but select a formula you have already worn successfully. Some sunscreens can leave a visible white cast or reflect strongly in photographs. Do not skip sun protection solely because of photography; instead, test the complete combination during your bridal makeup trial. Blot excess skincare before primer so the foundation does not slide.
Step 2: Use a breathable, light-reflective base
For most brides, a lightweight foundation with buildable coverage is more versatile than a thick, full-coverage formula applied everywhere. Correct only areas that need extra help, such as redness around the nose or under-eye darkness, then use a thin foundation layer over the rest of the face. Match the shade to the jaw and check it in natural light.
A dewy bridal base should look softly luminous, not wet. Place glow on the high points rather than mixing a large amount of liquid illuminator into every area. Set the centre of the forehead, sides of the nose, upper lip and chin with a small brush or puff if these zones become shiny. Leave the cheeks more skin-like so the complexion retains dimension.
For flash photography makeup, ask your artist to photograph the finished trial with and without flash. Very reflective products, excess powder and some brightening formulas may look different under a camera. The goal is consistent colour and texture in daylight, indoor lighting and photographs.
Step 3: Add soft, crease-resistant eye definition
Start with an eye primer or a very thin layer of concealer, followed by a neutral shadow close to your skin tone. Add a soft brown, taupe or muted plum through the crease and outer corner rather than drawing an overly dramatic shape. A satin lid shade can catch light beautifully, while a fine matte shade near the lash line provides definition without looking harsh.
Choose waterproof eye makeup for eyeliner and mascara, especially if the ceremony is emotional or outdoors. A brown-black liner often appears softer than solid black in daylight. If you wear false lashes, individual or lightweight clustered lashes can give fullness without hiding the eye shape. Check that the inner and outer corners are secure before leaving for the venue.
Step 4: Refine brows and lashes without making them heavy
Brows frame the face, but they should not become the strongest feature. Schedule bridal brow shaping at least a few days before the wedding if waxing, threading or tweezing tends to cause redness. On the event day, fill sparse areas with short, hair-like strokes, brush the front upward and use a tinted or clear gel to hold the shape.
Look at the brows from a distance and in a photograph. Overfilled fronts can appear blocky in close-ups, while very pale brows may disappear in the ceremony images. Balance is more important than making both brows mathematically identical. Curl lashes before mascara, never after it has dried, and remove any flakes before they set.
Step 5: Bring colour back with blush and restrained highlight
Blush is what keeps a light base from looking washed out in daylight. Start with a cream blush in a shade that complements your outfit and natural flush, then add a small amount of powder blush if extra endurance is needed. This cream-and-powder method is useful in warm weather, but apply thinly to avoid a layered appearance.
Place colour slightly higher on the cheeks and blend towards the temples for a lifted effect. Add a subtle highlighter to the tops of the cheekbones, bridge of the nose and cupid’s bow only if those areas are smooth enough to carry shine. Skip enlarged pores or textured patches, where shimmer can draw attention. Peach, rose, terracotta and berry tones can all work for Indian complexions; the best choice depends on the outfit, undertone and overall eye look.
Step 6: Layer lip colour for comfort and staying power
Begin with a comfortable lip balm, then remove excess before lining. A lip liner close to the lipstick shade helps define the edges and gives colour something to grip. Apply one thin lipstick layer, blot lightly, add a second layer and clean the border with a small brush if needed.
A long-lasting bridal lipstick should not leave your lips painfully dry. Liquid mattes can last well but may emphasise flaking, while satin and creamy formulas are easier to refresh. For a daytime wedding, rose, pink, peach, brick, mauve and soft berry shades can be adapted to your complexion and attire. Keep the exact lipstick, liner and balm in your bag rather than relying on a shade that looks similar.
Step 7: Set strategically and prepare your touch-up kit
Use makeup setting spray after the main application, allowing it to dry without fanning or touching the face. Spray from the recommended distance and do not saturate the skin. If you are prone to shine, press a small amount of translucent powder onto the areas that need it instead of coating the whole face. A setting spray supports the look, but it cannot replace skin preparation or correct incompatible products.
Your touch-up kit essentials should fit into a small pouch: lipstick and liner, cotton buds, a compact or pressed powder, blotting paper, a mini mirror, tissues, lash adhesive if you wear falsies, and a few hair pins. Add a small concealer only if you know where you need it. Ask a trusted person to carry the pouch and check the face between major photo sessions. Blot first, then powder; adding powder directly over oil can create a cakey patch.
How to tailor the look before the wedding
Book a proper bridal makeup trial
A bridal makeup trial should test more than colour. Wear the neckline or a similar shade to your wedding outfit, bring reference images, and take photographs near a window and with flash. Check the look after several hours. Notice whether the foundation separates, the eyes crease, the lip fades unevenly or the highlighter becomes too obvious.
Adjust for skin type and weather
Dry skin usually benefits from flexible hydration and less powder. Oily skin may need primer and targeted setting around the T-zone, but excessive mattifying can make the cheeks look flat. In humid conditions, thin layers and waterproof formulas are usually more reliable than a heavy base. If your skin is persistently irritated, painful or unusually reactive, consult a dermatologist rather than experimenting with multiple new products before the wedding.
Common mistakes to avoid
- Testing a new active skincare product or facial immediately before the ceremony.
- Choosing foundation only under indoor yellow lighting.
- Applying highlighter across textured areas or using too much glitter for daylight.
- Skipping the neck and blending only around the jaw.
- Using heavy powder to control every trace of natural shine.
- Leaving touch-ups to memory instead of preparing a small, labelled kit.
Concise takeaway
The most reliable daytime bridal makeup is built in seven coordinated stages: prepare comfortable skin, apply a breathable base, define the eyes softly, shape brows and lashes, restore colour with blush and selective highlight, layer a practical lip colour, then set and pack for maintenance. Test the full look in natural light and photographs before the wedding. When each product has a purpose, the result stays fresh, recognisable and camera-ready without looking overloaded.
Products that may help with this routine
Choose products based on your skin, hair or personal needs rather than buying every item in a routine.
- Bridal Makeup Setting Spray Amazon India
(paid link) See relevant options on Amazon - Waterproof Bridal Mascara Amazon India
(paid link) See relevant options on Amazon - Pressed Setting Powder For Bridal Makeup Amazon India
(paid link) See relevant options on Amazon - Bridal Makeup Touch Up Kit Amazon India
(paid link) See relevant options on Amazon
Frequently Asked Questions
How do you make daytime bridal makeup last all day?
Start with familiar, well-set skincare; apply thin, buildable layers; use waterproof eye products; set only areas that become oily; and carry lipstick, blotting paper and a little powder for controlled touch-ups. A full trial in the same weather and approximate timing is the best way to identify separation or creasing.
What is the best foundation for daytime bridal makeup?
The best foundation is one that matches the jaw in natural light, offers buildable coverage and works with your skin type and skincare. A lightweight, satin or softly radiant formula is often a good starting point. Test it with your sunscreen, primer and camera flash before choosing it for the wedding.
What makeup looks best for a day wedding?
A soft, balanced look generally photographs well: breathable coverage, subtle eye definition, groomed brows, fresh blush, restrained highlight and a defined lip. The exact colours should suit your complexion, outfit, ceremony setting and personal style rather than follow a single universal palette.
How can you stop bridal makeup looking cakey in photos?
Use less foundation, correct only where needed, allow skincare to settle, avoid layering powder over oil and photograph the trial in daylight and with flash. Blot first during touch-ups, then add a very small amount of powder only to the centre of the face.
What should be in a bridal makeup touch-up kit?
Pack the lipstick and liner, balm, blotting paper, pressed powder, cotton buds, tissues, a compact mirror, lash adhesive if relevant and a few hair pins. A trusted person can keep the pouch accessible and help with quick checks between ceremony and photographs.
How should you choose lipstick for a daytime wedding?
Choose a comfortable shade that complements your undertone, outfit and blush, then test its fading pattern over a few hours. Layering liner with two thin lipstick coats usually gives a more even result than one thick coat, and the exact products should stay in the touch-up kit.