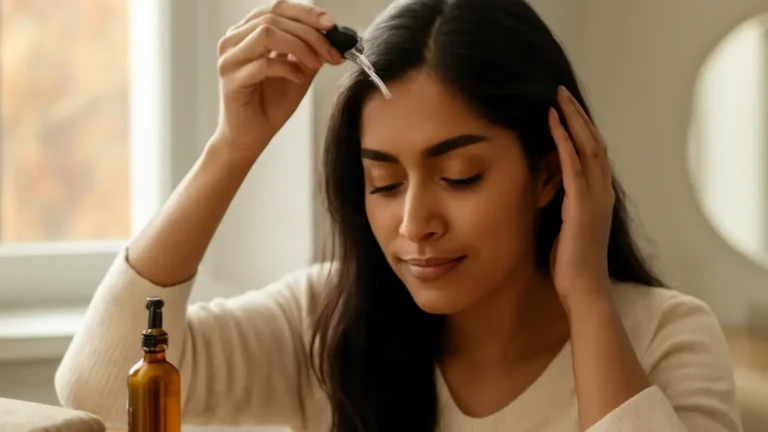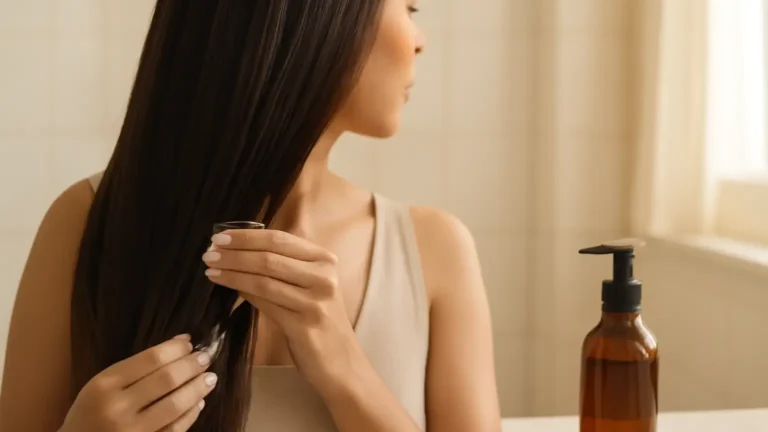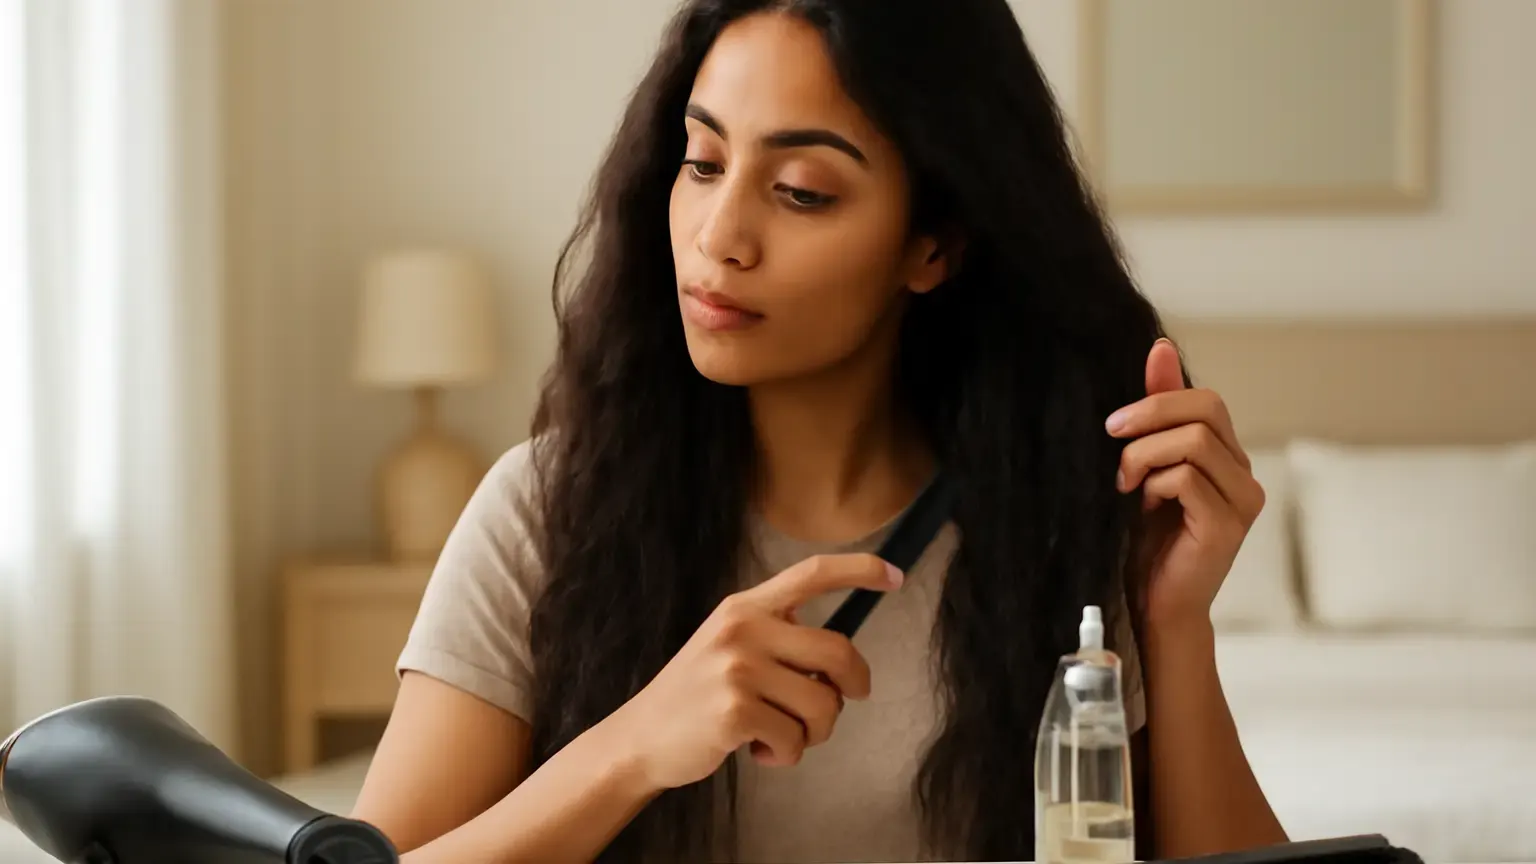
These heat protectant hair tips are for anyone who blow-dries, straightens or curls regularly and still notices frizz, rough ends or breakage. The key outcome is not simply using a product—it is applying enough coverage at the right stage, letting it become ready, and matching heat to your hair. Avoid five common mistakes, then follow a simple section-by-section routine for smoother styling with less avoidable heat stress.
Heat protectant helps reduce the impact of hot tools, but it is not an invisible shield that makes unlimited heat safe. Its performance depends on where you apply it, how evenly you distribute it, whether the hair is ready for styling and how hot the tool becomes. A good routine also respects your hair’s texture, thickness, colour-treated history and current condition.
What heat protectant actually does
A heat protectant forms a conditioning film over the hair shaft and helps slow moisture loss during thermal styling. Depending on the formula, it may also improve slip, reduce friction, control frizz and make brushing easier. A thermal protection spray is usually lightweight and convenient for fine or normal hair, while a cream, milk or leave-in heat protectant may provide more control for thick, coarse or very dry hair.
It cannot reverse existing split ends or guarantee that hair will not become dry. Think of it as one part of damaged hair prevention, alongside moderate temperatures, fewer passes with a tool, gentle detangling and regular conditioning.
Heat protectant hair tips: the 5 mistakes to avoid
1. Applying it at the wrong stage
One of the most common errors is applying a product designed for damp hair to completely dry hair, or using a dry-hair mist before blow-drying and then assuming it will remain sufficient for a later flat-iron session. Product directions matter because formulas are made for different stages.
For a blow-drying routine, gently towel-blot freshly washed hair, apply a damp-hair protectant through sections, comb it through and begin drying. If you plan to use a straightener or curling wand afterwards, check the label. Some products offer wet-to-dry protection and some are intended for dry styling only. If a second application is appropriate, use a light, even layer rather than repeatedly soaking the hair.
2. Using too little or spreading it unevenly
A quick spray over the top of the head does not protect the middle layers, underside or back. Conversely, saturating one area can leave it sticky while other sections remain uncovered. Uneven hair product application is particularly easy to miss on dense or curly hair.
Divide the hair into manageable sections. Spray from a reasonable distance according to the label, or dispense cream into your palms first. Run a wide-tooth comb or clean detangling brush through each section so the formula is distributed without aggressive pulling. Do not rub product into the scalp unless the packaging specifically says it is intended for that use.
3. Missing the ends
The ends are the oldest and usually most fragile part of the hair. They have experienced more washing, sunlight, colouring, brushing and friction than the roots, so they often need deliberate coverage. Spraying only the crown can leave dry ends exposed to the hottest part of a blow dryer or the repeated contact of a styling tool.
Apply most of the product from mid-length to ends, with only the leftover amount near the roots. For split, rough or porous ends, a lightweight cream or hair serum for heat protection can add slip, but use a small amount to avoid limpness. No serum can seal a split permanently; trimming is the practical way to remove visibly split ends.
4. Choosing unsuitable heat settings
Higher heat is not automatically better. It may shorten styling time, but it also increases the risk of moisture loss and a brittle, rough feel. A suitable flat iron temperature is the lowest setting that smooths or shapes your hair in one controlled pass.
- Fine, fragile or heavily lightened hair: begin at a low setting and increase only if necessary.
- Medium-density, healthy hair: use a moderate temperature and avoid repeated passes.
- Thick, coarse or tightly textured hair: work in smaller sections at a controlled moderate-to-higher setting rather than using extreme heat on large sections.
Exact temperatures vary by tool and hair condition, so follow the manufacturer’s range. A flat iron should never be used on dripping-wet hair unless it is specifically designed for wet-to-dry styling. With a dryer, keep the nozzle moving, hold it a little away from the hair and finish with a cooler airflow where useful.
5. Styling before the product is ready
Putting a hot tool onto hair that is still visibly wet from a spray or cream can cause sizzling, steam and uneven results. This does not mean every protectant must be completely dry before every tool: the label may specify damp application for blow-drying. It does mean the hair should be in the intended state for that product and tool.
After applying a wet-styling protectant, comb through and blow-dry until the hair is fully dry before using a flat iron or curling tool, unless the product and tool instructions clearly say otherwise. If the hair sizzles, smells burnt or feels tacky under the tool, stop, allow it to cool and reassess the amount and stage of application.
How to use heat protectant on hair correctly
- Read the product directions. Confirm whether it is for damp hair, dry hair, blow-drying, hot tools or multiple uses.
- Start with clean, gently blotted hair for a wet-styling routine. Remove excess water with a soft towel; do not rough up the cuticle.
- Divide into sections. Four to six sections work for medium-density hair, while very thick or curly hair may need more.
- Apply from mid-lengths to ends. Use any remaining product near the roots instead of coating the scalp.
- Distribute evenly. Comb through each section with a suitable wide-tooth comb, especially if you have thick hair.
- Wait for the correct stage. For blow-drying, begin when the hair is damp rather than dripping. For dry hot tools, let hair dry completely.
- Use the lowest effective heat. Keep the tool moving and make one deliberate pass instead of repeatedly correcting the same strand.
- Finish and clean tools. A small amount of suitable finishing product may help with frizz, while removing residue from plates and barrels supports even contact.
How much heat protectant should you use?
The right amount depends on the product’s concentration, hair length, density and porosity. Use these starting points rather than treating them as fixed measurements:
| Hair type or length | Starting amount | Application note |
|---|---|---|
| Short, fine hair | 2–4 sprays or a pea-sized cream amount | Concentrate on the outer layer and ends; avoid weighing down the roots. |
| Shoulder-length, medium-density hair | 4–8 sprays or a 1–2 cm cream amount | Split into sections and add only enough for a light, even film. |
| Long, thick or coarse hair | 8–14 sprays or a 2–3 cm cream amount | Work in more sections; each section should feel lightly conditioned, not wet. |
| Very porous, curly or dry hair | Begin with the medium-to-high end of the label’s range | Pair a suitable leave-in with heat protection only if both products layer comfortably. |
These estimates are for a typical lightweight product, not a universal dosage. If hair feels greasy, stiff or coated, reduce the amount or choose a lighter formula. If it feels dry and sections were missed, improve distribution before simply adding more.
Choosing the right formula and heat setting
For fine hair styling, choose a mist, spray or weightless lotion that gives slip without flattening volume. For thick hair care, a cream, milk or richer spray may make sectioning easier. Curly hair often benefits from a formula that supports definition and reduces friction, but avoid brushing curls dry unless that is part of your usual method.
Look for wording that matches your routine: “blow-dry protectant” for damp application, “hot tool protectant” for dry styling, or both when the product explicitly supports both. A product that feels pleasant is useful, but the best choice is the one that suits your hair’s density and the tool you actually use. If your hair is coloured or chemically treated, favour lower heat and fewer passes because it may be more vulnerable to dryness.
A safer heat styling routine for everyday use
Try to style only when hair is sufficiently dry, detangled and divided into sections. Pre-dry with a dryer on a moderate setting before using a straightener or curling wand. Keep the tool moving and avoid clamping the same area repeatedly. Let a section cool before reshaping it, since immediate reworking can add unnecessary heat without improving the finish.
Build in lower-heat or no-heat days when practical. Loose braids, rollers used on damp hair, a smooth bun or air-drying can reduce reliance on tools. If heat styling is frequent, alternate the finish rather than applying several hot tools in one session. These habits support heat styling hair protection more reliably than applying a large amount of product once.
When to change your routine
Persistent roughness, snapping, unusual shedding, scalp discomfort or a sudden change in hair texture deserves attention beyond a styling-product adjustment. Pause aggressive heat practices and consider speaking with a dermatologist or doctor if symptoms are severe, ongoing or concerning. For ordinary dryness and frizz, first reduce temperature, improve section coverage, condition regularly and trim visibly damaged ends.
Quick takeaway
The most useful heat protectant hair tips are simple: apply the right formula at the correct stage, cover every section including the ends, use enough for your length and density, wait until hair is ready, and select the lowest effective temperature. Heat protectant supports safer styling, but careful technique and less repeated heat do the rest.
Products that may help with this routine
Choose only what fits your skin, hair or personal needs. Use the links below to view current options on Amazon India.
Frequently Asked Questions
How do you use heat protectant on hair correctly?
Apply a product suited to your styling stage, divide hair into sections, distribute it from mid-lengths to ends, comb through, and use heat only when the hair is ready for that tool. For a straightener or curling wand, hair should usually be completely dry.
How much heat protectant should I use?
Start with about 2–4 sprays for short fine hair, 4–8 sprays for shoulder-length medium-density hair and 8–14 sprays for long, thick hair. Cream amounts can range from a pea-sized portion to 2–3 cm, depending on the product. Adjust for the label, density and feel of the hair.
Should heat protectant be applied to wet or dry hair?
It depends on the formula. Products made for blow-drying are generally applied to damp, towel-blotted hair, while products for flat irons or curling tools are often used on dry hair. Always follow the packaging directions and avoid applying a dry-tool product to dripping-wet hair.
What temperature should I use for a flat iron?
Use the lowest setting that smooths your hair in one controlled pass. Fine, fragile or lightened hair generally needs less heat, while thick or coarse hair may need a moderate setting and smaller sections. Follow the tool’s temperature guidance and avoid repeated passes.
Can heat protectant prevent all heat damage?
No. It can help reduce heat-related moisture loss and friction, but it cannot make unlimited high heat safe or repair split ends. Moderate settings, fewer passes, complete drying before hot tools and regular conditioning remain important.