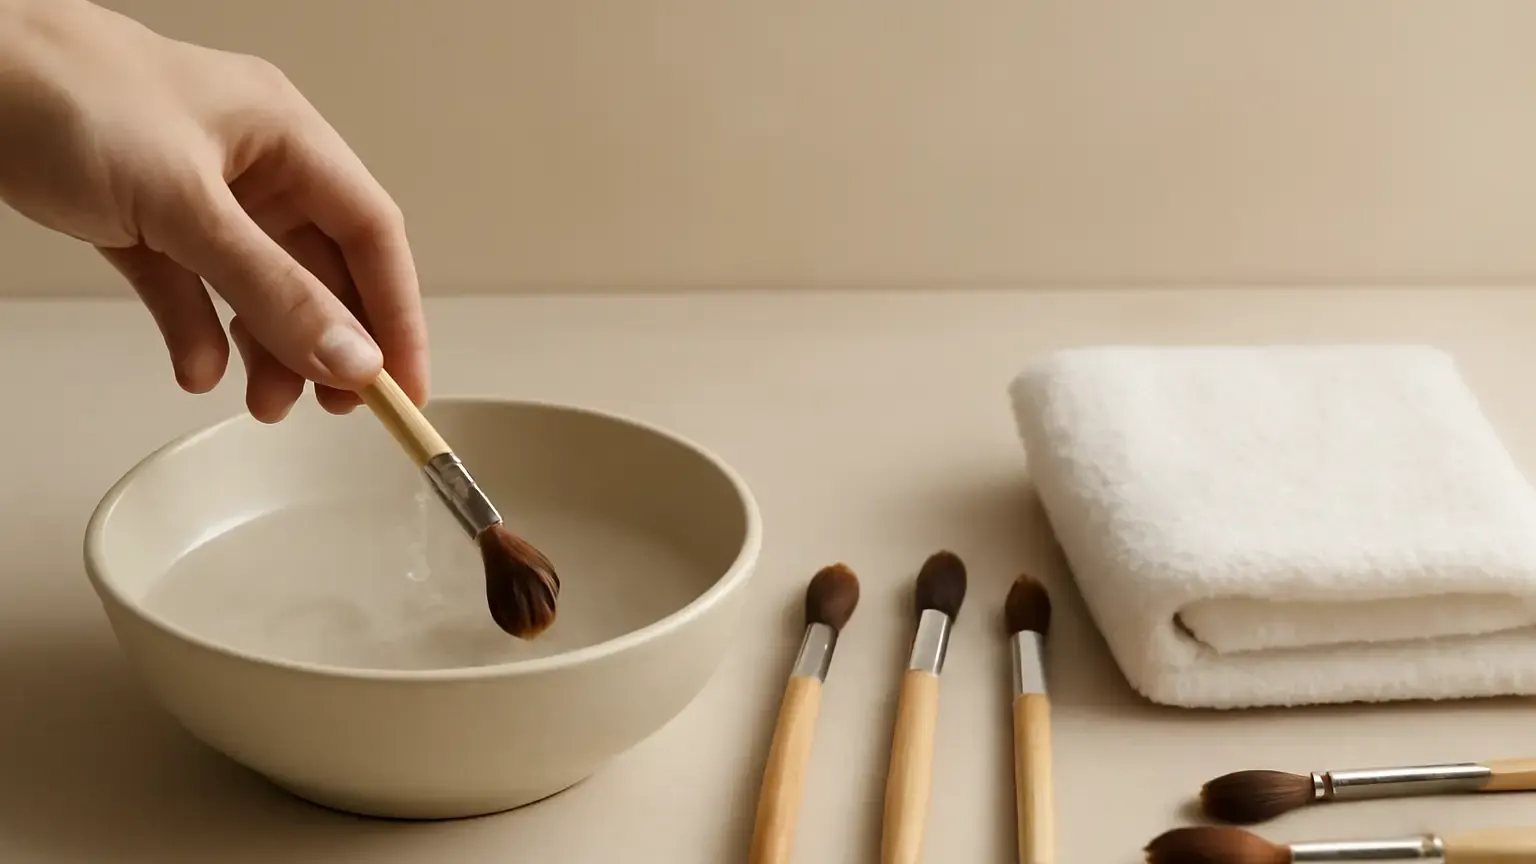
Makeup brush cleaning is easiest when you follow a schedule: wash foundation and concealer brushes weekly, clean eye brushes at least weekly, and rinse or spot-clean them sooner after cream products or illness. This guide is for anyone who wants cleaner tools without ruining the bristles. You will learn how to wash, position brushes while drying, and recognise when ordinary cleaning is no longer enough and a deeper clean or replacement makes more sense.
Clean brushes help makeup apply more evenly and prevent old pigment, oil and product film from building up on the bristles. They are not a substitute for a skincare routine, but regular cosmetic hygiene matters—especially in India, where heat, humidity and frequent travel can make damp tools stay wet for longer.
A practical makeup brush cleaning schedule
The right frequency depends on the product used, the brush type and how close the tool comes to your eyes. A brush used with liquid foundation usually needs more frequent washing than a large powder brush. If several people share products or tools, clean each brush between users rather than relying on a weekly routine.
| Brush or tool | Recommended routine | Why it matters |
|---|---|---|
| Foundation, concealer and cream blush brushes | Wash weekly; spot-clean after heavy or sticky use | Cream products leave oil and makeup brush residue behind quickly |
| Eye makeup brushes | Wash weekly; clean sooner after glitter, gel liner or a strong pigment | Eye makeup brush hygiene is important because the tool touches delicate skin |
| Powder, blush and bronzer brushes | Wash every 1–2 weeks | Loose powder transfers less moisture, but oils and pigment still accumulate |
| Makeup sponge | Rinse after every use and wash thoroughly several times a week | A damp sponge can hold product and stay moist inside |
Wash immediately if a brush smells unusual, feels greasy, has stiff clumps or was used over irritated skin. Anyone with sensitive skin should choose the shorter end of these intervals and avoid sharing brushes. This weekly brush cleaning schedule is a starting point, not a rule that overrides visible dirt or a product’s instructions.
How to clean makeup brushes without damaging them
You can use a dedicated brush cleanser or a small amount of mild, fragrance-free cleanser. A gentle shampoo for brushes may work for some washable tools, but avoid harsh detergent, bleach, hot water and aggressive household cleaners. Natural hair makeup brushes usually need a gentler touch than synthetic makeup brushes, while both types should be kept from prolonged soaking.
Step-by-step washing method
- Remove loose powder first. Sweep the brush over a clean towel or tissue to lift surface pigment. Do not grind the bristles into a dry cake of product.
- Wet only the bristles. Hold the brush with the head pointing down and use lukewarm water. Keep water away from the ferrule—the metal section joining the bristles to the handle—and the handle joint.
- Apply cleanser sparingly. Put a little brush cleanser in your palm or on a textured cleaning mat. Work the bristles gently in small circles, concentrating on the ends where product collects.
- Rinse until clear. Squeeze the bristles lightly with your fingers. Continue rinsing until the water runs clear and there is no slippery cleanser left.
- Press, do not twist. Use a clean towel to press out moisture. Twisting can bend or loosen the bristle bundle.
- Restore the shape. Fan or smooth the brush back to its original form before placing it to dry.
For face brush cleaning, use a little more time on dense flat-top brushes because foundation can sit deep inside the bundle. Rinse from several angles without forcing water into the ferrule. For an eye brush, use less cleanser and avoid pulling individual hairs while removing eyeliner or shimmer.
The safest brush drying position
The best brush drying position is horizontal, with the bristle head extending slightly beyond the edge of a clean counter or towel. This lets air circulate around the damp tips and stops water from travelling towards the ferrule. Keep the handle supported and the bristles free rather than pressed flat under another object.
Do not dry freshly washed brushes standing upright with the bristles pointing up. Water can run into the ferrule and weaken the adhesive over time. Avoid placing them bristle-up in a cup, even if that looks tidy. Do not use a high-heat hair dryer, radiator or harsh direct sunlight; heat may make bristles brittle and can change their shape.
In humid weather, leave space between brushes and use a well-ventilated room. A fan on a cool, low setting can improve air movement without blasting the brush. Do not store a damp brush in a closed pouch. It should feel completely dry before returning to a drawer or makeup kit.
Routine washing versus deep cleaning makeup brushes
Routine washing removes fresh product, surface oil and ordinary makeup brush residue. For most brushes, the method above is sufficient when repeated consistently. Deep cleaning makeup brushes is a more thorough reset for stubborn buildup or tools that have been neglected, but it is not a reason to scrub aggressively every week.
When routine washing is enough
- The bristles return to their original shape after drying.
- There is no unusual smell, visible film or sticky coating.
- Water runs clear after a normal wash.
- The brush feels soft and performs as expected.
When a deeper clean is sensible
- Foundation, cream blush or waterproof liner remains after two gentle washes.
- The brush has been unused in a makeup bag for a long time and has a visible layer of dust or product.
- There is an odour that remains after washing and complete drying.
- The tool was used for body makeup, theatrical pigment or several heavy cream products.
For a deeper clean, repeat the wash with fresh cleanser and lukewarm water rather than soaking the entire brush. Work through the bristles in sections, rinse thoroughly and allow extra drying time. If the odour, residue or unusual texture remains, discard the brush. A tool that cannot be cleaned reliably is not worth preserving.
Special care for eye brushes, sponges and brush types
Eye brushes deserve a separate routine because they touch the lash line and eyelid. Clean them after cream shadow, gel liner, glitter or any product that leaves a strong film. Never share eye tools, and do not use a brush that has fallen on a dirty surface until it has been washed. If an eye product has become contaminated, cleaning the brush alone does not make that product safe to use.
Makeup sponge cleaning requires more than wiping the surface. Wet the sponge with clean water, add a mild cleanser, massage it gently and squeeze repeatedly until the water is clear. Let it dry in an open, airy place. Replace it when it has persistent staining, tearing, a lasting odour or areas that stay damp inside.
Synthetic makeup brushes are often practical for liquid and cream formulas because their fibres do not absorb as much product as some natural fibres. Natural hair makeup brushes can feel soft with powders, but they should be washed gently, rinsed well and never left soaking. Follow the care instructions supplied with a specialist brush when available.
Common mistakes that shorten brush life
- Soaking the full brush: Water can loosen the ferrule or adhesive.
- Using very hot water: Heat may damage the fibres and the bond holding them.
- Scrubbing too hard: Friction can cause shedding, fraying and a misshapen head.
- Putting brushes away damp: Trapped moisture encourages odour and makes the next application less hygienic.
- Sharing unwashed tools: This transfers product and skin oils between people.
- Ignoring storage: Clean brushes should be kept in a dry, breathable container away from loose dust.
When to replace a makeup brush
Cleaning cannot restore a brush whose bristles are permanently splayed, scratchy, shedding heavily or detached from the ferrule. Replacement is also sensible when the handle is cracked, the ferrule wobbles or a persistent smell remains after careful washing and drying. A damaged brush may apply makeup unevenly and can be uncomfortable around the eyes.
If washing repeatedly causes burning, swelling, a rash or persistent eye discomfort, stop using the suspect tool and consider speaking with a dermatologist or doctor, particularly when symptoms are severe or do not settle. This guide covers general beauty hygiene and does not diagnose skin or eye problems.
Quick takeaway
Makeup brush cleaning works best as a small, regular habit: wash face and eye brushes weekly, rinse sponges after use, keep water away from the ferrule, and dry every tool horizontally with airflow. Use a deeper clean for stubborn buildup, not as an excuse for harsh scrubbing. If a brush remains smelly, damaged or impossible to clean, replacing it is the safer decision.
Products that may help with this routine
Choose products based on your skin, hair or personal needs rather than buying every item in a routine.
- Makeup Brush Cleanser Amazon India
(paid link) See relevant options on Amazon - Makeup Brush Cleaning Mat Amazon India
(paid link) See relevant options on Amazon - Makeup Brush Drying Rack Amazon India
(paid link) See relevant options on Amazon - Makeup Sponge Cleanser Amazon India
(paid link) See relevant options on Amazon
Frequently Asked Questions
How often should you clean makeup brushes?
Wash foundation, concealer, cream blush and eye brushes about once a week. Powder brushes can usually be washed every one to two weeks, while a makeup sponge should be rinsed after every use and washed thoroughly several times a week. Clean sooner when a tool feels greasy, smells unusual or has visible buildup.
How often should you wash eye makeup brushes?
Wash eye makeup brushes at least weekly and sooner after using gel liner, glitter, cream shadow or strongly pigmented products. Never share them, and do not use them again after they touch a dirty surface until they have been cleaned.
How do you dry makeup brushes without ruining them?
Press out water with a clean towel, reshape the bristles and lay the brush horizontally with the head slightly over the edge of a counter or towel. This allows airflow while keeping water away from the ferrule. Avoid drying bristle-up, using high heat or storing the brush while damp.
How do you deep clean makeup brushes?
Remove loose product, wet only the bristles with lukewarm water, massage in a mild brush cleanser, rinse until clear and repeat gently if stubborn residue remains. Never soak the whole brush. Dry it horizontally and replace it if odour or buildup remains after careful washing.
Can you use shampoo to clean makeup brushes?
A small amount of mild, gentle shampoo may be suitable for some washable brushes, but a dedicated brush cleanser is another option. Avoid harsh shampoo, detergent and hot water, and rinse thoroughly so residue does not remain on the fibres.
How should you clean makeup brushes after illness?
Wash the tools thoroughly with a suitable cleanser before using them again, allow them to dry completely and avoid sharing them. Consider replacing brushes that remain visibly soiled, damaged or odorous. If illness involves persistent eye or skin symptoms, seek appropriate medical advice.