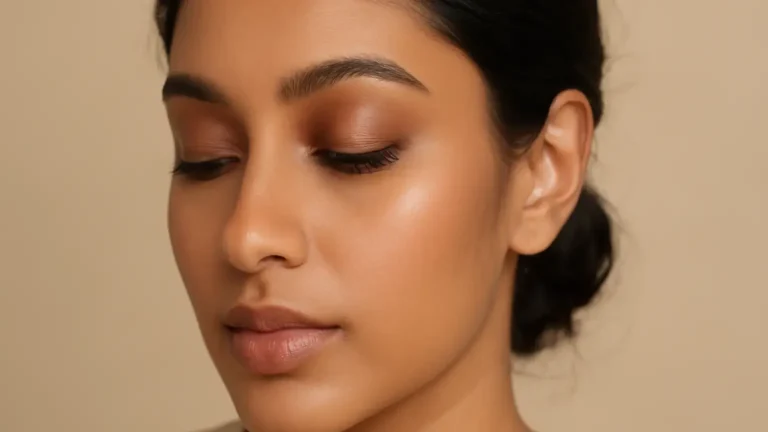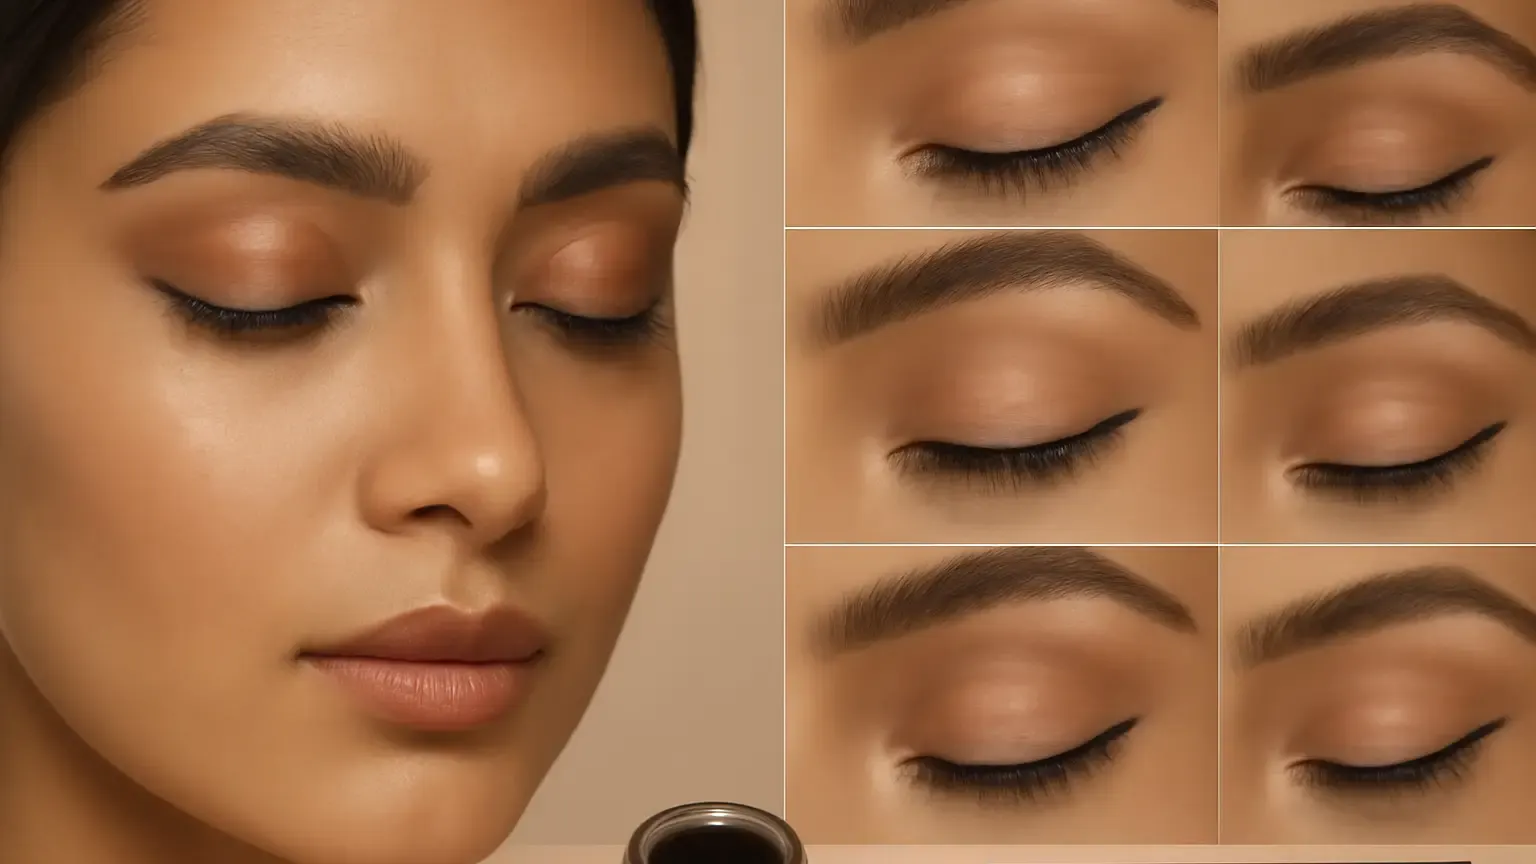
Eyeliner styles for beginners become much easier when you match the shape to your eye rather than copy a dramatic cat-eye. This guide is for anyone learning to work with almond, round or monolid-like eyes, including eyes with limited visible lid space. Start with pencil for control, move to gel for a softer defined line, and use liquid when you want crisp edges. The five shapes below help you choose a flattering look and practise without pressure.
Start by reading your eye shape
Eye shape is a useful guide, not a strict category. Look straight ahead in a mirror with your eyes relaxed. If the iris touches the upper and lower lids, your eyes may be almond-shaped; if the eyes look more open and rounded, you may prefer techniques designed for round eyes. If the upper lid folds over much of the mobile lid, you may have a hooded or monolid-like structure. Some people have a combination.
The most important question is not simply “Which eye shape do I have?” It is: Where does a line remain visible when my eyes are open? This decides the thickness, placement and direction of your eyeliner. For a first attempt, use a sharpened pencil eyeliner in dark brown, charcoal or soft black. Rest your elbow on a table, keep your eye relaxed and work in tiny sections instead of drawing one long line.
- Almond eyes: most liner shapes work, but a balanced inner line and lifted outer edge can emphasise their natural proportions.
- Round eyes: keep the centre relatively light and extend the outer third to create length without making the eyes look heavier.
- Monolid-like or hooded eyes: keep the line thin where the lid folds and test the visible shape with your eyes open.
Five eyeliner styles for beginners
1. The lash-line accent
This is the easiest starting point and a dependable option for everyday eye makeup. Place short pencil strokes between the upper lashes, beginning at the outer corner and moving towards the centre. You do not need a visible stripe; the goal is a fuller-looking lash line with a clean, understated finish.
For almond eyes, you can carry the line almost to the inner corner. For round eyes, concentrate colour on the outer two-thirds rather than outlining the entire eye. On monolid-like or hooded eyes, keep the pigment close to the lashes and avoid making the line thicker simply because some of it disappears when the eye opens. This is also a gentle introduction to tightlining, although beginners may prefer staying just above the lashes until they feel comfortable.
2. The outer-third lift
For this shape, line only the outer third to half of the upper lash line, then angle the end slightly upwards. Soften the join with a small smudging brush before the product sets. It creates one of the easiest eyeliner looks without requiring perfect symmetry.
This is especially flattering for round eyes because it adds length and directs attention towards the outer corner. With almond eyes, follow the natural angle of the lower lash line for a subtle lift. For monolid-like eyes, make the wing short and visible when the eyes are open; a long, low wing may vanish into the fold. Gel eyeliner works well here because it gives more intensity than pencil while allowing a few seconds for blending.
3. The soft mini wing
A mini wing is a short extension from the outer upper lash line. First draw the upper line, then add a small flick from the outer corner towards the end of your brow without forcing the brow angle. Connect the tip back to the lash line and fill the small triangle.
For almond eyes makeup, the wing can follow the eye’s natural upward direction. For round eyes, begin the flick slightly above the outer corner rather than pointing it straight down. For monolid eyeliner, draw the wing with your eyes open and relaxed, then connect it only as far inward as the fold allows. A fine liquid liner creates a crisp edge, but a pencil is often easier to correct while practising.
4. The kitten liner
Kitten liner is a tiny, close-to-the-lashes wing that stops well before a dramatic cat-eye. Keep the inner line fine, gradually add a little thickness through the outer half, and finish with a compact flick. It suits people who want definition but do not want liner to dominate the face.
On almond eyes, keep the shape even and neat. For round eyes, extend the outer edge horizontally before lifting it, which visually elongates the eye. On monolid-like or hooded eyes, a very thin visible line is usually more wearable than a broad wing. If liquid liner feels difficult, sketch the outline with pencil eyeliner first, then trace over it with liquid liner once the angle looks right.
5. The smudged shadow line
This shape uses liner as a soft shadow rather than a precise graphic line. Apply pencil along the upper lashes, then blur the outer half with a small brush or cotton bud before it sets. Add a neutral brown eyeshadow over the edge to reduce harshness and improve staying power.
A smudged line gives almond eyes a softly defined finish, adds length to round eyes when focused on the outer third, and can be easier to see on monolid-like eyes because it does not depend on a razor-thin liquid edge. It is also a practical choice if you are still developing steady hands. Keep the lower lash line lighter than the upper line so the eyes do not look visually pulled down.
Choose between pencil, gel and liquid liner
The best eyeliner for beginners is usually the formula that gives enough working time to correct mistakes. Product type should match the shape you are practising, the finish you want and whether your eyelids tend to transfer product.
| Formula | Best for | Watch out for |
|---|---|---|
| Pencil eyeliner | Lash-line accents, soft mini wings and smudged lines; easiest to build gradually. | Very creamy formulas may move during the day, especially on warm or oily lids. |
| Gel eyeliner | Defined outer-third shapes and soft wings with more intensity than pencil. | It needs a clean, fine brush and can dry in its pot if left open. |
| Liquid eyeliner | Sharp kitten liner, crisp mini wings and polished graphic edges. | It sets quickly and can make small angle errors more noticeable. |
For smudge-proof eyeliner, let each layer set before opening and closing the eyes repeatedly. A small amount of neutral eyeshadow or translucent setting powder on the surrounding skin may help, but avoid putting powder directly into the eye. If you have sensitive eyes, stop using a product that causes stinging, redness or persistent watering.
A simple practice routine for clean lines
- Prepare the lid: Start with clean, dry skin. If you use moisturiser or eye cream, allow it to absorb before lining.
- Map the endpoints: Place a tiny dot where you want the outer corner to finish. Keep both dots at a similar height rather than trying to make them perfectly identical.
- Use short strokes: Draw from the outer corner towards the centre, then fill gaps between the lashes. This is one of the most useful eyeliner application tips for unsteady hands.
- Check with open eyes: Look straight ahead before adding thickness. This matters particularly for hooded eyes eyeliner and monolid-like shapes.
- Correct selectively: Use a pointed cotton bud with micellar water for small errors, or clean the lower edge with a little concealer after the liner has set.
- Practise one variable at a time: Repeat the same shape for three or four applications before changing the formula or wing angle.
For a short practice plan, try the lash-line accent on day one, the outer-third lift on day two and the mini wing on day three. Photograph the result with your eyes open in normal indoor light. This shows whether the line is visible where you want it, rather than judging it only with your eyes closed.
Common mistakes and easy corrections
Making both wings too long
Long wings magnify small differences. Begin with a shorter endpoint and extend only if needed. A compact shape is easier to balance and often more flattering for everyday makeup.
Pulling the eyelid while drawing
Stretching the skin can create a smooth line that changes shape when released. Keep the eye relaxed and use your free hand only to stabilise the skin lightly.
Using the same thickness everywhere
A thick inner corner can make the eyes look crowded, particularly on smaller or monolid-like lids. Keep the inner line fine and add definition gradually towards the outer corner.
Ignoring transfer points
If liner stamps onto the upper fold, the issue may be placement or too much product rather than your technique. Try a thinner line, allow it to dry fully, and keep the upper fold free of rich creams. For persistent irritation or uncomfortable watering, stop using the product and consult an eye-care professional or dermatologist.
How to choose your first shape
Choose the lash-line accent if you want natural definition, the outer-third lift if you want an elongated effect, or the soft mini wing if you want a visible but manageable flick. Pick kitten liner for a neat, polished look and the smudged shadow line for a forgiving, softly smoky finish.
There is no requirement to match a trend to your face. The most successful eye shape makeup leaves the eyes comfortable, keeps the line visible when you are looking normally and suits the amount of time you want to spend correcting it. Begin with pencil, move to gel when you want more definition, and reserve liquid for shapes you can already map confidently.
Quick takeaway
The most reliable eyeliner styles for beginners are built from short strokes, a thin inner line and a controlled outer edge. Almond eyes can carry balanced definition, round eyes usually benefit from outward extension, and monolid-like or hooded eyes need a visible shape mapped with the eyes open. Practise one of the five shapes at a time, choose a forgiving formula and prioritise comfort over perfect symmetry.
Products that may help with this routine
Choose products based on your skin, hair or personal needs rather than buying every item in a routine.
- Beginner Pencil Eyeliner Amazon India
(paid link) See relevant options on Amazon - Gel Eyeliner With Fine Brush Amazon India
(paid link) See relevant options on Amazon - Liquid Eyeliner Fine Tip Amazon India
(paid link) See relevant options on Amazon - Cotton Buds Micellar Water Makeup Removal Amazon India
(paid link) See relevant options on Amazon
Frequently Asked Questions
What is the best eyeliner for beginners?
Pencil eyeliner is usually the easiest starting point because it offers control and can be softened before it sets. Choose gel for more intensity and liquid once you feel comfortable creating the basic shape.
How do you apply eyeliner for almond eyes?
Keep the inner line fine, follow the natural upper lash line and extend a small wing along the angle of the lower lash line. Almond eyes can suit a balanced full line or a softer outer-third shape.
What is an easy eyeliner for round eyes step by step?
Start with pencil on the upper lash line, keep the centre relatively thin, extend colour across the outer third and finish with a short upward flick. Avoid making the lower lash line equally dark, as this can reduce the elongated effect.
How do you do eyeliner on monolid eyes?
Draw the line with your eyes open and relaxed so you can see the final visible shape. Keep the inner section thin, place definition on the outer third and use a short wing that does not disappear into the fold.
What is the difference between pencil, gel and liquid eyeliner for beginners?
Pencil is easiest to control and blend, gel offers a defined but workable finish, and liquid creates the sharpest edge but sets fastest. Start with pencil before progressing to gel or liquid.
How can you stop eyeliner transferring on eyelids?
Apply liner to clean, dry lids, use a thinner layer, allow it to set fully and lightly control excess lid moisture with suitable eye makeup products. If transfer continues alongside irritation, discontinue that product.