An acne prone skin makeup routine works best when it covers only what needs coverage: moisturise, apply a thin lightweight base, tap concealer onto individual spots, and set sparingly. This approach is for anyone who wants a more even complexion without piling product over active breakouts. Clean tools, sensible product labels and gentle removal matter just as much as the makeup itself; on sore, weeping or unusually irritated skin, skipping heavy complexion products is often the kinder choice.
Covering blemishes does not require a thick, full-face layer. In fact, heavy makeup can emphasise texture, transfer more easily and make removal feel rough. A considered routine separates two jobs: evening out general redness with a sheer base, then concealing individual spots only where extra coverage is useful.
What makes a makeup routine suitable for acne-prone skin?
There is no single makeup formula that suits every person with breakouts. Acne-prone skin may also be oily, dry, sensitive, dehydrated or easily irritated by fragrance. Start by choosing products with a comfortable texture and checking the label for claims such as non-comedogenic makeup. This can be a useful selection filter, but it is not a guarantee that a product will suit your skin.
Look for a base that feels light enough for daily wear and does not make you want to rub or scratch your face. A lightweight makeup base, sheer foundation or skin tint for blemishes can soften unevenness while allowing targeted concealing to do the heavier work. If shine is your main concern, an oil-free foundation may feel more comfortable, although “oil-free” alone does not determine whether a product is suitable.
Acne prone skin makeup routine: step-by-step
1. Begin with calm, prepared skin
Cleanse gently, pat dry and apply your usual moisturiser. In the daytime, use sunscreen that you already know your skin tolerates. Allow skincare to settle for a few minutes before applying makeup; a damp or slippery surface can cause patchiness and encourage repeated rubbing.
Do not use makeup as a substitute for prescribed skincare. If you are following a dermatologist-recommended routine, keep using it as directed and introduce new cosmetic products cautiously. When trying a new foundation or concealer, patch testing makeup on a small area can help you notice irritation before applying it across the face, although it cannot predict every reaction.
2. Apply a small amount of base
Place a little product on the centre of the face and blend outwards with clean fingers, a freshly washed brush or a clean damp sponge. Use less around raised spots and textured areas. The purpose of this first layer is to reduce overall contrast, not to make every mark disappear.
Wait briefly, then assess the result in natural light. If the skin already looks even enough, stop. Adding another layer everywhere often gives a less natural result than adding a pinpoint amount of concealer where it is actually needed.
3. Use targeted colour correction only when helpful
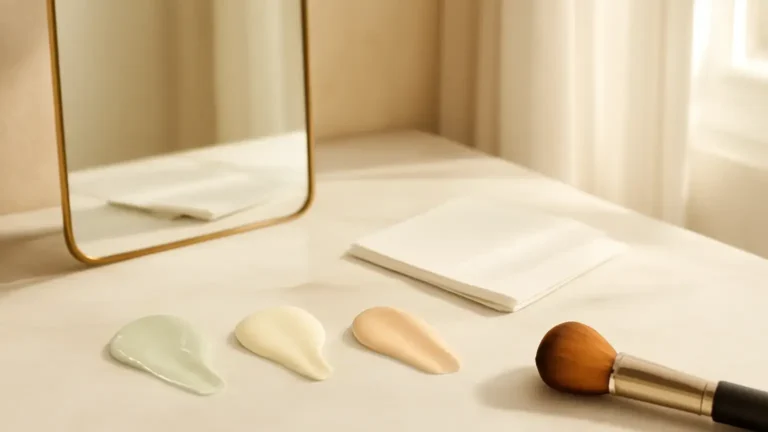
A green colour corrector can visually balance some red areas, but it is easy to overapply. Use the smallest amount on a well-defined red mark, tap rather than drag, and cover it with a thin layer of complexion product. Skip correction if the spot is not very red or if the extra layer makes the area look raised.
Colour correction is not essential. For many people, a well-matched concealer applied directly to the blemish is simpler and less likely to become cakey.
4. Tap on concealer, then leave it alone
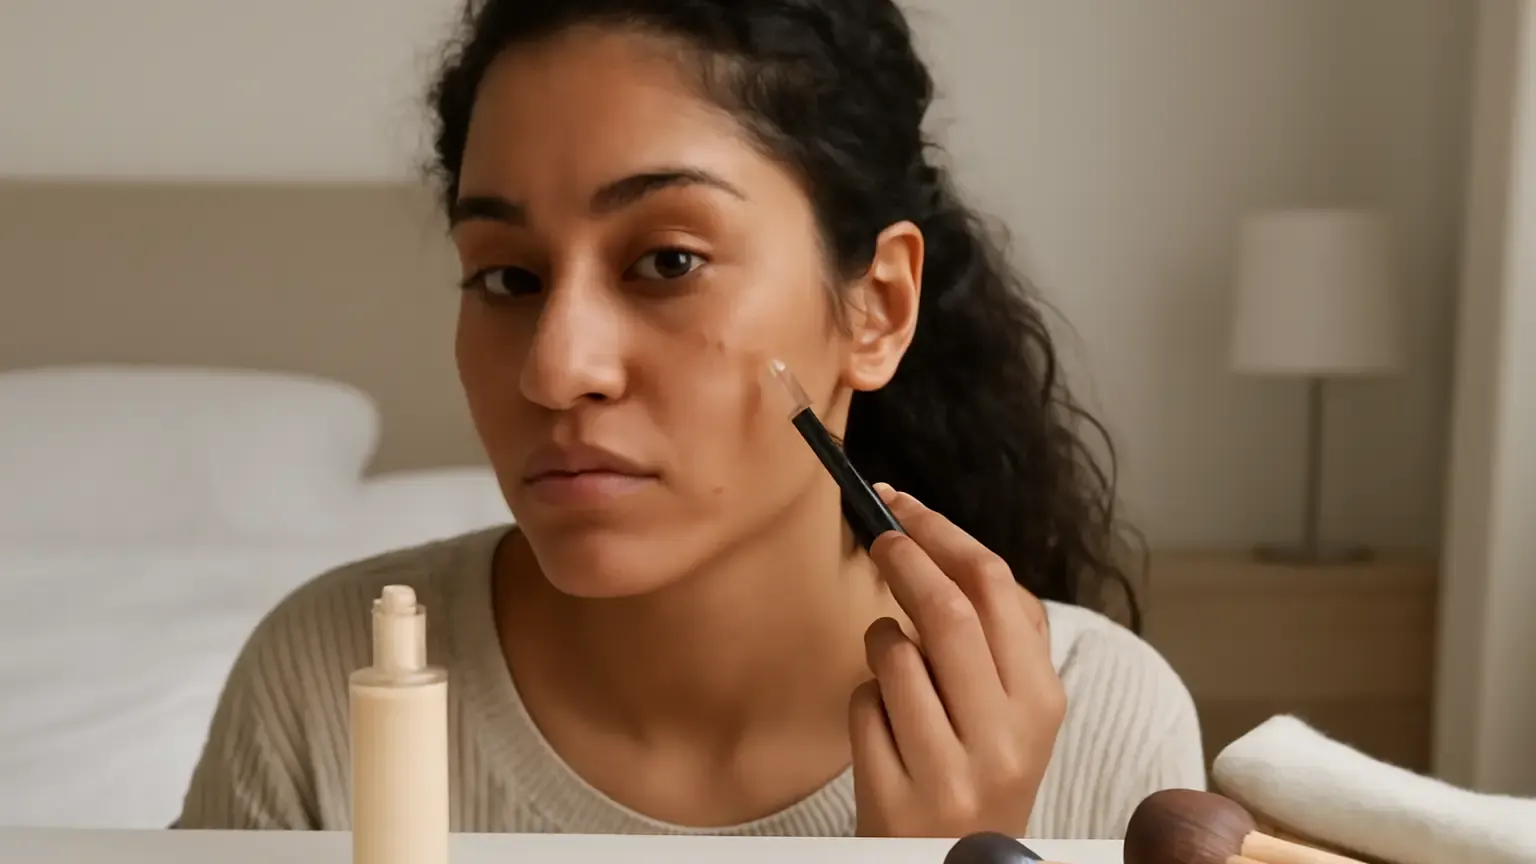
Choose a concealer for acne-prone skin that gives enough coverage without needing repeated rubbing. Use a small, precise brush or a clean fingertip to place product on the centre of the mark. Blend only the edges so the middle retains coverage. This is the core of a good spot concealing technique.
Give the concealer a moment to settle before lightly pressing the edges again. A tiny amount of powder can help the area stay in place, but avoid pressing a thick powder layer over a dry or flaky blemish. If the spot is raised, makeup can reduce colour contrast but cannot remove the texture; realistic expectations prevent over-layering.
5. Set only where needed
Use a fine layer of loose or pressed powder on areas that crease or become shiny, such as the sides of the nose and centre of the forehead. A full-face powder layer is not automatically more long-lasting and may draw attention to dry patches. Carry blotting papers or use a clean tissue to press away excess oil later instead of continually adding powder.
How to choose products without overcomplicating the routine
For a natural everyday finish, compare a skin tint, light foundation and concealer rather than assuming you need all three. A skin tint can be enough when discolouration is mild. A lightweight foundation may be useful for more widespread redness. Concealer is usually the most efficient option when only a few blemishes need extra coverage.
- For oily skin: consider a breathable, oil-free or soft-matte base, then set the T-zone lightly.
- For dry or peeling skin: prioritise moisturising preparation and avoid very matte formulas that accentuate flakes.
- For sensitive skin: keep the ingredient list simple where possible and be cautious with fragrance and frequent product changes.
- For texture and raised spots: use thin layers and accept that makeup can camouflage colour more effectively than shape.
Mineral makeup may appeal to people who prefer a shorter ingredient list or a powder format, but “mineral” does not automatically mean irritation-proof. Check the full product information and your own tolerance rather than relying on one marketing term.
Tool cleanliness is part of an acne friendly makeup routine
Dirty tools collect old product, oil and skin debris. They can also make application rough, which encourages rubbing. Wash reusable brushes regularly with a gentle cleanser, rinse thoroughly and dry them fully in an airy place. Sponges need frequent washing and should be replaced when they remain stained, smell unusual or no longer dry properly.
Do not share brushes, sponges or eye and face products. Keep caps closed, avoid dipping dirty fingers into pots and note the date you opened products where practical. These simple habits are central to makeup hygiene and can reduce unnecessary exposure to contamination. Clean tools do not treat breakouts, but they support a more hygienic application routine.
Makeup removal for acne-prone skin: keep it gentle
Remove makeup before bed with a method that dissolves your products without scrubbing. A cleansing balm, micellar product or gentle first cleanser can loosen foundation and concealer; follow with your usual mild cleanser if that suits your skin. Rinse with comfortable—not hot—water and pat dry.
Pay attention to the jawline, hairline, nose and around the mouth, where base products can remain unnoticed. Avoid repeatedly rubbing a spot to make it perfectly clean. If your skin feels tight, stings or looks more flushed after cleansing, simplify the process and review the products involved. Effective makeup removal for acne-prone skin should leave the face clean without a stripped, burning feeling.
When should you skip heavy complexion products?
Skip or reduce heavy makeup when the skin is sore, cracked, weeping, intensely itchy, unusually swollen or reacting to a new product. Applying layers over visibly irritated skin can make it harder to observe changes and may increase rubbing during removal. For a minor blemish, you can often leave it uncovered, use a small amount of concealer, or choose a lighter base rather than full coverage.
Makeup is also optional on days when you will sweat heavily, wear a tight face covering for long periods or cannot clean your tools. If you have persistent, painful or worsening breakouts, or a reaction that does not settle, consult a qualified dermatologist or doctor. Cosmetic technique should not replace professional advice for concerning symptoms.
Common mistakes that make coverage look heavier
- Applying full coverage before deciding whether you need it.
- Using a shade that is too light, which can spotlight the blemish.
- Dragging a brush across active spots instead of tapping.
- Adding concealer repeatedly without allowing the first layer to settle.
- Using an old sponge or unwashed brush.
- Scrubbing during removal because the makeup was set too heavily.
The most reliable correction is usually subtraction: less base, smaller tools, fewer passes and more time between layers.
Quick takeaway
The most practical acne prone skin makeup routine is selective rather than heavy. Prepare the skin, apply a thin base, correct only obvious redness, tap concealer onto individual marks, set strategic areas and clean every tool that touches your face. Choose products according to your skin’s comfort, not just the promise of maximum coverage. If the skin is actively irritated, let comfort and recovery take priority over a flawless finish.
Products that may help with this routine
Choose only what fits your skin, hair or personal needs. Use the links below to view current options on Amazon India.
Frequently Asked Questions
How do you cover acne without heavy makeup?
Apply a thin lightweight base only where you want overall evening, then use a small amount of well-matched concealer on individual spots. Tap the edges, set sparingly and avoid building layers across the whole face.
What makeup is best for acne prone skin?
The best choice is a formula your skin tolerates and that suits its finish needs. Look for lightweight, non-comedogenic or oil-free options if helpful, but remember that these labels do not guarantee compatibility. Patch test new products and avoid formulas that sting or make you rub.
How do you apply concealer on active spots?
Prepare and moisturise the skin, then place a tiny amount of concealer at the centre of the spot. Tap around the edges with a clean fingertip or precise brush, leaving the centre covered. Add only a very thin layer if necessary.
How do you clean makeup brushes for acne prone skin?
Wash brushes regularly with a gentle cleanser, rinse all residue away and let them dry completely in an airy place. Wash sponges frequently, replace them when they smell unusual or do not dry properly, and never share face tools.
When should you skip makeup on irritated skin?
Skip heavy complexion products when skin is cracked, weeping, intensely itchy, unusually swollen or reacting to a new product. Persistent, painful or worsening symptoms should be discussed with a qualified dermatologist or doctor.