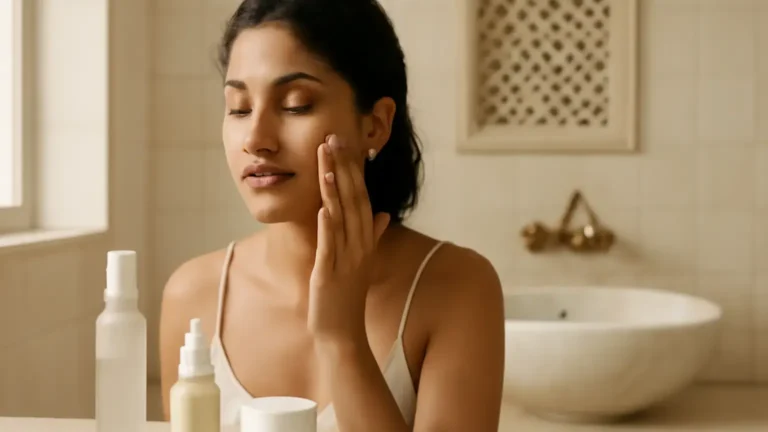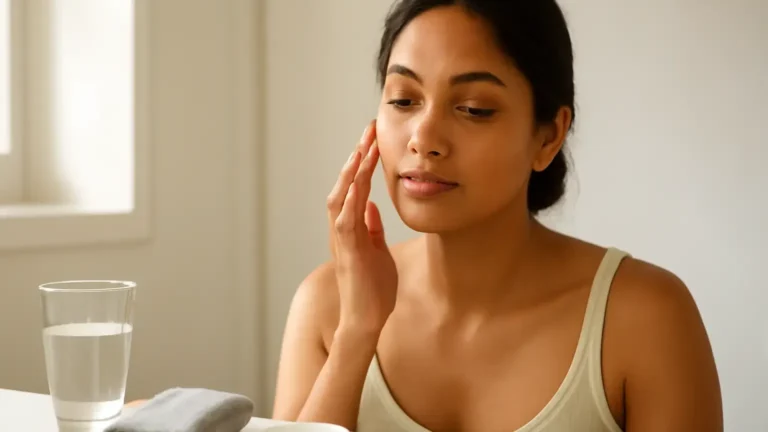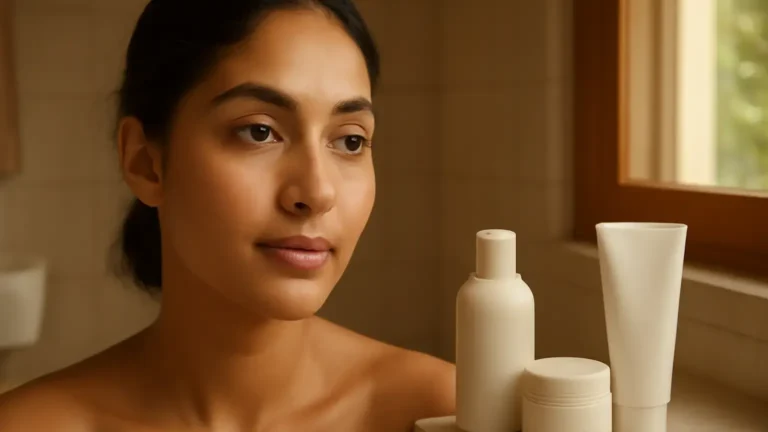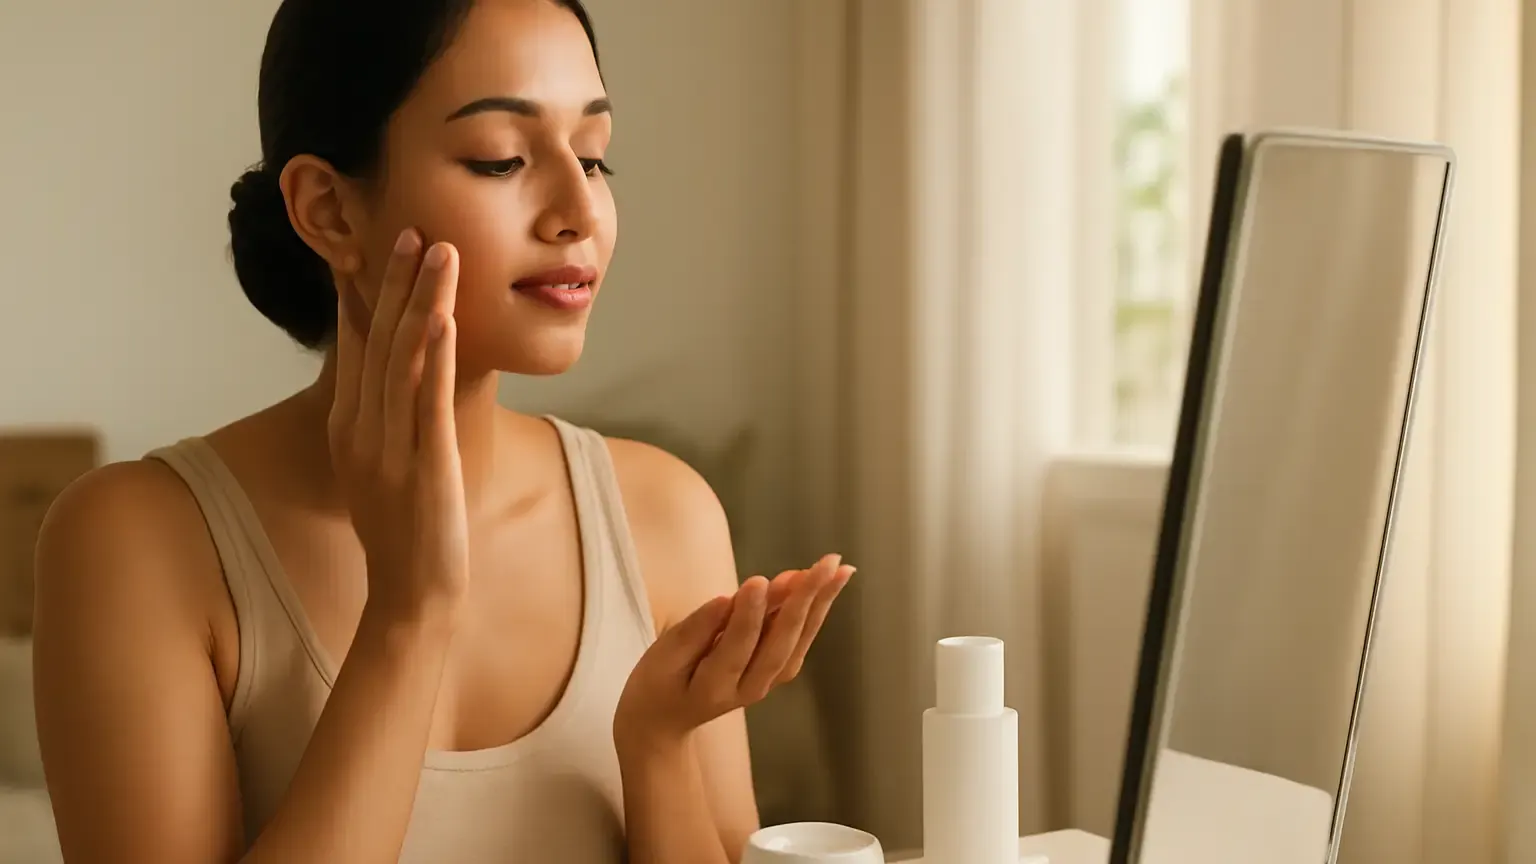
Glowing skin before photos usually comes from calm, well-hydrated skin—not a dramatic treatment at the last minute. This plan is for anyone preparing for a wedding, festival, professional headshot or family event in India. Use gentle cleansing, a light hydrating layer, correctly timed moisturiser, sunscreen when daylight exposure is involved and simple makeup prep. The safest decision is to improve comfort and surface glow while avoiding new products, aggressive massage and anything that could trigger redness or peeling.
Photographs tend to highlight uneven texture, dry patches and excess shine more than the mirror does. Fortunately, a fresher appearance does not require an elaborate routine. The most reliable approach is to keep the skin comfortable, hydrated and free from avoidable irritation.
1. Start with a realistic timeline
Your routine should change depending on whether the photographs are in 20 minutes, later the same day or several days away. For a quick preparation, focus on cleansing, hydration and makeup compatibility. Do not try to correct every concern at once.
If you have a few days, follow your familiar routine consistently, sleep adequately and avoid experimenting. A photo-ready complexion is generally calmer when the skin barrier is not being challenged by multiple new actives, scrubs or salon procedures.
2. Cleanse gently, not aggressively
Use a gentle facial cleanser suited to your skin and rinse with lukewarm water. The aim is to remove sweat, excess oil, pollution and leftover makeup without leaving the face tight or squeaky. Over-cleansing can make dry skin feel rough, while vigorous rubbing may make redness more noticeable.
In the morning, some people with dry or sensitive skin may only need a water rinse, especially if the face is already clean. Oily or combination skin may prefer a mild cleanser. Pat your face dry with a clean, soft towel rather than dragging fabric across the skin.
3. Build a simple hydration layer
A hydrating skincare routine can make the surface look smoother because well-moisturised skin reflects light more evenly. After cleansing, apply a familiar hydrating serum or lotion if you already use one. Ingredients such as glycerin, hyaluronic acid and panthenol are commonly used to support a comfortable, hydrated feel.
Apply a small amount to slightly damp—not dripping wet—skin, then follow with moisturiser. More product is not automatically better. Excess layers can sit on the surface, feel sticky or cause pilling once makeup is applied.
4. Time your moisturiser before makeup
For most people, moisturiser before makeup is helpful because it softens dry areas and gives foundation a more even surface. Choose the texture according to your skin: a light lotion or gel may suit oily or humid-weather skin, while a richer cream may be more comfortable for dry skin.
Give moisturiser around five to ten minutes to settle before primer or foundation. This pause is not a fixed rule; wait until the surface feels comfortable rather than wet or slippery. If makeup rolls into little flakes, reduce the number of layers, use less product and allow more settling time.
5. Use sunscreen when the setting requires it
For outdoor or daytime photographs, apply a broad-spectrum sunscreen as the final skincare step before makeup. Sunscreen before makeup helps protect exposed skin from ultraviolet radiation, even if the photo session itself is short. Use the amount recommended on the product label and cover the face, ears and other exposed areas.
Allow sunscreen to form an even layer before applying makeup. If flash photography is planned, check how your familiar sunscreen and base products behave together in advance. Some formulas may create unwanted cast or reflectivity in certain lighting; testing beforehand is more sensible than omitting daily sun protection.
6. Treat facial massage as optional, not essential
A brief, gentle facial massage for glow may feel relaxing and can temporarily make the face look less tired, particularly when puffiness is mild. Use clean hands, a small amount of slip from a familiar moisturiser or facial oil, and very light pressure. Keep the movement comfortable and stop if the skin warms, stings or becomes visibly red.
Avoid forceful gua sha, suction tools, prolonged rolling and vigorous kneading immediately before photographs. These techniques can leave marks, broken-looking surface redness or irritation, especially on sensitive skin. Do not massage over active cuts, sunburn, painful areas or recently irritated skin. Massage is an optional comfort step, not a requirement for healthy-looking skin.
7. Finish with thoughtful makeup preparation
Makeup preparation for photos starts with a calm base rather than a thick one. Blot excess skincare from the nose, forehead and chin if needed, then use a small amount of primer only where it serves a purpose. A smoothing primer can help with visible texture, while a hydrating primer may be more comfortable on dry areas.
Apply foundation in thin layers and add coverage only where you want it. Heavy application can emphasise creases and texture under close-up lighting. Concealer can be placed selectively around redness or under-eye shadows, then pressed in rather than repeatedly rubbed.
For a natural finish, use a little cream or powder colour on the cheeks and set only areas that become shiny. A completely matte face can look flat, while uncontrolled shine can distract in flash photography. The best balance depends on the camera, lighting and your normal skin finish.
What to avoid before photographs
The safest last-minute skincare plan is deliberately boring. Avoid introducing retinoids, exfoliating acids, strong vitamin C products, peels, bleaching products, unfamiliar masks or heavily fragranced treatments immediately before an event. Even products marketed for radiance can cause dryness, stinging, flaking or redness when your skin is not accustomed to them.
It is also wise to avoid waxing, threading, extractions, aggressive facials and close shaving right before a session if these normally leave you sensitive. Do not pick spots or squeeze blocked pores; temporary swelling and marks are often more visible than the original concern.
Choose the routine by skin concern
- Dry or tight skin: use a gentle cleanse, hydrating layer and a comfortable cream. Keep powder limited to areas that truly need it.
- Oily or combination skin: choose light hydration, allow each layer to settle and keep blotting paper available. Avoid stripping the skin in an attempt to prevent shine.
- Sensitive or redness-prone skin: use only familiar products, skip massage if warmth triggers flushing and prioritise redness and irritation prevention.
- Acne-prone skin: avoid picking and avoid testing heavy oils, masks or new complexion products on the event day. Use makeup labelled in a way that suits your established preferences, without assuming any label guarantees a particular result.
A practical photo-day sequence
- Cleanse gently or rinse, depending on what your skin normally tolerates.
- Apply a familiar hydrating product and allow it to settle.
- Use moisturiser, concentrating on dry areas rather than applying a thick coat everywhere.
- Apply sunscreen for daytime or outdoor exposure and wait for the film to settle.
- Blot excess slip, then apply primer and makeup in thin, even layers.
- Check the finish in the actual lighting. Reduce shine with targeted powder instead of adding more foundation.
Carry a clean tissue, blotting paper, lip balm and the makeup products you already know work for you. A small touch-up kit is usually more useful than adding another skincare step.
When to postpone experimentation
Skip a new product or treatment if there is no time to observe how your skin reacts. A patch test can reduce uncertainty, but it cannot guarantee that a full-face application will suit you under makeup or heat. If your skin develops persistent, painful, swollen or intensely itchy symptoms, seek advice from a qualified dermatologist or doctor rather than trying more cosmetic products.
Takeaway
The formula for glowing skin before photos is simple: cleanse gently, hydrate without over-layering, moisturise early enough to settle, protect daytime skin with sunscreen and prepare makeup in thin layers. Keep facial massage light and optional, and leave new products, aggressive treatments and major routine changes for another time. Calm, familiar skin is usually the most dependable foundation for a fresh photograph.
Products that may help with this routine
Choose only what fits your skin, hair or personal needs. Use the links below to view current options on Amazon India.
Frequently Asked Questions
What should I put on my face before photos?
Cleanse gently, apply a familiar hydrating product, use moisturiser and allow it to settle. Add broad-spectrum sunscreen for daytime or outdoor photographs, then apply makeup in thin layers. Avoid testing new products immediately beforehand.
How do I get glowing skin before photographs?
Use gentle cleansing, comfortable hydration and a suitable moisturiser, then keep makeup light and targeted. Good sleep and avoiding irritation can help your skin look fresher, but no last-minute treatment can guarantee a particular result.
Should I moisturise before makeup for photos?
Usually, yes. Moisturiser can soften dry patches and help makeup apply more evenly. Use a texture that suits your skin, apply a modest amount and wait roughly five to ten minutes—or until the surface no longer feels wet—before makeup.
Is facial massage safe before taking photos?
A short, gentle massage with clean hands may be comfortable for some people, but it is optional. Avoid vigorous pressure, suction and massage over irritated or sunburned skin because these may cause temporary redness or marks.
What skincare should I avoid before an event?
Avoid unfamiliar retinoids, exfoliating acids, strong masks, peels, bleaching products, aggressive facials, extractions and any treatment that usually causes peeling or redness. Use products your skin already tolerates, especially on the day of the photographs.